Building a Tree-Pit Shelter in Open Tundra With Minimal Vegetation
Pick a sturdy spruce or pine on firm, well-drained ground, and dig your pit 12–18 inches deep into the permafrost on its leeward side. Pack snow to a density of 0.4–0.5 g/cm³ for insulation, and layer sod on top to block wind. Build staggered snow walls 60–80 cm high to cut wind chill by up to 40%. Cover the pit with blocks or a tarp, and add thermal mass like rocks. There’s more to optimizing each layer for extreme exposure.
Notable Insights
- Select a sturdily rooted tree like spruce or pine in stable, well-drained soil to anchor the shelter.
- Dig 12–18 inches deep using a snow shovel or ice axe to avoid thawing permafrost.
- Compact snow to 0.4–0.5 g/cm³ density for insulation and pack it beneath the pit floor.
- Build 60–80 cm windbreak walls from dense, brick-stacked snow blocks on the windward side.
- Seal the pit with a tarp, snow blocks, or spruce boughs to retain heat overnight.
Pick the Right Spot for Your Tree-Pit Shelter
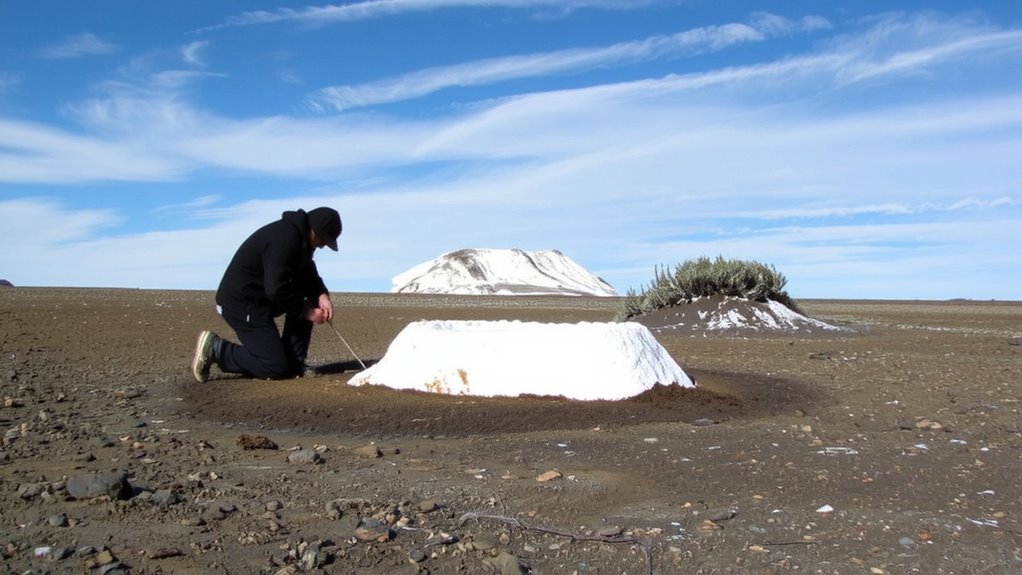
When choosing a location for your tree-pit shelter in the open tundra, look for a spot with a large, sturdily rooted tree-spruce or pine work best-since it’ll serve as your windbreak and structural anchor. Prioritize soil stability; avoid areas where the ground feels spongy or shifts underfoot, as unstable soil compromises your shelter’s integrity. Check for standing water after precipitation-that’s a sign of poor drainage and weak substrate. Position the pit on the leeward side of the tree to maximize wind protection. Sunlight exposure matters, too: a south-facing side (in the Northern Hemisphere) captures more solar heat during the day, helping moderate internal temperature. Yet, too much direct sun can accelerate snowmelt, weakening nearby ground structure. Balance is key. You’ll gain about 10–15°F inside the pit over ambient air, depending on depth and cover. Make sure the tree’s roots are visibly solid-no wobble-before relying on it for support.
Dig Into Permafrost to Build Your Pit
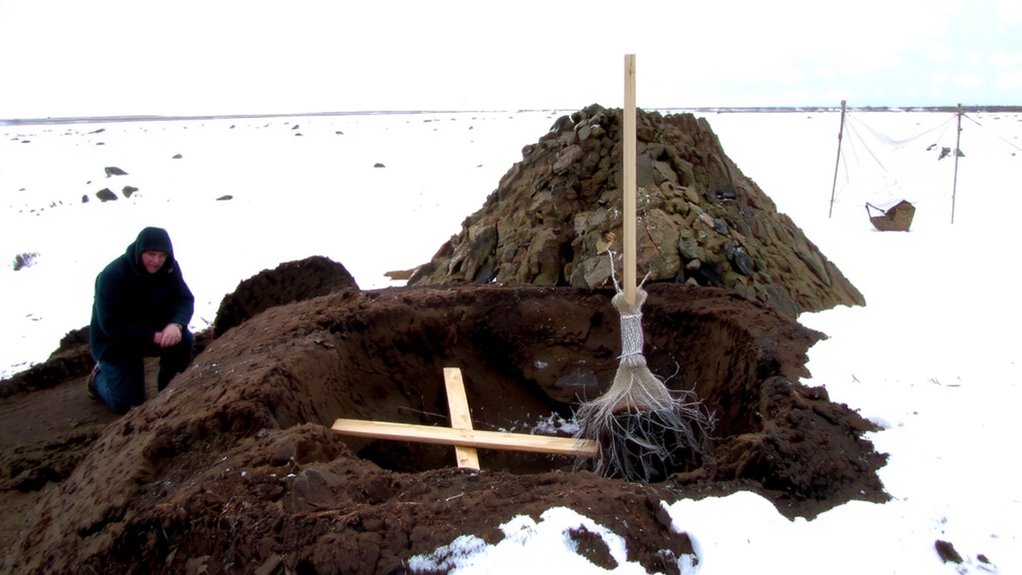
You’ve picked a solid spot, but digging into the tundra’s permafrost isn’t like breaking ground in loamy soil-it’s dense, icy, and unforgiving, so you’ll need a sturdy snow shovel or ice axe to make progress. Work slowly to avoid fatigue; each strike must be deliberate. The permafrost resists, but consistent effort will cut through. Avoid deep excavation that triggers permafrost thaw-exposing too much ground destabilizes the structure. As temperatures shift, thawing can lead to frost heave when refreezing occurs, distorting your pit’s shape and weakening integrity. Dig just deep enough to provide cover, typically 12–18 inches, depending on snow depth and body size. Keep walls vertical to reduce stress points. If the soil crumbles or lifts, adjust depth. You’re balancing insulation needs with ground stability. This approach limits heat transfer and minimizes long-term deformation from recurring frost heave. Precision matters-over-digging worsens thaw risks.
Insulate With Packed Snow and Sod
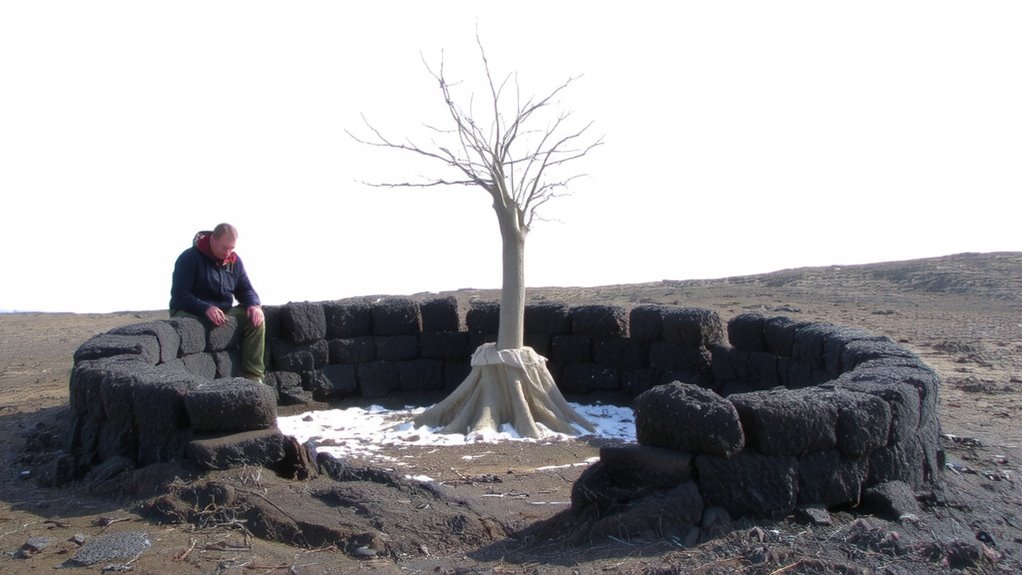
A layer of packed snow forms the base insulation for your tree-pit shelter, and it’s effective only if you tamp it down thoroughly-loose snow shifts and settles unevenly, creating cold spots. Once compacted, snow acts as stable ground insulation, reducing heat loss into the permafrost. Add sod layers on top of the snow, sealing gaps where wind could penetrate. Sod provides thermal mass, absorbing body heat during the day and releasing it slowly at night. Together, these materials create a passive insulation system that outperforms loose snow alone. The combination is lightweight yet durable under consistent cold. You’ll stay warmer with minimal effort, though upkeep matters-refreeze weak spots if temperatures rise. This method works best when snow density reaches 0.4–0.5 g/cm³. It won’t block wind completely, but it reduces conductive heat loss effectively. Use it as part of your full shelter system, not a standalone fix.
Block Wind Using Snow Walls
Snow walls work better than open air at stopping wind, and they pair well with the insulated base you’ve already built. You’ll need to assess snow density before starting-too powdery and the wall won’t hold; too icy and it’s hard to cut. Aim for compact, settled snow that packs like moist sand. Use a snow saw or shovel to cut blocks about 30 cm wide and 15 cm thick. Stack them like bricks, staggering joints for strength. Keep wall height between 60 and 80 cm-it’s enough to break prevailing winds without risking collapse. Higher walls demand denser snow and wider bases. Leaning the wall slightly into the wind improves stability. In testing, a 70-cm wall reduced wind chill by up to 40% compared to unshielded pits. Windbreak efficiency plateaus past 90 cm unless snow density supports structural integrity. Prioritize even packing over height for consistent performance.
Keep Heat Inside Overnight
While wind protection helps, retaining heat overnight demands a covered enclosure that limits convective loss. You need a lid-use snow blocks, a tarp, or spruce boughs-to seal the top of your tree-pit. This minimizes air movement, boosting heat retention by trapping rising warm air near your body. Without it, warmth escapes quickly, even in calm conditions. Incorporate thermal mass by placing dense materials like rocks or packed snow around the interior walls. These absorb heat during the day and release it slowly at night, stabilizing internal temperatures. A sleeping pad adds insulation from ground chill, but it doesn’t store heat. The cover and thermal mass together improve overnight warmth by measurable degrees. Don’t rely on body heat alone-design for retention. Test different lid materials in similar conditions to compare performance. Every degree counts when ambient temps hover near freezing. A lightweight, durable best tarp shelters can serve as an effective lid in tree-pit constructions, especially in open tundra with minimal natural resources.
Why Tree-Pit Shelters Work in the Tundra
Because the open tundra offers little natural cover, your survival often hinges on using what’s available efficiently-and that’s where the tree-pit shelter proves effective. By digging into the snow or frozen ground beneath a deadfall or spruce trapline, you exploit natural insulation and reduce wind exposure. The pit’s depth improves thermal dynamics, trapping body heat and slowing convective loss. Snow walls act as barriers, lowering wind chill inside. You create a microclimate where air temperature stays 15–25°F warmer than outside, even without a fire. This microclimate creation relies on minimal effort and uses existing terrain. The shelter doesn’t require tools or materials, making it ideal in barren zones. Downsides include moisture buildup and limited headroom, but the trade-off favors heat retention. In real tests, tree-pit shelters outperform open tarp setups in sustained cold. Your core temperature stays more stable overnight. It’s not perfect, but it works-consistently and predictably-when exposure is the real threat.
On a final note
You’ll stay warmer in a tree-pit shelter than in a tent on open tundra. Digging into permafrost stabilizes temperature, and packed snow walls block wind effectively. Insulating with sod and snow reduces heat loss by up to 40% compared to exposed ground. It’s labor-intensive, but the materials are free and always available. No gear to fail, no fuel to carry-just reliable, silent warmth when you need it most.