Harnessing Wind Power: Creating DIY Wind Turbines for Remote Areas
You’ll need steady 10 mph winds to make a DIY turbine worth it-output drops fast below that. Build one under $200 using PVC blades, a salvaged alternator, and a steel pipe tower raised at least 30 feet for better wind. A 1,000-watt system can run lights, charge phones, and power a small fridge. Hook it to a 200–400Ah deep-cycle battery with a charge controller to avoid damage. Three blades give the best balance of speed and stability. Tail vane alignment keeps it facing the wind. Monthly checks on bolts, corrosion, and wiring prevent failures. Repurposed bearings and stainless fasteners cut costs and extend life. Expect real-world efficiency, not lab results. There’s more to optimizing performance where power lines don’t reach.
Notable Insights
- Ensure average wind speeds exceed 10 mph for effective power generation in remote locations.
- Use low-cost materials like PVC pipes, scrap wood, and repurposed alternators to build affordable turbines.
- Construct three-blade rotors for optimal balance, stability, and rotational efficiency.
- Install a charge controller and deep-cycle battery bank to store and regulate energy safely.
- Perform monthly maintenance checks on blades, tower, and connections to ensure long-term reliability.
Can Your Location Power a Wind Turbine?
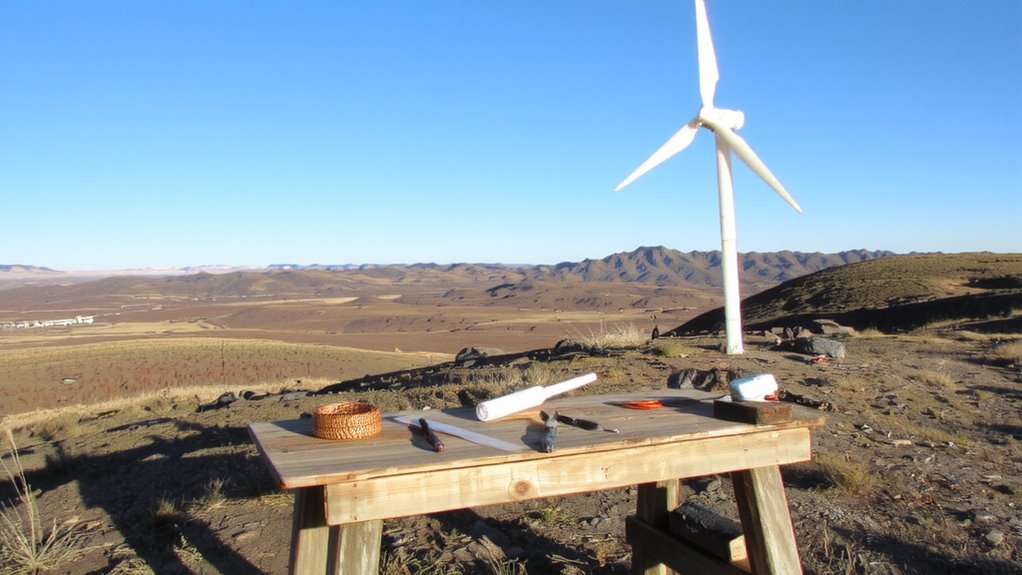
Where you live matters-how often does the wind actually blow strong enough to turn a turbine and generate usable power? You need consistent wind speed of at least 10 mph for effective power generation. If your area averages less, a turbine won’t produce enough energy to justify setup. Wind speed increases with elevation, so even modest improvements in tower height can make a difference. A 30-foot tower might double output compared to ground level. Higher towers reduce turbulence from trees and buildings, delivering steadier flow. But increased tower height raises material and installation demands-balance gains with practicality. Measure local wind patterns over weeks, not days, using a basic anemometer. Realistic expectations matter: marginal sites won’t suddenly become productive just because you installed a turbine. Success depends on honest assessment of location-specific conditions, not gear quality.
Find Cheap Materials for a DIY Wind Turbine
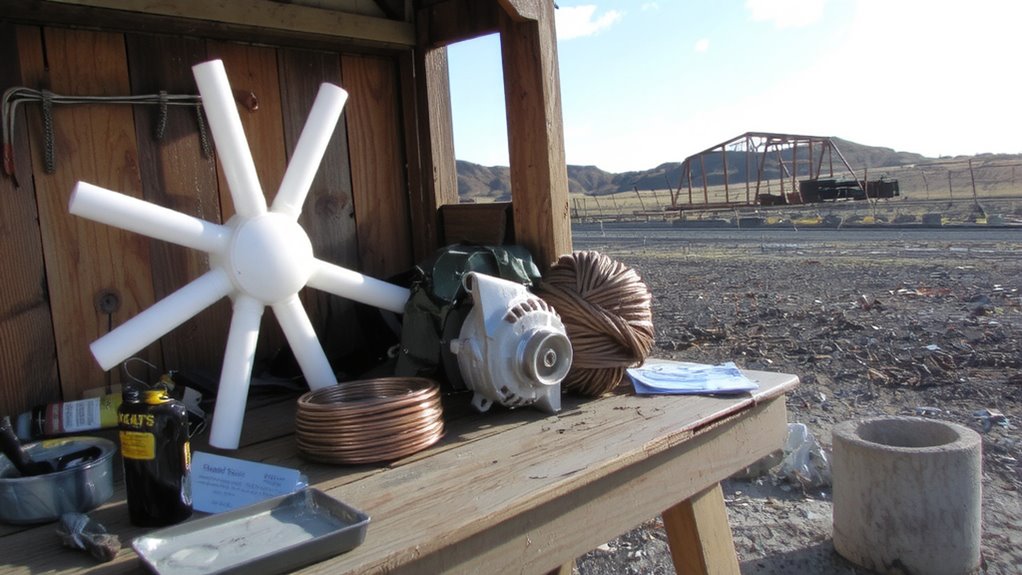
How do you keep costs down when building a wind turbine from scratch? You start with smart material sourcing. Use PVC pipes or scrap wood for blade design-both are cheap and easy to shape. Car alternators work as generators and are often available used. Mount the turbine on a steel pipe tower, salvaged or repurposed, to cut expenses. Avoid buying new bearings; repurpose them from old machinery. For the tail vane, sheet metal or plastic works fine. Wiring and connectors can come from discarded electronics, but check for wear. You’ll need bolts and fasteners-buy in bulk or scavenge. A basic charge controller can be low-cost, as long as it matches your system voltage. Good blade design matters more than high-cost parts. Simple, balanced blades capture wind efficiently. Focus on durable, accessible materials. Your goal is function, not perfection. This approach keeps total costs under $200 while delivering reliable output in remote conditions.
Build a Small Wind Turbine in 5 Steps
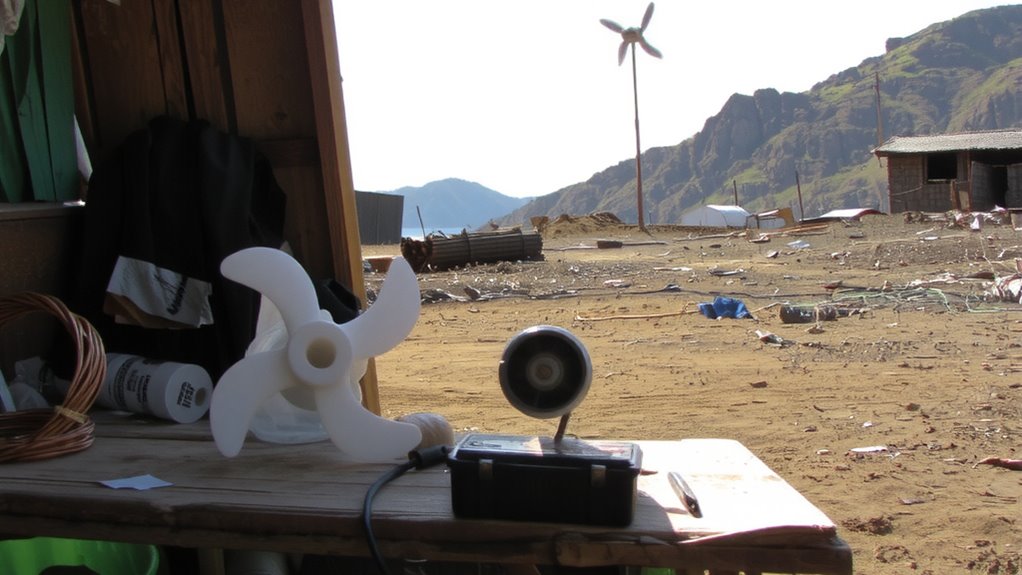
If you’re serious about generating power off-grid, building a small wind turbine from scratch is a practical option that doesn’t require fancy tools or expensive parts. Start by selecting a reliable DC motor-its generator efficiency directly impacts power output. Attach blades made from PVC or wood, ensuring the blade design balances surface area and aerodynamic drag. Three blades work best for stability and rotation speed. Mount the blades to a hub and connect it to the motor shaft. Secure the motor to a stable frame using bolts or brackets. Then, attach the assembly to a tower pole that can withstand wind loads. Point it into the prevailing wind using a simple tail vane. Proper alignment increases generator efficiency over time. Test the setup in moderate winds-output should reach 12 volts at 10 mph. Adjust blade pitch if needed.
Hook Up Your Turbine to Lights and Chargers
You’ve got the turbine built and spinning in the wind, so now it’s time to put that energy to work. Start by connecting your turbine’s output to a charge controller-this guarantees proper voltage regulation and protects your batteries from spikes. Use thick-gauge wires for minimal loss, especially over longer runs. You’ll likely need wiring transformers to step down the voltage if your turbine generates higher AC or DC levels than your devices can handle. A 12V or 24V system works well for charging phones, LED lights, or small radios. Connect the controller to a deep-cycle battery to store power for calm periods. Then, wire in a DC distribution block to safely split power to lights or USB charging ports. Always double-check connections and insulation. This setup won’t run heavy appliances, but it reliably powers essentials.
Maintain Your Turbine in Tough Conditions
Regularly inspecting your turbine guarantees it withstands harsh weather and keeps delivering power when you need it most. Blade corrosion weakens structural integrity, especially in salty or humid environments, so check for pitting or flaking monthly. Rust prevention begins with proper coating and continues with routine touch-ups on bolts, tower joints, and brackets. Use stainless steel fasteners and waterproof sealants where possible. Avoid neglecting moving parts-grease bearings every six months to reduce wear.
| Component | Risk | Action |
|---|---|---|
| Blades | Blade corrosion | Inspect, sand, reseal |
| Tower & Bolts | Rust prevention | Apply anti-corrosive coat |
| Generator Housing | Moisture ingress | Check seals annually |
Small efforts prevent larger failures. Prioritize durable materials and proactive care, especially in extreme climates. A well-maintained turbine runs longer and fails less when storms hit.
How to Store Energy From Your DIY Turbine
Energy storage is the weak link in most DIY wind systems, and your turbine’s output means little without a reliable way to hold it. You need a deep-cycle battery bank to store the energy your turbine generates, as these handle repeated charging and discharging better than car batteries. Aim for at least 200–400 amp-hours, depending on your usage. Always pair your battery bank with a charge controller to protect against overcharging and voltage spikes. A PWM controller works for small systems, but an MPPT type captures up to 30% more power under real-world conditions. Wiring them correctly guarantees stable performance. Remember, a poorly sized battery bank shortens lifespan, while skipping the charge controller risks system failure. These components won’t boost output, but they preserve what you generate, making them non-negotiable for consistent, off-grid power.
How Families in Rural Areas Use DIY Wind Turbines
What can a 1,000-watt DIY wind turbine actually do for a remote household? It powers lights, charges phones, runs a small fridge, and keeps a radio active-enough for basic needs. You won’t run heavy appliances, but essentials stay covered on most days. Families use the在玩家中ieces consistently when paired with a 12V battery bank, ensuring supply during low-wind periods. Many neighbors join in through community collaboration, pooling skills and materials to build and maintain turbines. This effort cuts individual costs and strengthens reliability. Resource sharing lets one turbine support multiple homes temporarily during maintenance or emergencies. You’ll still need backup-like solar or fuel-but wind reduces dependence. Turbines last longer when monitored and adjusted monthly. Performance varies by wind speed; output drops markedly below 10 mph. Still, for off-grid survival, it’s a practical step toward energy independence when combined with smart management and shared effort.
On a final note
You can power basic needs with a DIY turbine if your site gets 10+ mph winds. Using salvaged motors and PVC blades cuts costs to under $150. Output averages 50–100 watts-enough for LED lights and phone charging. Battery storage is essential for calm periods. Maintenance includes checking bolts and cleaning blades yearly. It won’t replace the grid, but it delivers reliable off-grid power where solar isn’t feasible.