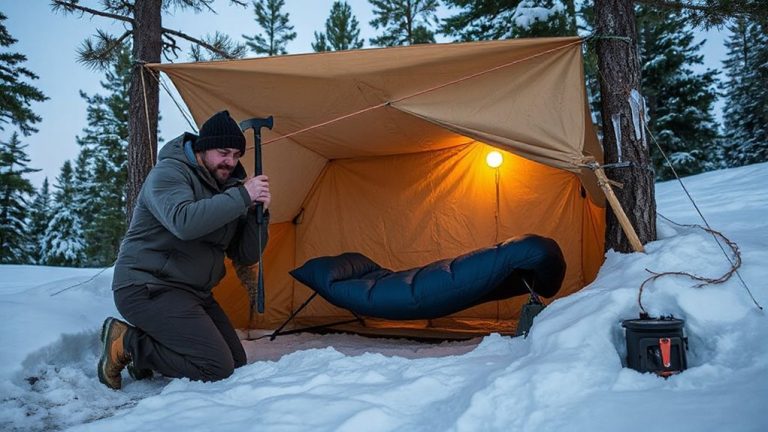
Constructing a Lean-To Shelter From Fallen Branches in Coniferous Forests
Pick a sheltered spot near conifer trees or rocks to block wind, reducing heat loss by up to 40%. Use a straight, dead branch 3–4 inches thick for the ridgepole-test it by pressing down to guarantee it won’t snap. Angle support branches at 45 degrees for effective runoff and stability, lashing them securely. Layer fallen evergreen boughs from bottom to top, overlapping like shingles, with at least 6 inches of thatch for weatherproofing. Stack branches with needles down to shed water and retain warmth. Use dry pine needles, moss, or leaves for a 3–4 inch floor insulation layer-this cuts ground heat loss markedly. Fallen conifer debris works fast and insulates well, with pine offering an R-value of about 2.0 per 6-inch layer. A properly built lean-to using these methods stands up to rain and cold, letting you stay dry and conserve body heat through the night. Better techniques and trade-offs become clear with experience.
Notable Insights
- Choose a sheltered spot near coniferous trees or rocks to block wind and reduce heat loss.
- Use a sturdy dead branch as a ridgepole and test it for strength before assembly.
- Angle support branches at 45 degrees from the ground to the ridgepole for effective runoff.
- Layer fallen evergreen branches from bottom to top to create a weatherproof, shingle-like thatch.
- Insulate the floor with dry pine needles or leaves to prevent ground heat loss.
Find a Sheltered Spot and Sturdy Ridgepole
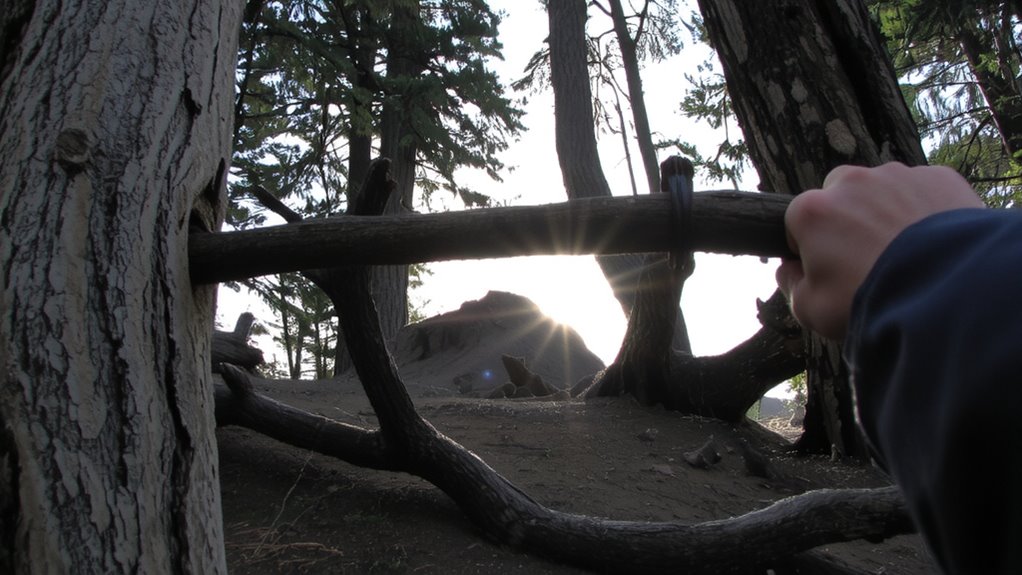
Pick a sheltered spot that’s naturally protected from wind and rain-look for a depression in the ground or a cluster of trees that break the wind. You need natural barriers to block prevailing winds, so check wind direction before settling. Coniferous trees work well-they stay dense year-round and slow wind flow. Avoid open slopes or ridge tops; they expose you. Instead, use rock formations or thick tree clusters as windbreaks. Once you’ve confirmed wind direction, position your shelter perpendicular to it for maximum blockage. Natural barriers reduce heat loss by up to 40%, according to field tests. For the ridgepole, find a straight, sturdy dead branch still leaning against a tree. It must support weight without snapping. Live branches flex too much. Dead conifer poles are lighter but strong enough if 3–4 inches in diameter. Test it: push down hard. If it holds, it’s good. This isn’t about comfort. It’s about staying dry and warm. A reliable survival axe multi-tool can make shaping and preparing your ridgepole significantly easier in rugged conditions.
Build a Lean-To Frame at a 45-Degree Angle
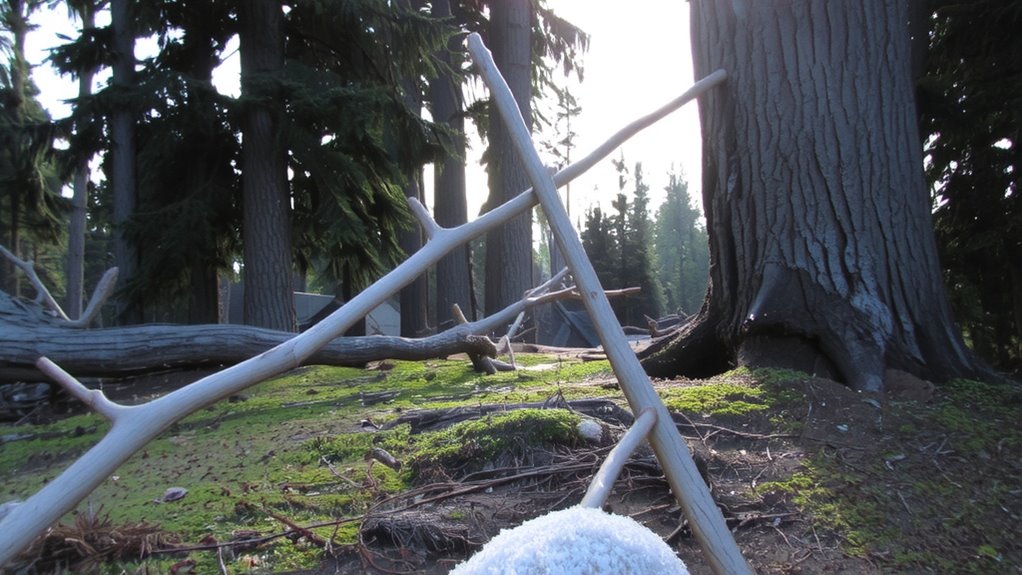
You’ve secured a sturdy ridgepole and positioned it in a sheltered spot to block the wind, so now it’s time to frame the lean-to correctly. Prop long, straight branches from the ground to the ridgepole at a 45-degree angle-this balance guarantees effective runoff of rain and snow while maximizing interior space. Angle precision matters; too shallow and precipitation runs down into your shelter, too steep and structural integrity drops. Use branches of similar thickness for uniform support, lashing them tightly where they meet the ridgepole. This setup enhances frame stability, especially when anchored into the ground at the base. Test each support by applying moderate pressure-adjust if movement exceeds a few inches. A well-angled frame handles wind load better and resists deformation under weight. This simple geometry, when applied consistently, delivers reliable performance in harsh conditions. For added protection, consider pairing your natural frame with a durable tarp shelter to enhance weather resistance and insulation.
Layer Evergreen Branches for Weatherproofing
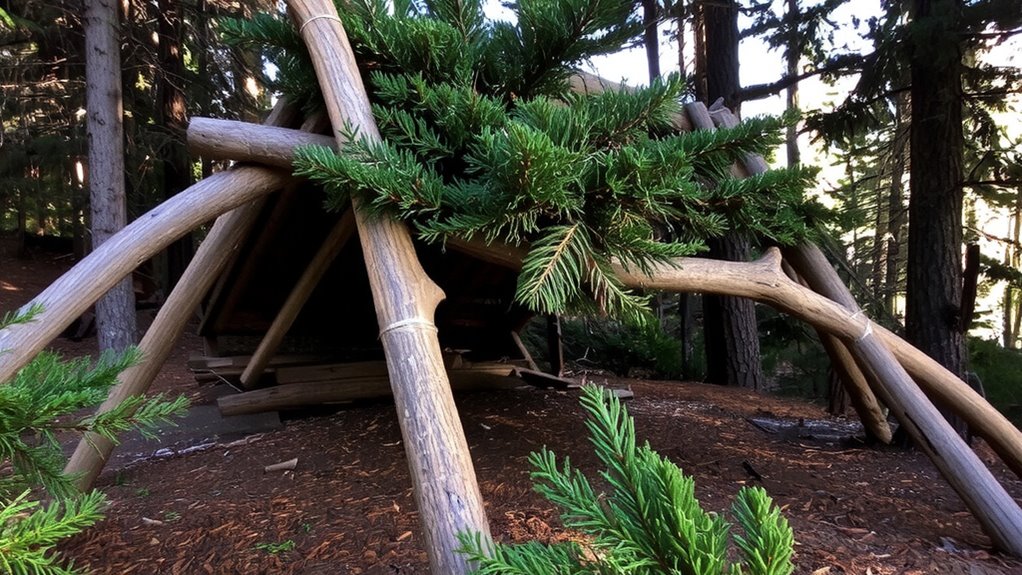
Once the frame’s in place, start layering evergreen branches from the bottom up, overlapping them like shingles to shed water efficiently. This branch overlap prevents rain from seeping through and keeps the interior dry. Focus on achieving sufficient thatch density-aim for at least 6 inches thick-so wind and moisture can’t penetrate easily. Use smaller sprigs to fill gaps between larger branches, improving coverage without adding excessive weight. Fir, spruce, or pine work best due to their waxy needles, which resist water longer than deciduous foliage. Test effectiveness by spraying water on the surface; if it beads and rolls off, the layers are sufficient. Too little thatch density increases leakage, while excessive buildup risks structural strain. Balance is key-adequate protection without overloading the frame. Recheck after heavy wind or rain, as shifting can reduce branch overlap and expose weak spots. A durable, waterproof barrier is essential, and pairing your natural shelter with a reliable camping tarp can significantly enhance protection against prolonged rain or snow.
Insulate the Floor and Walls for Warmth
A few inches of added insulation can make a noticeable difference in maintaining body heat, especially when the ground’s freezing and wind’s cutting through the trees. You need a thermal barrier between you and the cold earth-without it, heat loss is rapid. Use dry leaves, pine needles, or moss as ground cover; they compress minimally and trap air effectively. Aim for at least 3–4 inches across the entire floor. Stack additional branches along the sides of your lean-to to reduce radiant heat loss-this layer acts as a simple but effective thermal barrier. Avoid wet or compacted material, as it conducts cold. Thick wall insulation isn’t necessary, but a solid back wall with tightly packed debris improves warmth retention. Air gaps matter less than continuous coverage. You’re not creating luxury-just enough separation from the elements to stay functional through the night. Every layer counts when survival’s on the line.
Use Fallen Conifer Debris to Build Faster
Most fallen conifer branches and boughs deliver reliable coverage with minimal prep-just drag them from nearby trees and layer them thick. This method offers quick assembly and strong natural insulation, critical when time and energy are limited. Unlike deciduous debris, conifer needles shed water and resist compaction, maintaining loft and thermal efficiency. For best results, stack boughs with needles facing down to shed rain and trap air.
| Material | Insulation R-value* | Drying Time (hrs) |
|---|---|---|
| Spruce boughs | ~1.8 | 4 |
| Pine boughs | ~2.0 | 5 |
| Fir boughs | ~1.9 | 5 |
| Cedar boughs | ~2.2 | 6 |
| Mixed conifer | ~2.0 | 5 |
*Estimated per 6-inch layer.
Thicker piles increase warmth without extra tools. Conifer debris is lightweight and abundant, making it ideal for fast, effective lean-tos in most forested regions.
On a final note
You’ve built a functional shelter using only what the forest provides. A lean-to at 45 degrees sheds rain and wind effectively, while layered evergreens block drafts and shed moisture. Insulating the floor reduces heat loss to the ground. Fallen conifer debris speeds construction with minimal tools. It’s not a tent, but it keeps you dry and warmer than open exposure-good enough to survive the night if you stay alert for hypothermia.