How to Dehydrate Wild Oyster Mushrooms at 135°F for Maximum Safety
Start at 135°F to kill pathogens-hold mushrooms at this temp for at least 4 hours to guarantee safety without overcooking. Clean them fast with a dry brush; never soak, or they’ll take longer to dry. Slice each piece evenly, about ¼ inch thick, so they dry uniformly and don’t trap moisture. Space them in a single layer on trays, rotate them halfway, and check every few hours. When crisp and snapable, store in airtight, labeled containers. You’ll soon see how small adjustments make a lasting difference.
Notable Insights
- Start dehydration at 135°F to effectively kill pathogens like mold and bacteria.
- Clean wild oyster mushrooms with a dry brush-never soak them to avoid excess moisture.
- Slice mushrooms uniformly to ¼-inch thickness for consistent drying and mold prevention.
- Arrange slices in a single layer with space between pieces to ensure proper airflow.
- Dry until crisp, test by snapping; then store in airtight, labeled containers in a cool, dark place.
Start at 135°F to Kill Pathogens Safely
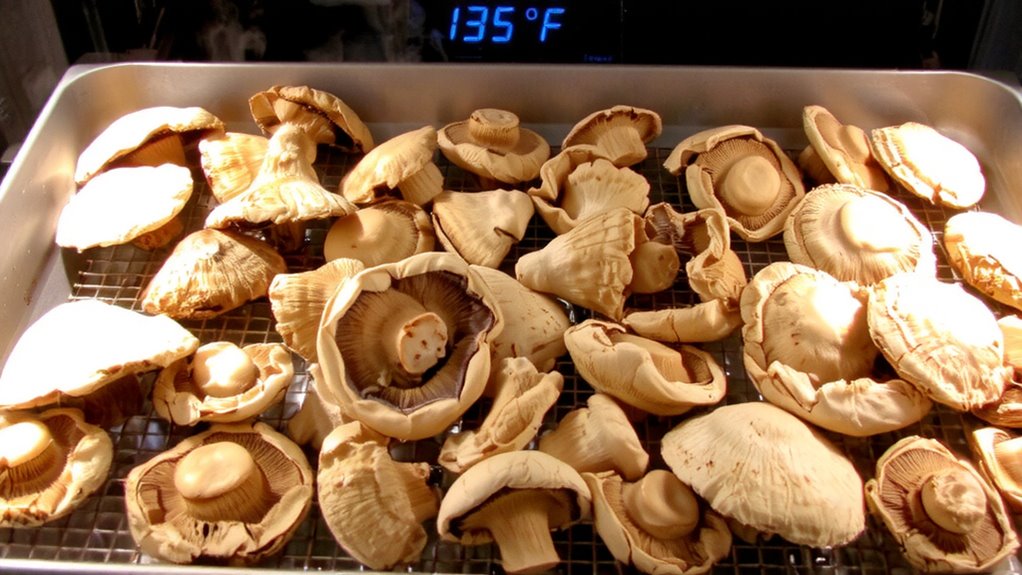
Starting at 135°F guarantees you hit the minimum temperature needed to kill common pathogens like mold spores and bacteria, which is critical when dealing with foraged mushrooms. You can’t assume wild oyster mushrooms are clean just because they look intact-pathogen elimination starts with heat, not washing. Holding them at 135°F for at least 4 hours guarantees food safety without overcooking. Lower temps may dry them slower but won’t reliably eliminate harmful microbes. This temp balances efficiency and safety, especially if you’re processing multiple batches. If your dehydrator doesn’t maintain a steady 135°F, reliability drops-calibrate it or upgrade. You’re not just drying; you’re securing edibility. Consistent heat means fewer risks. For long-term storage and food safety, this initial thermal step isn’t optional. It’s the baseline. Skip it, and you gamble on contamination.
Clean Wild Oyster Mushrooms Fast (No Soaking)
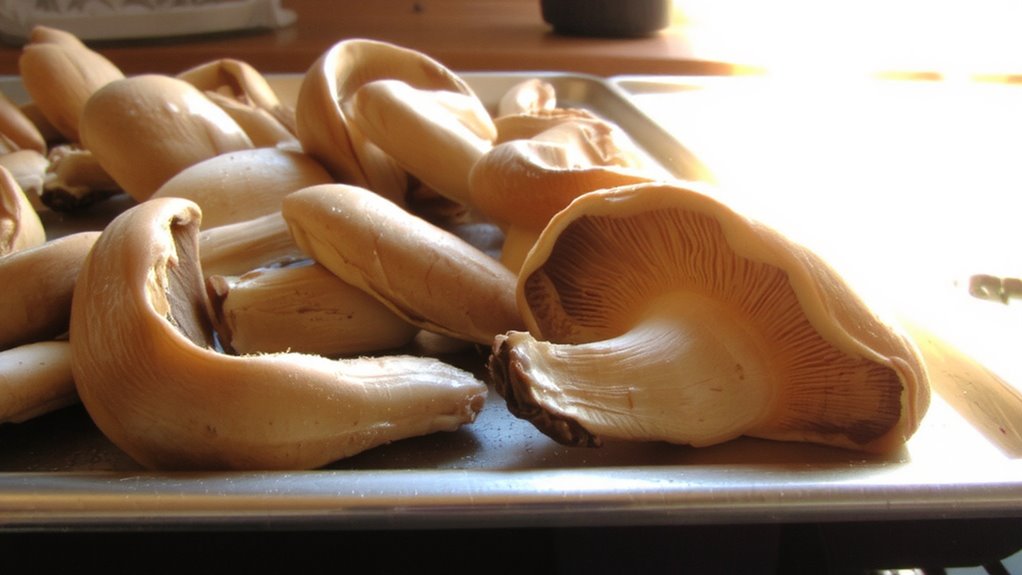
You’ve locked in the heat to handle pathogens, so now focus on prepping the mushrooms without undoing that safety margin. Skip soaking-they absorb water fast and that extends drying time. Instead, lay them flat on a clean surface for quick mushroom sorting; remove any slimy, discolored, or insect-damaged pieces immediately. Use a soft brush or dry cloth to wipe each cap and stem lightly. Conduct a close debris inspection under bright light to spot dirt, pine needles, or insect eggs in the gills. Trim stubborn grit with a knife tip. Work fast but thoroughly-every speck of soil adds weight and moisture, reducing shelf life. This dry method keeps texture intact and prevents bacterial resurgence. No rinse means less prep time and lower rehydration risk later. Mushrooms stay crisp when stored, ready for use.
Slice Evenly to Dry Faster and Prevent Mold
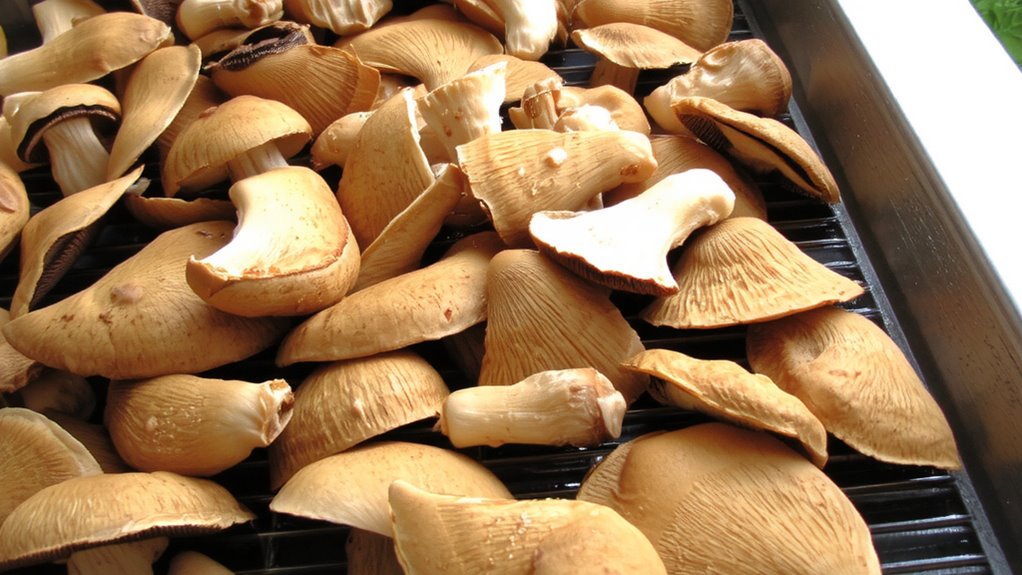
Slice every mushroom to a uniform ¼-inch thickness-too thick and they’ll retain moisture, too thin and they’ll dry out unevenly. Consistent slicing guarantees texture consistency across all pieces, which is critical for even dehydration at 135°F. Pieces of varying thickness will dry at different rates, increasing the risk of mold on under-dried sections. Uniformity also supports spore preservation by minimizing cellular damage during slicing, maintaining integrity for potential use in cultivation. Use a sharp knife and cutting board to avoid tearing the delicate flesh. Thicker slices may seem easier, but they trap internal moisture that the dehydrator can’t efficiently remove at this temperature. Aim for precision: each piece should lie flat and feel uniform to the touch. This method speeds drying time, improves safety, and enhances long-term storage stability without sacrificing quality or structure.
Arrange Trays for Even Airflow
Now that your mushrooms are sliced to a uniform ¼ inch, it’s time to lay them out properly on the dehydrator trays. Arrange them in a single layer with space between each piece to allow air to circulate freely. Proper shelf spacing guarantees consistent drying and reduces moisture pockets that could lead to spoilage. If your dehydrator has multiple levels, avoid overcrowding on any one tray. Most models work best with at least 1 inch of clearance between shelves. Use tray rotation halfway through drying to account for heat variances, especially in non-digital or stackable units where airflow isn’t uniform. This helps all pieces reach the same texture at a similar rate. Even spacing and rotation don’t improve flavor-they prevent failure. It’s not about convenience; it’s about achieving a safe, stable final product.
Check Every Few Hours to Prevent Over-Drying
Occasionally, even with precise settings, dehydration times can vary-so check the trays every few hours. Time monitoring helps prevent over-drying, which can compromise texture and storage life. Use moisture checking to assess progress: mushrooms should feel leathery, not brittle. Open the dehydrator briefly to inspect, minimizing temperature swings. Rotate trays if needed for even drying.
| Hour | Texture Observation | Action Needed |
|---|---|---|
| 4 | Slightly damp | Continue drying |
| 6 | Leathery, no moisture | Prepare for final check |
| 8 | Crisp (goal) | Remove immediately |
Consistent time monitoring secures efficiency. Moisture checking avoids guesswork. Skipping checks risks over-drying, reducing rehydration quality. Adjust based on visual and tactile feedback. Your results depend on attention, not just settings.
Test for Crispness and Store Properly
When your wild oyster mushrooms snap cleanly instead of bending, they’re done. That crispness means the moisture content is low enough to prevent spoilage-critical for safe long-term storage. Let them cool a few minutes, then test a few pieces; they should feel dry throughout, not leathery or cool inside. Once fully dehydrated, store them in airtight glass jars or vacuum-sealed bags. Keep them in a cool, dark place to maximize shelf life. Properly stored, they’ll last up to a year without significant quality loss. Exposure to humidity or light can raise moisture content over time, increasing spoilage risk. Avoid plastic bags unless vacuum-sealed-they trap residual moisture. Label each container with the date so you track storage duration. Regularly check stored batches for any signs of moisture reabsorption, like soft spots or condensation. Doing so guarantees they remain safe and functional for cooking when you need them. For best results, use a dehydrator with adjustable temperature settings and consistent airflow, such as those recommended in the top best food dehydrators for preppers.
Avoid These 5 Drying Mistakes That Invite Mold
If you cut corners during dehydration, even slightly, you’re setting the stage for mold-especially with wild oyster mushrooms that retain moisture deep in their caps and gills. Skipping pre-slicing leads to uneven drying, trapping moisture where mold thrives. Overloading trays restricts airflow optimization, slowing drying and creating damp pockets. Running the dehydrator below 135°F may save energy but undermines mold prevention by prolonging drying time. Failing to rotate trays mid-process results in inconsistent exposure, especially in non-convection units. In conclusion, sealing mushrooms before they’re fully crisp locks in residual moisture, inviting spoilage. Each mistake breaks the chain of effective preservation. For safety and shelf stability, maintain 135°F, slice evenly, space pieces properly, and guarantee steady airflow. These steps aren’t optional-they’re essential for mold prevention and long-term storage success.
On a final note
Set your dehydrator to 135°F to kill pathogens without cooking the mushrooms. Clean quickly, slice evenly, and space them well for airflow. Check every few hours-over-drying loses flavor, under-drying invites mold. They’re done when crisp, snapping cleanly. Store in airtight containers away from light and moisture. Avoid wet batches, overcrowding, low temps, extended drying, or skipping the crisp test-each raises spoilage risk. Safety hinges on consistent heat and dryness.