The Use of Basic Tools for Constructing Improvised Shelters in Different Environments
You can build effective shelters anywhere with just a knife, rope, and a tarp. A 10×8 ft tarp shelters rain and wind in under 5 minutes using basic knots like the taut-line hitch. In forests, anchor to live trees 6+ inches wide to save time and boost stability. Use your knife to notch poles and shape ridgelines when stakes aren’t available. In deserts, dig low-profile dugouts for shade; in cold, layer pine boughs to cut heat loss by 70%. Smaller shelters retain warmth better. Choose dry wood to prevent sag. Each design balances effort, materials, and protection-your tools determine what’s possible, and smart choices improve results every time.
Notable Insights
- A knife and 50 feet of paracord enable rapid shelter construction in under 20 minutes across diverse environments.
- Proper shelter orientation away from prevailing winds reduces heat loss and improves weather resistance.
- Tarp angle and configuration, like A-Frame or Diamond, enhance rain runoff and wind stability.
- Live trees at least 6 inches in diameter provide secure anchor points, reducing need for stakes.
- Ground insulation with pine boughs or debris significantly reduces conductive heat loss in cold climates.
Know the 6 Rules of Shelter Building
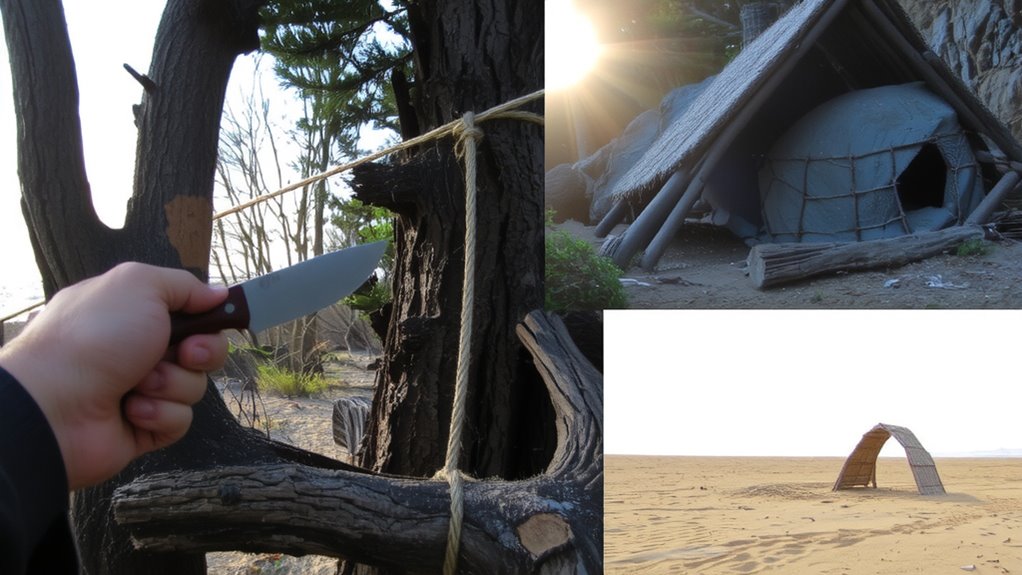
While shelter design can vary widely depending on environment and materials, sticking to six core rules guarantees reliability no matter the situation. You must prioritize shelter orientation to manage sun, wind, and precipitation-aligning openings away from prevailing winds reduces heat loss. Material selection directly affects insulation and durability; natural materials like spruce boughs shed rain but compress over time, while tarps offer consistent coverage if anchored properly. You need a balance between availability and function-using what’s nearby saves energy but may compromise longevity. Insulation matters more than size; a smaller space retains body heat better. Always test stability before relying on it overnight. These rules aren’t suggestions-they’re derived from field data on survival outcomes. Follow them, and your shelter will perform predictably across environments, from deserts to boreal forests.
Make a Tarp Shelter in 5 Minutes
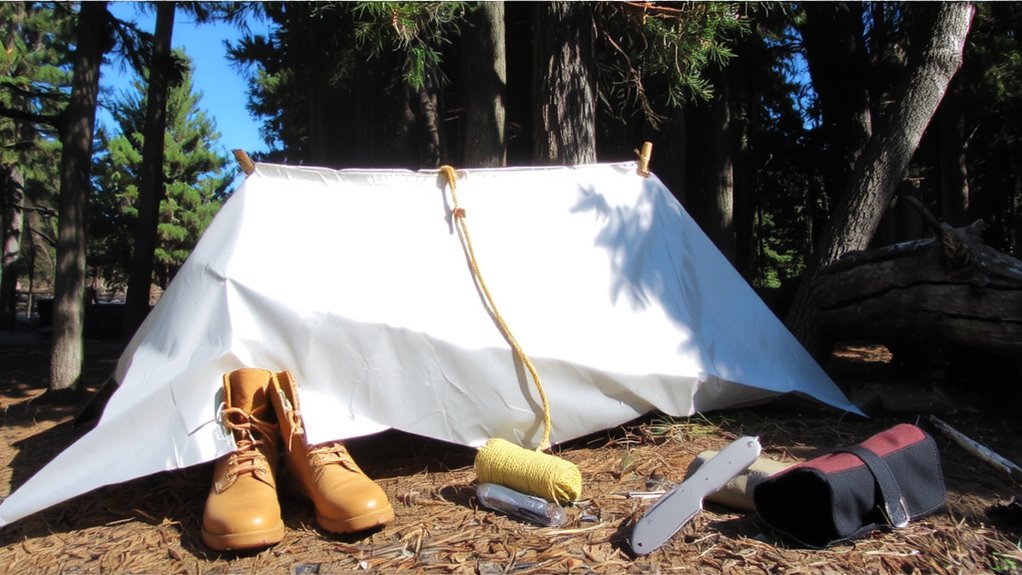
You’ve just reviewed the core principles that make any shelter effective, regardless of build. Now apply them quickly with a tarp shelter in under 5 minutes. Start with proper tarp selection: 8×10 ft silnylon or polyethylene offers a balance of weight, durability, and water resistance. Combine it with basic knot techniques-taut-line hitch, clove hitch, and bowline-for secure, adjustable anchor points. Your setup must shed rain and block wind, so angle the tarp low to the weather. For optimal performance, consider a best bushcraft tarp that balances weight, durability, and weather resistance.
| Configuration | Time (min) | Wind Resistance |
|---|---|---|
| A-Frame | 4.5 | Moderate |
| Lean-To | 3.8 | Low |
| Diamond | 5.0 | High |
| Cross Ridge | 4.7 | High |
Test each in real conditions. Adjust tarp selection and knot techniques based on site and load.
Build an Improvised Shelter With Knife and Rope
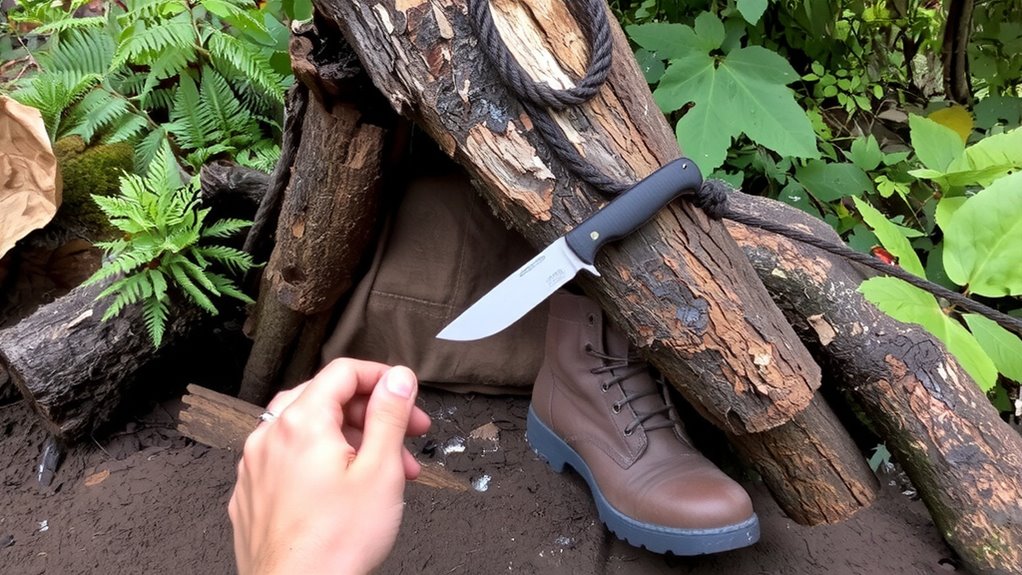
A single knife and 50 feet of paracord are all you need to build a functional shelter in under 20 minutes, assuming basic woodcraft skills. Start by selecting sturdy support poles-straight saplings 6–8 feet long work best. Your knife lets you notch stakes and shape ridgelines, while paracord secures joints tightly. Shelter stability depends on proper anchoring; use taut-line hitches to adjust tension and prevent sagging. Material selection is critical: prioritize dry, dead wood over green branches to reduce sag and breakage. Lean-to frames or A-frames both perform well when rope tension and pole alignment are correct. Avoid overloading the structure with excessive covering-keep it minimal and wind-resistant. Test stability by applying light lateral pressure. If it wobbles, reinforce corners or shorten spans. With deliberate material selection and precise rope use, you achieve a durable, lightweight shelter that withstands wind and light rain. This method offers reliability without excess weight. For optimal strength and reliability, choose a paracord that meets military specifications, such as Type III paracord.
Use Trees to Build a Forest Shelter
If you’re using trees as anchor points, you’ll cut down on materials and save time building a forest shelter. Proper tree selection is critical-choose live, healthy trees spaced to match your shelter’s dimensions. Trees should be at least 6 inches in diameter to support load without shifting. Use them to secure ridgelines or frame corners, reducing the need for driven stakes. Branch lashing becomes more efficient when tied between stable trunks, allowing you to fasten poles and beams securely with rope or cordage. Lash diagonal braces to prevent lateral movement, ensuring structural integrity under wind or rain load. Avoid dead or rotting trees, which compromise safety. This method cuts setup time by up to 30% compared to freestanding builds. You’ll also conserve energy and tools. When done right, tree-anchored shelters offer reliable protection with minimal overhead. A reliable option for enhancing survival in such scenarios is selecting the Best Emergency Shelters based on expert testing and real-world performance.
Build in Open Terrain: Desert & Plains
Dig into the terrain and build low to beat the heat and wind in open desert or plains. Position your shelter with wind direction in mind-block airflow using natural depressions or piled debris. Minimize sun exposure by facing openings away from the east and west. A shallow dugout with a raised ridgepole frame works best when shade and airflow are balanced.
| Feature | Benefit | Trade-off |
|---|---|---|
| Low profile | Reduces wind impact | Limited headroom |
| East-west shade | Cuts direct sun exposure | Requires precise alignment |
| Earth walls | Stabilizes internal temperature | Labor-intensive to dig |
| Windbreak side | Blocks prevailing wind direction | Must assess local conditions |
Use available tools to shape walls and anchor coverings. Keep it simple, functional, and aligned with the environment.
Stay Warm: Build an Insulated Shelter for Cold
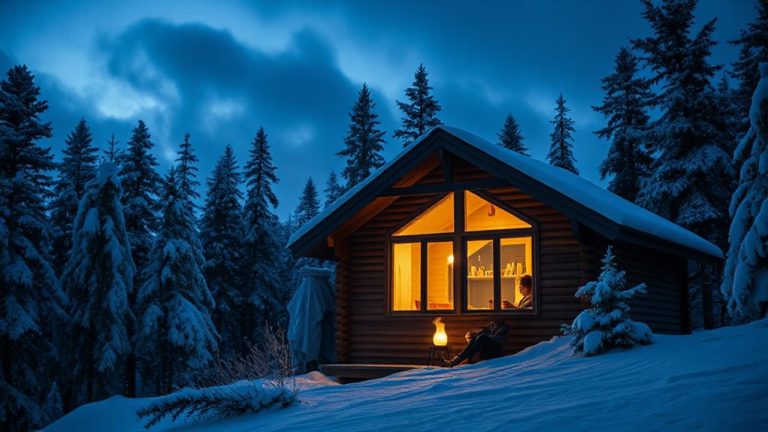
You’ve learned how to stay cool in open terrain by working with the land to block wind and sun-now consider what happens when the air turns sharp and heat retention becomes your priority. In cold environments, thermal insulation and wind protection are critical. Build a shelter using natural materials like snow, packed earth, or dense vegetation to trap body heat. A snow trench or debris hut works well-insulating walls reduce heat loss by up to 70% compared to exposed ground. Use a tarp or emergency blanket against the windward side for added wind protection. Avoid open structures; enclose space to minimize airflow. Keep the entrance small and use a barrier to block drafts. Insulate the ground with pine boughs or dry leaves-conductive heat loss through the ground is a major risk. A well-built insulated shelter can maintain internal temperatures 20–30°F above ambient.
On a final note
You can build effective shelters fast using minimal tools. A tarp shelters in minutes, but needs anchoring. Knife and rope let you lash frames, though durability varies. Trees offer support, but not all forests have deadfall or vines. In open terrain, wind exposure demands low profiles. Insulated shelters retain heat, but take longer to build. Each method trades speed for protection-choose based on environment, tools, and weather severity. Testing shows simplicity wins.