Evaluating Scene Safety When a Cliff Collapse Traps a Hiker
You stay outside the fall zone, watching for dust puffs or shifting rocks that mean more collapse is coming. Tape off the area with durable, flagged barriers set back from the edge. Use a drone to map safe paths every 10 feet where ropes can anchor. Check weather-rain or wind increases risk. Listen for cracks or falling debris. If the hiker’s visible, don’t move them yet. Clear signals and real-time checks keep you safe while you assess what comes next.
Notable Insights
- Scan for ongoing hazards like shifting rocks, dust, or cracks indicating potential secondary collapses.
- Establish a safe perimeter beyond the fall zone using durable barriers and visible warning tape.
- Use drones or remote tools to assess terrain without entering unstable areas.
- Monitor weather and ground conditions for signs of further instability, such as new cracks or water seepage.
- Ensure all rescuers remain outside the debris path until the area is confirmed stable.
Identify Immediate Rockfall Hazards
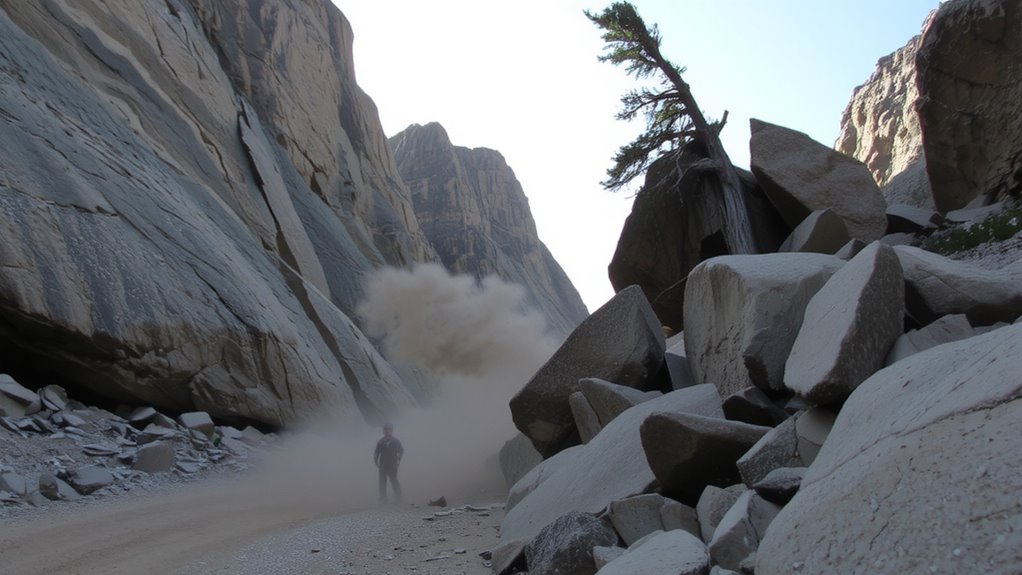
While you’re evaluating the scene after a cliff collapse, your first move should be spotting active rockfall risks-because even small drops can be lethal at speed. You’re looking for signs of movement: shifting rocks, dust puffs, or fresh cracks. Loose debris on upper ledges means more falling rocks are possible. Don’t assume stability just because things have quieted. Wind, vibration, or minor tremors can dislodge material without warning. Position yourself where falling rocks won’t reach, and keep your head on a swivel. Eye protection helps against grit, but it won’t save you from impact. Assess angles-rocks often travel predictable paths. If the slope above still holds loose debris, the hazard isn’t over. Stay outside the fall zone until you confirm it’s secure. Your safety depends on continuous risk scanning, not one-time checks. Constant awareness cuts your exposure when conditions remain unstable.
Block Off Dangerous Areas
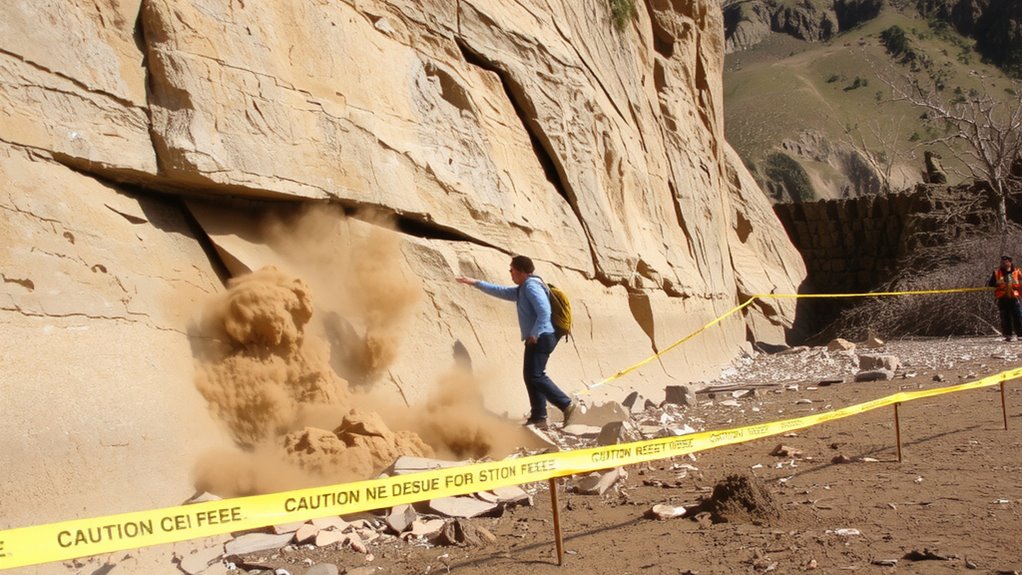
Keep the fall zone roped off with visible barriers-tape, poles, or flagged cord-to prevent accidental entry, since loose rock above can still drop without warning. Your barrier placement matters: position it far enough back to account for potential debris spread. Use bright warning signs to communicate danger clearly-simple text like “Danger: Rockfall Zone” works best. Avoid flimsy materials; wind or shifting ground can compromise weak setups. Below is a comparison of common tools for scene containment.
| Material | Visibility | Wind Resistance |
|---|---|---|
| Caution Tape | High | Low |
| PVC Poles | Medium | Medium |
| Metal Stakes | Low | High |
| Flagged Cord | High | Medium |
| Wood Barriers | Medium | High |
Effective barrier placement combines durability and clear warning signs to reduce risk without overcomplicating setup.
Find Safe Entry and Exit Paths
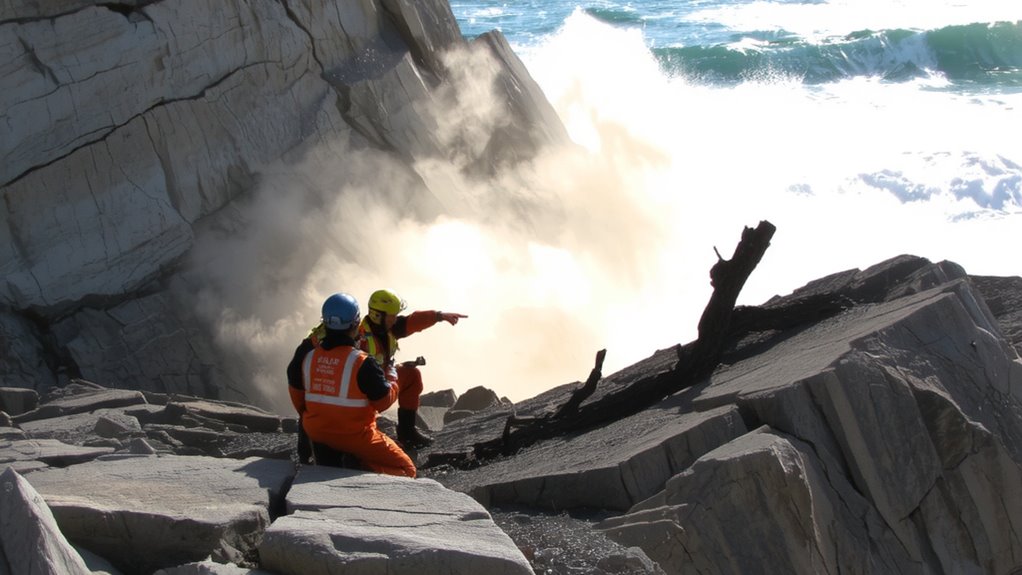
You’ve secured the perimeter with durable barriers and clear signage to keep people out of the fall zone, but getting yourself or others in and out safely is a different challenge. Start by using drones to survey the terrain-they provide real-time visuals without risking lives, identifying stable paths and potential hazards in under five minutes. Look for routes with solid anchor points for secure ropes, ideally spaced no more than 10 feet apart, tested to support at least 5,000 pounds. Avoid loose rock and obvious erosion channels. Mark each viable path with weather-resistant tape and GPS tags. Ropes should be dynamic, 11mm diameter, with tested elongation between 30–40% under load. Drones reduce reconnaissance time by 70% compared to ground teams. Combine drone data with physical rope checks every 20 minutes. This method balances speed and safety, ensuring reliable access while minimizing exposure.
Watch For Weather And Ground Shifts
If the sky darkens or the wind shifts, you’ll need to act fast-weather changes can trigger ground instability within minutes. You must monitor weather patterns closely; even light rain or sudden temperature drops can weaken rock and soil layers. Ground stability isn’t constant-recent collapses make areas more vulnerable to further shifts. Listen for cracking sounds or falling debris, signs the ground is adjusting. Standing water or new gaps in the terrain also signal risk. Avoid slopes after storms-water saturation reduces friction between layers, increasing slide potential. Don’t assume a calm moment means it’s safe; delayed reactions in geology are common. Track shifting winds and cloud buildup-these clues help predict sudden changes. Your safety depends on recognizing that weather patterns directly impact ground stability. Stay alert, keep moving if conditions feel off, and never ignore subtle environmental warnings-they’re your best early detection system.
Call For Help With Clear Signals
How do you make sure help arrives when every second counts? Use emergency signals and visual markers that rescuers can detect quickly. Your best tools are visibility and consistency. Flash a mirror three times-it’s effective up to 10 miles away in sunlight. Bright fabrics on sticks or contrasted ground patterns boost detection from air. Below illustrates signal methods:
| Signal Type | Range (miles) | Detectability (1-10) |
|---|---|---|
| Signal mirror | 8–10 | 9 |
| Orange tarp | 1–2 | 7 |
| Hand flares | 0.5 | 8 |
| Smoke signals | 1–3 | 6 |
Signal mirror use requires clear line-of-sight, while tarps work in daytime with motion. Flares offer night visibility but burn fast. Smoke needs wind and fuel. Choose based on light, weather, and terrain. Multiple visual markers increase detection odds. Don’t rely on sound-prioritize sight. For reliable performance, consider carrying a signal mirror with sighting hole.
Stabilize The Cliff Edge Before Moving
While evaluating the immediate danger, prioritize stabilizing the cliff edge to prevent further collapse. You can’t help the hiker if more rock or soil gives way. Assess soil saturation-wet ground increases instability and reduces friction, making slides more likely. Visually check for cracks, loose debris, or overhangs that suggest compromised structural integrity. Avoid approaching the edge directly; work from safer zones and use tools like poles or ropes to test ground firmness. If possible, anchor barriers or markers to keep rescuers back from weak zones. Don’t assume dry-looking soil is stable-layered saturation may not be visible. Your goal isn’t full repair but minimizing added stress. Any movement near the edge should follow the least intrusive path. Until the scene’s structural integrity is confirmed, treat every step as high-risk. Ground support may require shoring or diversion tactics, but only after confirming no immediate triggers remain.
Start Victim Assessment And First Aid
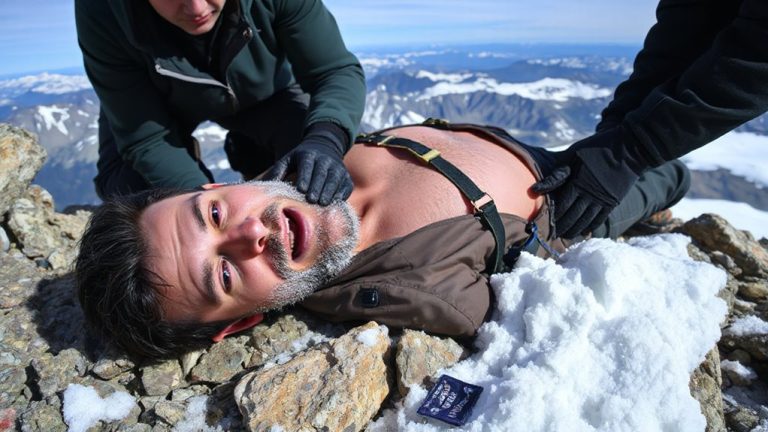
Once the edge is secure enough to allow approach, you can start checking on the hiker-your first priority now is determining whether they’re conscious and breathing. Speak to them, tap their shoulder; if they respond, you’ve confirmed victim consciousness. If not, check airway, breathing, and pulse immediately. Look for signs of obvious trauma like bleeding, deformities, or head injuries to gauge injury severity. Don’t move them unless they’re in immediate danger. Control bleeding with direct pressure, but avoid splinting unless you’re trained. Use a CPR pocket mask if available. Their responsiveness and critical signs guide your next steps-stable? Monitor. Unresponsive? Begin life support and call for advanced help. Every minute counts, but rushing worsens outcomes. Assess continuously; conditions can deteriorate fast. Your actions now directly impact survival odds-stay calm, act decisively, focus on measurable changes, not assumptions. Shears designed for emergency use, such as trauma shears, can quickly cut clothing to expose wounds without harming the patient.
On a final note
You assess the scene fast-no time to waste. Rockfalls mean unstable ground, so you stay clear of edges and watch for shifts. Weather changes can trigger more collapse, so you act quickly but carefully. You block off danger zones and mark safe paths for rescue teams. Calling for help with clear signals gets responses faster. Stabilizing the edge cuts risk before you move. Then you check the hiker-vitals, injuries, first aid-efficiently. Every step balances speed and safety.