Building a Compact Foraging Kit Inside a Recycled Tuna Can for Hiking Trips
You can turn a cleaned 5-ounce tuna can into a lightweight foraging kit that fits in your pocket. Sand sharp edges, apply mineral oil to prevent rust, and pack a small knife, notepad, and a mini guidebook. Add waterproof matches in a sealed bag and a labeled herb packet for flavor or first aid. Use a silicone seal or O-ring to lock out moisture, then test the closure under real conditions. Customize contents based on terrain-like a trowel for dry areas or a folding saw in forests. Tweaking the setup improves reliability across seasons.
Notable Insights
- Clean and dry a 5-ounce tuna can thoroughly, then smooth any sharp edges for safe handling.
- Pack a small knife, mini guidebook, pencil, notepad, and mesh bag to support ethical foraging.
- Include waterproof matches in a sealed bag and dried edible herbs labeled for quick identification.
- Modify the can’s lid with a latch or remove it for easy access during field use.
- Use an O-ring or silicone seal with petroleum jelly to make the kit water-resistant and durable.
Turn a Tuna Can Into a Tiny Foraging Kit
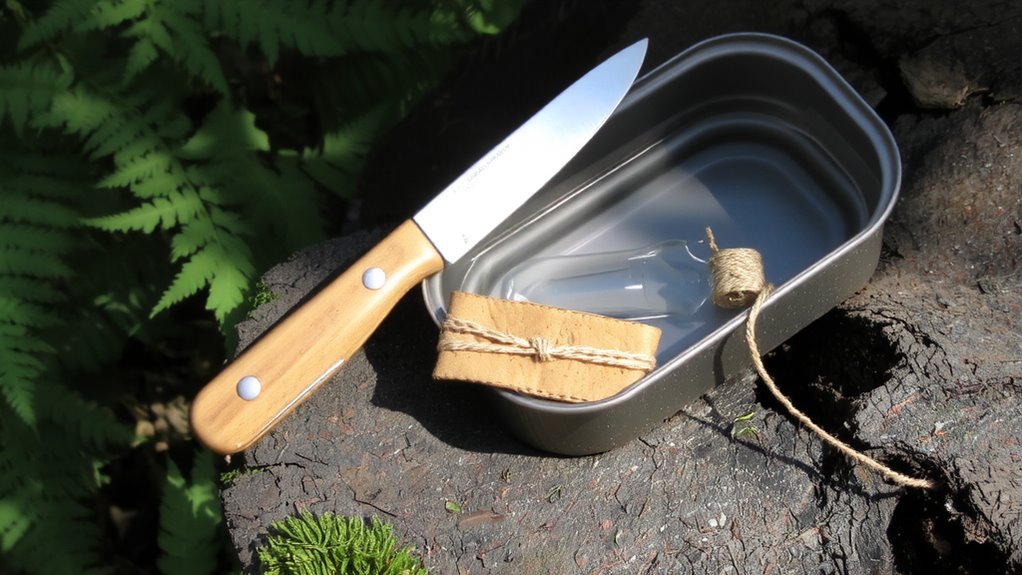
If you’re looking for a compact and no-frills way to carry basic foraging tools, repurposing a clean tuna can is a practical option that won’t weigh you down or take up much space. The container weight reduction makes it ideal for ultralight kits-each ounce saved adds up over distance. You can perform a simple tuna lid modification by puncturing and folding the top into a latch or removing it entirely to access contents faster. A standard 5-ounce can holds a small folding knife, compass, and fire starter without bulk. Its cylindrical shape fits in cargo pockets or clips to a belt loop. Metal resists punctures better than plastic but conducts temperature, so insulation isn’t implied. There’s no sealing gasket, so moisture protection requires additional wrapping. It’s not failproof, but it’s functional. You accept trade-offs: minimalism over convenience, durability over comfort. This is gear that works, not impresses. For inspiration on essential tools to include, consider reviewing the best pocket survival kits available today.
Clean and Prep the Can for Outdoor Use
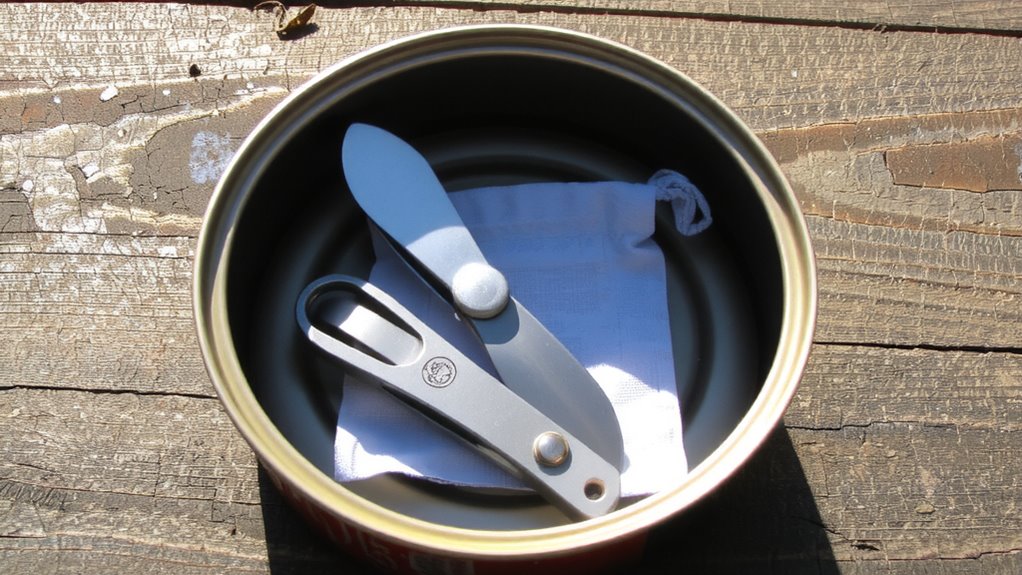
You already know the tuna can works as a lightweight container, but before it hits the trail, you need to clean and prep it properly. Start by rinsing the can thoroughly with hot water and dish soap to remove any residual oils or food particles. Scrub the interior and exterior, then let it air-dry completely. Inspect for sharp edges around the rim and use fine sandpaper to smooth them, preserving can integrity. Check the base and sides for dents or weak spots that could compromise durability. For rust prevention, wipe the can with a vinegar-soaked cloth to remove mineral residues, then apply a thin layer of food-grade mineral oil to the exterior. Avoid painting, as it may peel during use. This prep guarantees the can withstands moisture and friction in your pack. It’s not foolproof, but it improves longevity. Proper cleaning and protection extend usability without adding weight.
Pack Your Mini Foraging Kit Essentials
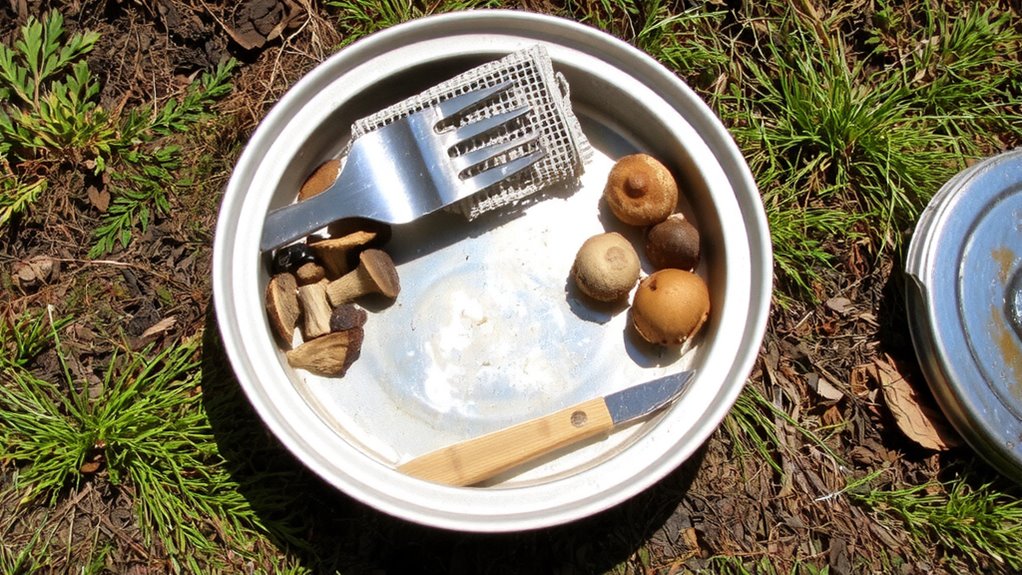
Once the can’s fully prepped, start loading the essentials in a way that maximizes space and function. Include a small folding knife-useful for clean cuts and weighs under 2 oz. Add a mini guidebook focused on local plant identification; accurate knowledge prevents dangerous mistakes. A pencil and notepad help record findings and support foraging ethics by documenting location and species without overharvesting. Tuck in a reusable sample bag made of mesh-lightweight and allows spores to disperse. Prioritize tools that serve multiple purposes. Avoid bulky items. Every piece must justify its weight and volume. Your actions in the wild should leave minimal trace. Knowing what’s safe to harvest starts with plant identification and ends with responsible practice. This kit supports quick decisions in the field, where accuracy and restraint matter most. Keep it lean, functional, and focused.
Waterproof Matches, Herbs, and Supplies
Though fire and food aren’t the main goals of foraging, having waterproof matches in your tuna can kit guarantees you can dry gear or purify water if needed-models like the UCO Stormproof or Strike Anywhere variety light in rain and stay reliable after months in storage, burning for 12–15 seconds each. Keep them in a small plastic bag to safeguard match safety and prevent accidental ignition. You can also store a small folded paper packet of edible, dried herbs like thyme or mint-clearly labeled for accurate herb identification. These add flavor to trail meals and serve as mild antiseptics. Don’t include unknown plants; misidentification increases risk. A tiny field guide snippet can help confirm species. The matches take up little space but boost your kit’s utility in wet conditions. Weight stays low, under half an ounce for both components. They’re not luxuries-they’re practical backups with measurable value in real survival scenarios. For reliable performance in extreme conditions, consider best survival matches that are independently tested for durability and weather resistance.
Seal Your Tuna Can Kit for the Trail
After assembling your gear, sealing the tuna can properly guarantees contents stay dry and secure under rough conditions-use a rubber O-ring or silicone seal between the lid and rim to create a watertight barrier that withstands drops and compression. You’ll want rust prevention, especially if storing metal tools or striking surfaces; a tight seal keeps moisture out and slows corrosion. Apply a thin layer of petroleum jelly on the rim for added protection and smoother sealing. Test the closure with trail testing-toss it in your pack on a weekend hike, expose it to light rain, or simulate a fall from waist height. If the lid stays put and contents remain dry, the seal works. Some O-rings compress over time, so check regularly. Silicone holds up better long-term. Avoid over-tightening, which warps the lid and compromises the seal. A reliable closure means your kit stays functional when you need it most.
Customize Your Kit for Terrain and Season
If you’re heading into wet climates, swap standard ferro rods for storm-proof strikers that ignite after submersion, since standard models lose effectiveness when soaked; similarly, in snowy or alpine zones, include a compact folding saw over a full-sized knife for cutting deadfall without overexertion. Adjust your foraging tools based on what’s available: in temperate forests, add a small harvesting knife ideal for gathering edible berries and seasonal mushrooms, which are often close to the ground and require precise picking. In arid regions, trade heavy gear for a lightweight trowel to dig tubers or fungi roots. A moisture-resistant ID card with local edible plant photos helps avoid misidentification. Consider terrain-specific risks-mold in humid zones, frost in high elevations-and store items in sealed silicone bags. Each change balances weight, durability, and function. Your can’s utility hinges on these practical swaps, not extras. Adapt it, don’t overpack it.
On a final note
You’ve got a lightweight, waterproof foraging kit that fits in your palm. The tuna can shields contents from moisture and impact, while the sealed lid keeps supplies accessible but secure. Matches stay dry, herbs don’t crush. It’s not flashy, but it works-especially when space and weight matter. Trade a bit of capacity for durability and portability, and you’ve got a reliable tool for short trips or emergencies.