Building a Tarp-and-Branch Shelter in Open Prairie
Use a 10×10 ft silnylon or cuben fiber tarp under 18 oz with reinforced tie-outs every 18–24 inches-silnylon is affordable, but cuben won’t stretch when wet. Secure it over a taut ridge line, centered and angled at 30 degrees for weather protection. Anchor corners to sagebrush limbs or 45-degree stakes every 3 feet to resist uplift. Line the floor with dry grass or a foam pad to cut heat loss, and add a space blanket overhead. Keep small top and bottom vents to reduce condensation. A well-balanced shelter like this performs reliably in wind and cold, and there’s more to learn about refining your setup when conditions shift.
Notable Insights
- Use a lightweight, durable 10×10 ft silnylon or cuben fiber tarp with reinforced tie-out points every 18–24 inches.
- Secure the tarp to a taut ridge line between trees or poles, centering the seam and orienting it perpendicular to wind.
- Anchor corners with paracord to sagebrush or 45-degree angled stakes every 3 feet to resist prairie gusts.
- Insulate the ground with a vapor barrier and add dry grass or foam to reduce conductive heat loss by 60% or more.
- Balance ventilation and warmth by leaving small gaps for airflow and using a space blanket to reflect radiant heat.
Choose the Right Tarp and Gather Prairie Materials
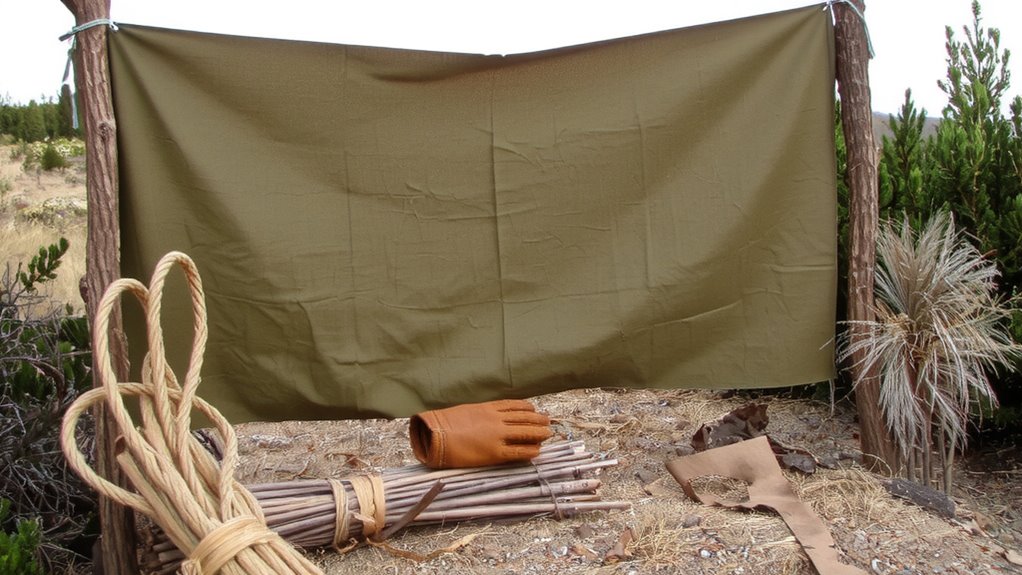
A durable 10×10 ft silnylon or cuben fiber tarp works best for prairie shelters-it’s light, packable, and strong enough to handle wind and rain. Your tarp selection should prioritize weight under 18 oz and a high strength-to-weight ratio; silnylon offers affordability, while cuben fiber resists stretching when wet. Choose a model with reinforced tie-out points every 18–24 inches for secure anchoring. For material gathering, scan the prairie for fallen branches 4–6 ft long and thumb-thick-these work well for support stakes and ridge poles. Avoid green wood; it’s harder to shape and holds moisture. Use rocks or heavy grass clumps if stakes aren’t available. Always gather more than you think you’ll need-extra limbs help reinforce edges. Tarp selection and material gathering directly affect shelter stability, so test tension points before settling in. For top-performing options, consider one of the best camping tarps based on durability, weight, and weather resistance.
Build a Prairie Tarp Shelter Using a Ridge Line
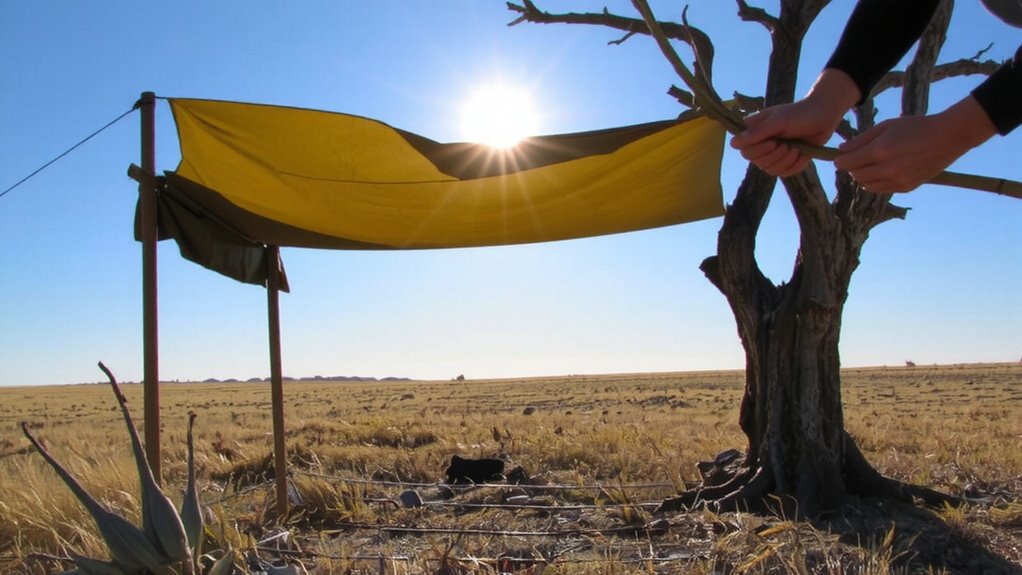
Once you’ve secured a sturdy ridge line between two anchor points-like trees or trekking poles-drape your tarp over it, centering the seam to guarantee even coverage on both sides. Good ridge line tension prevents sagging and guarantees rain runs off cleanly. Too loose, and water pools; too tight, and the system stresses under wind load. Adjust tension so the line hums slightly when plucked-firm, not rigid. Your tarp orientation should pitch the long edges perpendicular to expected wind, reducing sail effect. Face the lower edge away from prevailing gusts to keep rain out and airflow steady. A 30-degree lean works well: steep enough to shed precipitation, low enough to stay stable. This setup balances speed, weather resistance, and material limits. You’re not maximizing space-you’re minimizing risk. Proper ridge line tension and tarp orientation make the difference between dry shelter and a soaked camp. For optimal performance in heavy rain, choose a tarp with waterproof ratings and reinforced seams, as highlighted in reviews of the best tarp shelters for rain.
Anchor Your Shelter With Sagebrush and Stakes
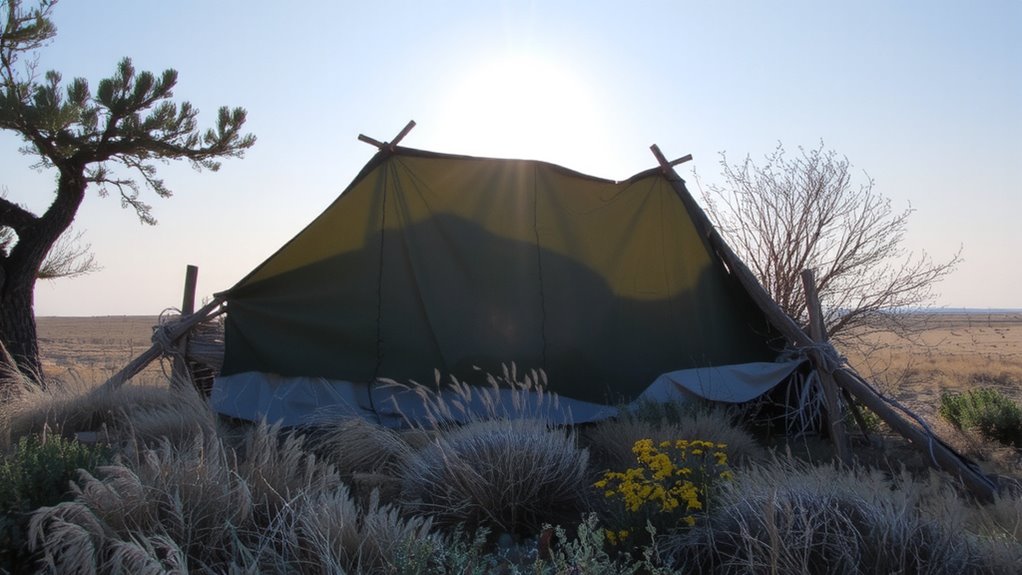
You’ve got the ridge line set and the tarp pitched to shed wind and rain, but without solid anchors, your shelter won’t hold in gusts over 20 mph. Use live sagebrush for natural anchor points-its deep root system provides sagebrush stability that many stakes can’t match. Tie tarp corners to sturdy sagebrush limbs with paracord, ensuring tension remains consistent. For stake placement, angle 6-inch metal stakes at 45 degrees away from the shelter, aligning pull direction with the tarp’s stress lines. Space stakes every 3 feet along the edges; closer spacing resists uplift but requires more hardware. Deadman anchors-buried sticks or packed soil-work when stakes lack grip in loose soil. Test each anchor with firm pulls. Recheck tension after wind exposure. Combining sagebrush stability with precise stake placement reduces failure risk and keeps your structure intact through night winds. When selecting your shelter, consider the versatility and durability of best tarp shelters for long-term reliability in changing conditions.
Stay Dry and Warm on the Open Prairie
Even if the tarp stays up, ground moisture and wind exposure can still leave you cold, so insulation matters as much as overhead cover. You need a vapor barrier beneath you-plastic sheeting or a closed-cell foam pad works best, cutting conductive heat loss by 60% or more. Wind exposure saps body heat fast; even a 10 mph breeze can lower your effective temperature by 10°F. Block it with dense sagebrush walls or by angling your shelter sideways to the prevailing gusts. For thermal regulation, wear layered wool-you can add or remove pieces as activity levels shift. Cotton fails when wet, losing 90% of its insulating value. A bivy liner adds 5–10°F of warmth without bulk. Your shelter keeps rain off, but your body must maintain core heat. Stay dry, limit air movement near skin, and manage sweat-it cools fast on prairie nights.
Use Insulation and Ventilation to Survive Cold Nights
Your shelter’s warmth depends on how well insulation and ventilation work together-skip one and risk condensation buildup or heat loss. Line the shelter floor with dry grass or pine boughs; this layer traps air and slows conductive heat loss, acting as makeshift insulation. Your body emits radiant heat, and without reflection back toward you, that warmth escapes. A tarp beneath you helps, but adding a space blanket overhead captures more radiant heat. Ventilation is just as critical-leave small gaps at the top and base to let moist air escape. Without airflow, condensation forms, dampening insulation and dropping effective temperatures. Use the earth as thermal mass; it absorbs and slowly releases heat, especially if you dig a shallow sleeping trench. That slight depression also reduces wind exposure. Balance is key: too much insulation without ventilation causes fogging and wetness; too much airflow strips warmth. Test airflow by feeling for drafts at shoulder level while lying down-adjust gaps as needed.
On a final note
You’ll stay dry if the tarp’s tight and angled to shed wind-driven rain, but condensation builds without side vents. Sagebrush anchors work in a pinch, though they loosen in strong gusts-sturdy stakes are better. A ridge line at 6 feet lets you sit, but slope matters more than height. Insulate with prairie grass; it traps heat but compacts fast. This setup works for two nights, not ten. Trade warmth for weight if using a thick sleeping pad.