Tarp Shelter With Trekking Poles: A-Frame Setup Guide
Use your trekking poles between 100 cm and 135 cm to support the tarp ridge or A-frame; they’re light but strong when locked firm. Pitch on slightly elevated, flat ground, facing away from wind. Anchor guy lines at 45-degree angles with taut-line or trucker’s hitches for reliable hold, especially in loose soil. Tighten the tarp drum-tight to shed rain and reduce flap. Silnylon sags when wet-retighten as needed-while Cuben fiber holds tension better. Steepen the pitch in rain, lower it in wind. Optimize gaps to balance weather protection and airflow. More details follow on fine-tuning each element for real-world conditions.
Notable Insights
- Use trekking poles as lightweight support by adjusting their height and angle for optimal tarp tension and interior space.
- Position the shelter on flat, elevated ground with slight slope for drainage and natural wind protection.
- Anchor guy lines at 45-degree angles using secure knots like the taut-line hitch for balanced stability.
- Tighten tarp fabric drum-tight to prevent sagging, reduce flapping, and ensure effective rain runoff.
- Adjust tarp pitch and ventilation in response to weather changes to maintain protection and minimize condensation.
Set Up Your Tarp With Trekking Poles
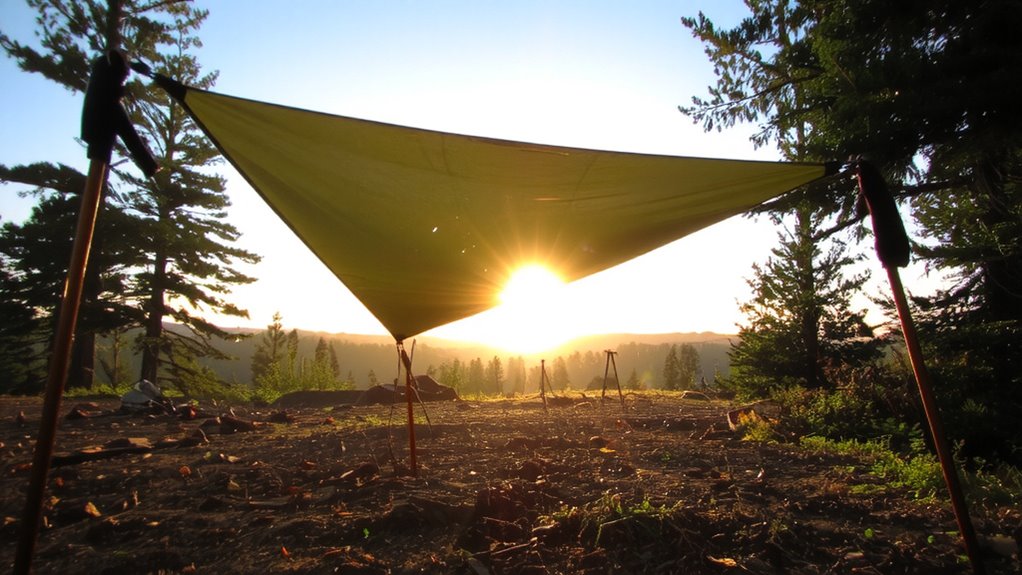
Trekking poles offer a lightweight, reliable way to hoist your tarp when trees or anchor points are scarce. You can adjust trekking pole angles to control the shelter’s height and slope, which affects weather resistance and interior space. Steeper angles shed rain better but reduce headroom; shallower angles maximize coverage but may sag under load. Most modern poles lock securely at incremental lengths, letting you fine-tune height between 100 and 135 cm. For effective tarp tensioning, attach guylines to tarp corners and stake them outward at 45-degree angles. Tension impacts stability-too loose and the tarp flaps in wind, too tight and it risks tearing or pole collapse. Use simple tension knots or cord locks to maintain consistent pull. Paired poles work best for ridge lines, single poles for A-frames. Aluminum poles are durable but heavier than carbon fiber. Test setup in advance to assess performance under real conditions. A well-designed camping rain shelter can significantly improve comfort and protection during extended wet-weather trips.
Pick the Best Spot and Position Your Shelter
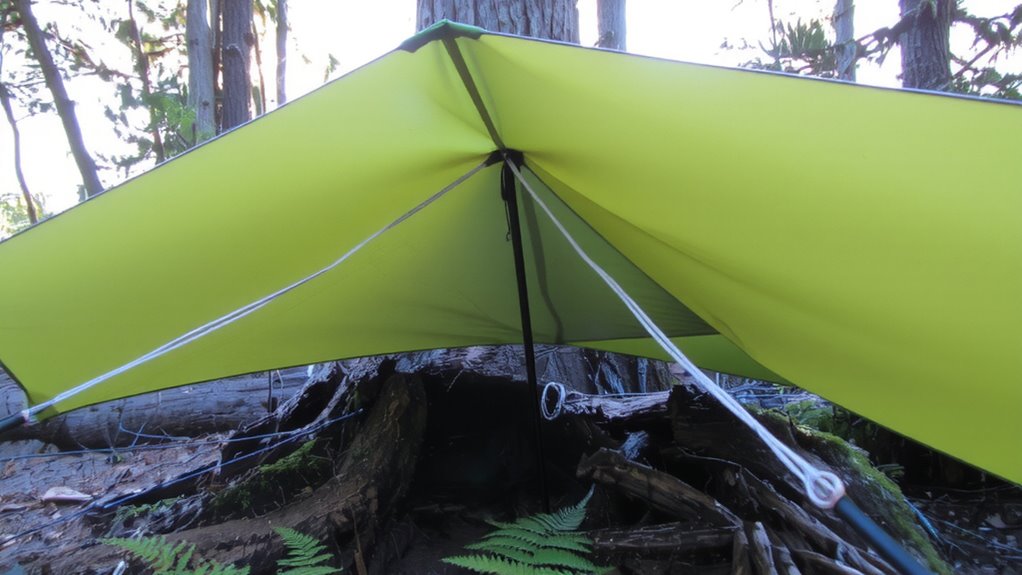
Choosing the right spot means looking for flat, elevated ground that stays dry when it rains. A slight ground slope can help with drainage, but too much makes sleeping uncomfortable. Position your shelter where tree cover offers windbreak and protection from falling branches, but avoid overhead hazards like dead limbs. Face the shelter’s opening away from prevailing wind to stay dry and reduce drafts. Use natural features to your advantage-ridges block wind, and clearings offer easier setup.
| Feature | Benefit | Trade-off |
|---|---|---|
| Flat terrain | Stable sleeping surface | May collect water if low |
| Light tree cover | Shelter from rain and wind | Less stargazing, more debris |
| Slight ground slope | Drains rainwater naturally | Uneven sleeping if too steep |
| High elevation | Drier ground, less fog | More exposure to strong winds |
Secure Guy Lines for Stability
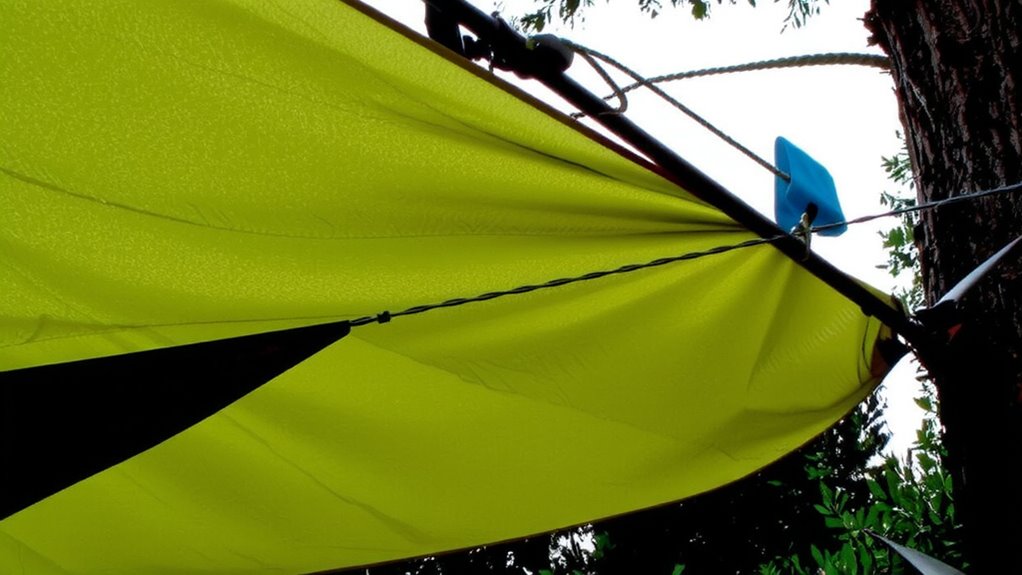
You’ve picked solid ground and angled your shelter to stay out of the wind, so now it’s time to make sure it stays put when the weather turns. Secure each guy line to a reliable anchor point-use sturdy trees, rocks, or buried trekking poles when natural options are limited. Focus on knot strength: a taut-line hitch or trucker’s hitch holds well under tension and allows minor adjustments. Weak knots fail under load; tested knots maintain stability in wind and shifting tarps. Synthetic guy lines stretch less than natural fibers, offering consistent tension. Place anchor points at 45-degree angles from the tarp corners for balanced load distribution. Avoid loose soil-anchor deep or use deadman techniques with sticks or gear. Each connection must resist pullout in wet or windy conditions. Properly secured guy lines reduce flapping and stress on the tarp, preventing tears and collapse. Stability starts with solid anchoring and dependable knot strength. For added protection in heavy downpours, consider a shelter with excellent water resistance, such as those highlighted in reviews of the best tarp shelters for rain.
Tighten for Rain and Wind
While a loosely pitched tarp might hold in calm weather, it’ll flap and sag when the wind picks up or rain starts running across the surface. You need proper rain tension to shed游戏副本 quickly-any slack lets water pool, increasing wear and risk of leaks. Tighten guy lines until the fabric is drum-tight, especially along the edges and corners. This tension also improves wind bracing by reducing flutter, which strains knots and anchors. Use adjustable knots like the taut-line hitch so you can fine-tune tension after initial setup. Trekking poles must be firm and angled slightly away from the tarp to resist lifting. In sustained wind, lower the profile and re-secure lines at sharper angles to the ground. Rain tension and wind bracing work together-without both, your shelter’s reliability drops fast. Test each corner’s pull before settling in. Choosing the right tarp material and size can significantly impact durability and protection in harsh conditions.
Adapt Your Tarp for Any Weather
If you’re facing shifting conditions, a single tarp setup won’t cut it-adaptability means adjusting angle, height, and anchor points to match the weather. Lower the tarp in wind to reduce exposure, but guarantee enough ventilation to prevent condensation. In rain, pitch it steep so water runs off quickly; the tarp material must shed precipitation without sagging. For cold or storms, close gaps near the ground to improve weather sealing, but don’t seal completely-trapped moisture can soak insulation. Use trekking poles to reposition corners fast, and tension guy lines to handle gusts. A silnylon tarp is lightweight but stretches when wet, reducing weather sealing unless retightened. Cuben fiber holds tension better but costs more. Adjust your setup based on real-time conditions, not just the forecast. Your tarp’s effectiveness isn’t fixed-it depends on how well you respond to wind, rain, and temperature shifts.
On a final note
You’ve got a reliable shelter if the tarp stays taut and the trekking poles hold firm. Guy lines should anchor at 45-degree angles for maximum wind resistance. A well-secured setup sheds rain and withstands gusts, but slack lines or poor placement cause failure. Adjust angles and tension based on weather-lower profiles for wind, steeper for rain. It’s not about gear quality but how well you adapt it.