Building a Water Storage System With Manual Fill and Drain Valves
Choose a polyethylene or stainless steel tank between 50 and 500 gallons, depending on your space and needs. Place it on a level concrete pad and anchor it securely to prevent tipping. Install 3/4-inch manual ball valves at the top for filling and bottom for draining, using threaded NPT connections with Teflon tape. Flush the system every 6–12 months and inspect regularly. Keep at least a 14-day supply for emergencies, and you’ll see how this setup delivers reliable access when it matters most.
Notable Insights
- Choose a polyethylene or stainless steel tank sized 50–500 gallons based on space and water needs.
- Install the tank on a level, stable foundation using concrete or compacted gravel to prevent stress and leaks.
- Anchor the tank securely with corrosion-resistant straps or bolts, especially in windy or seismic areas.
- Fit manual 3/4-inch ball valves at the lowest point for draining and near the top for filling, below overflow.
- Flush the system every 6–12 months and inspect valves regularly to ensure water quality and valve function.
Choose the Right Water Storage Tank
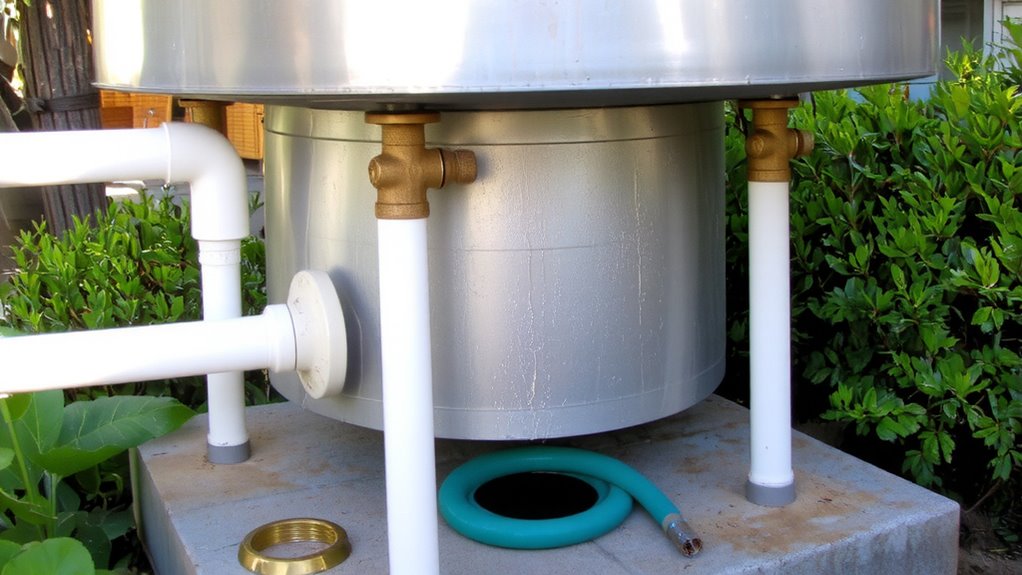
Size, material, and placement matter most when picking a water storage tank. You need a tank that fits your space and matches your usage-common sizes range from 50 to 500 gallons. Tank material affects durability and water quality; polyethylene is UV-resistant and won’t rust, making it ideal for outdoor use, while stainless steel lasts longer but costs more. You’ll also consider installation orientation-vertical tanks save floor space but require ceiling clearance, while horizontal tanks fit well in low-height areas like under sinks or in crawl spaces. Choose orientation based on your layout, not convenience. Most poly tanks support both orientations, but always check manufacturer specs. A poorly matched material or orientation leads to early failure or inefficient use. Match tank material and installation orientation to your environment and space limits-there’s no universal best, only what works correctly for your setup. For reliable options, check out the Best Water Storage Containers based on performance, durability, and user reviews.
Secure Your Tank in a Stable Location
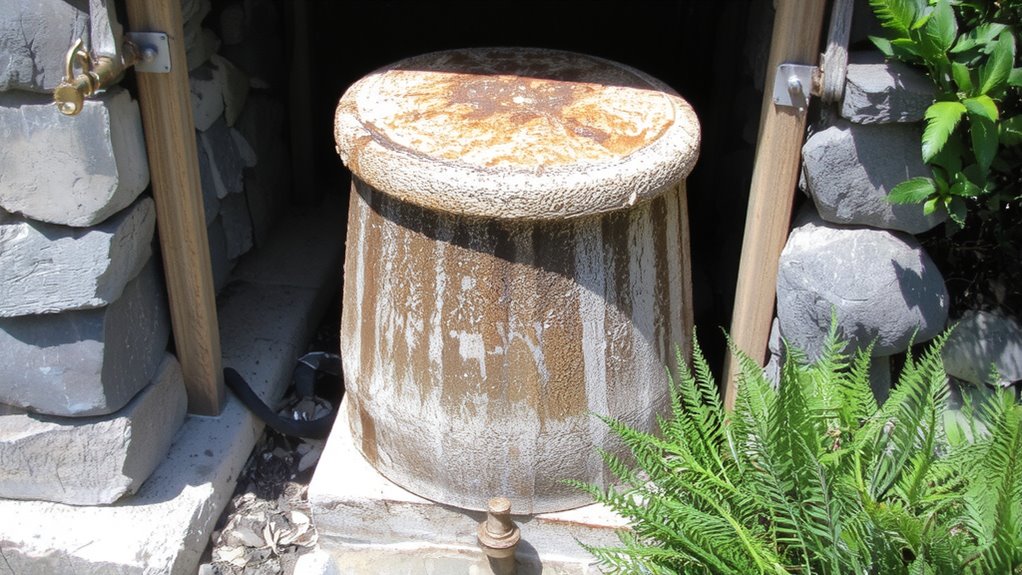
Even if you’ve picked the right tank, it won’t last long unless you set it in a spot that keeps it steady and protected. You need solid foundation leveling-just an inch of uneven ground can stress seams and lead to failure. Concrete pads work best, but compacted gravel with a level surface is acceptable for smaller tanks. Uneven support increases wear, especially as water weight shifts during use. Tank anchoring becomes critical if you’re in a windy or seismic zone. Use straps or bolts to secure the base, but don’t overtighten and risk cracking. Freestanding tanks must resist tipping when full-a 500-gallon unit weighs over 4,000 pounds when full, so stability isn’t optional. Anchor points should match the manufacturer’s specs, and mounting hardware must resist corrosion. Poor placement undermines even the toughest materials. A well-leveled, properly anchored tank avoids preventable damage and extends service life with minimal maintenance.
Install Manual Fill and Drain Valves
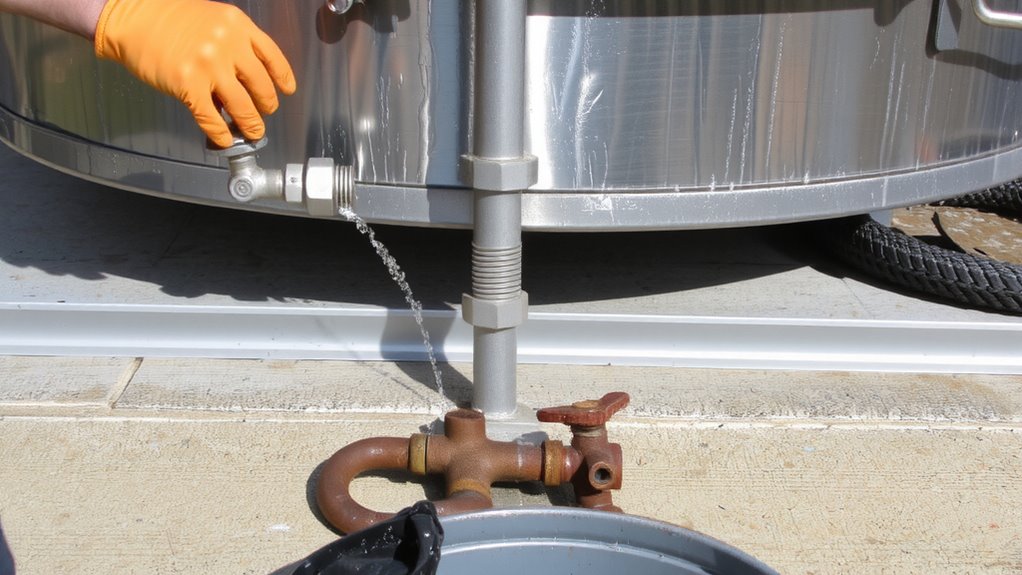
While your tank’s stability keeps it upright, proper valve positioning guarantees you can fill and drain it without leaks or strain. Install the drain valve at the lowest point of the tank to guarantee complete emptying and minimize standing water. Use a manual ball valve-it offers reliable flow control and handles frequent operation better than gate valves. Position the fill valve near the top, but below the overflow line, to prevent spills. Use threaded NPT connections and seal threads with Teflon tape to prevent seepage. Keep both valves accessible; tight spaces make operation and maintenance harder. A 3/4-inch valve size balances flow rate and control without overcomplicating fittings. Test fit all components before final assembly-misaligned valves cause stress on pipes. You’ll trade a minute of installation effort for years of dependable service. Proper valve positioning isn’t optional-it’s essential for functional, long-term water access. For homes relying on stored water, choosing the right storage solution enhances overall system reliability with Best Water Storage Tanks for Home Use.
Flush and Maintain Your Water Storage System
How often should you flush your water storage system? Every 6 to 12 months, depending on usage and water source. Regular flushing maintains water quality and supports a thorough system inspection. Stagnant or contaminated water reduces safety and efficiency. You’ll want to check for sediment, algae, and bacterial growth during each flush. Use clean, potable water for refilling and avoid leaving tanks empty for long periods to prevent material degradation.
| Task | Frequency | Purpose |
|---|---|---|
| Full flush | Every 6–12 months | Maintain water quality |
| Valve check | Every 3 months | Guarantee operation |
| Visual inspection | Every 6 months | Support system inspection |
Flushing takes 20–30 minutes with standard hoses. Sediment buildup compromises performance over time. Immediate drainage helps identify leaks or clogs. Manual valves require no power but need physical access. Plan maintenance to align with seasonal changes or water source shifts.
Use Your Tank for Emergency Water Access
When’s the last time you checked whether your stored water could actually keep you going in an emergency? If you haven’t tested your tank’s accessibility and output under pressure, you’re risking a critical gap in your emergency preparedness. Manual valves work without power, but they rely on your ability to open them quickly and dispense water safely. You need at least one gallon per person per day for drinking and sanitation-plan for a 14-day supply. Verify your system delivers clean water by testing for contamination annually; stagnant water risks bacterial growth, so routine checks are essential for water safety. Position your tank where you can reach it during outages, and guarantee the drain valve connects to a gravity-fed spigot or hose. Don’t assume your setup works until you’ve run it through a timed access drill. Preparedness isn’t just storage-it’s reliable, tested access. For convenient and durable options, consider using best water containers for camping designed to handle rugged conditions and maintain water quality.
On a final note
You’ve built a functional water storage system with reliable manual controls. Valves give you direct access and control over fills and drains, no power needed. Positioning the tank securely guarantees stability and prolongs system life. Regular flushing prevents contamination, maintaining water quality. This setup meets basic emergency needs efficiently. It’s simple, durable, and low-cost, though it requires physical effort to operate. For dependable, no-frills water access, it works.