How to Store Water in Repurposed Shipping Containers With Liner Kits
Use a food-safe, 80 mil HDPE or reinforced polyurea liner rated for potable water to store water in a repurposed shipping container. Strip the container to bare metal, seal all cracks, and position it level. Weld or bond seams tightly to prevent leaks. Block sunlight, secure lids, and test water every few months. Repair punctures with approved patches. A proper setup lasts years-small flaws cause failure, so details matter if you’re serious about long-term storage.
Notable Insights
- Choose FDA-compliant liners with at least 80 mil thickness for safe, durable water storage.
- Prepare the container by stripping to bare metal and repairing cracks before liner installation.
- Install welded-seam HDPE or polyurea liners to minimize leaks and ensure watertight integrity.
- Prevent contamination by blocking sunlight, securing access points, and testing water quarterly.
- Inspect regularly for leaks and use approved patch kits to extend the liner’s lifespan.
Choose the Best Liner Kit for Container Water Storage
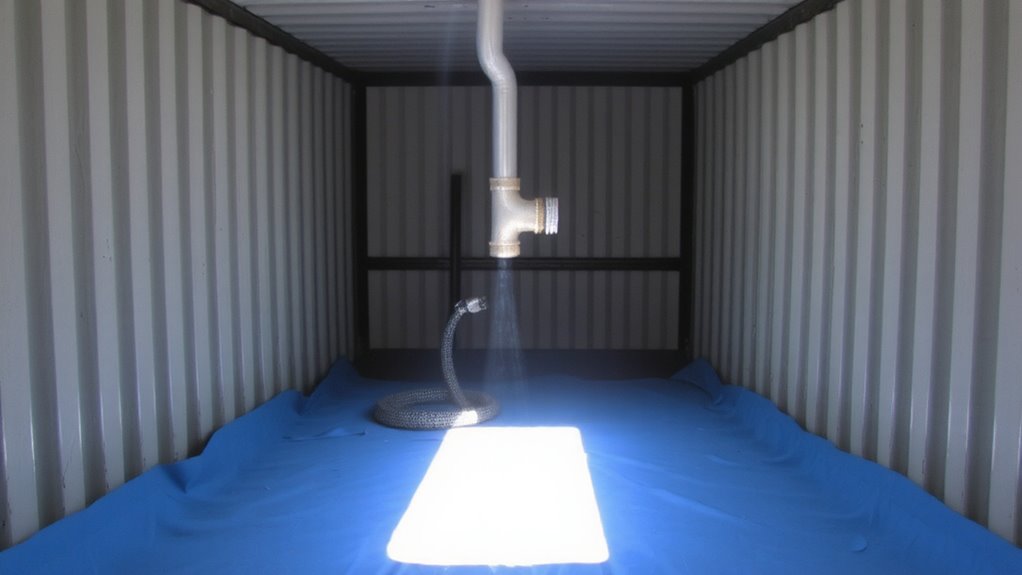
How do you make certain your shipping container holds water without leaks or contamination? You start with proper material selection for your liner kit. Not all liners resist punctures, UV exposure, or chemical leaching-look for FDA-compliant polyethylene or reinforced polyurea with at least 80 mil thickness. Cheaper options may save money upfront but fail under pressure or temperature swings. Perform a cost analysis that includes lifespan, repair frequency, and water safety testing. A $2,500 liner may outperform a $1,200 option over five years due to durability and lower maintenance. Field tests show thicker, welded-seam liners resist deformation better in ground-mounted containers. You’re not just buying plastic-you’re investing in long-term containment. Prioritize material resilience and verified performance data over brand claims. Your water’s purity and system integrity depend on this choice.
Prepare Your Shipping Container for Waterproofing
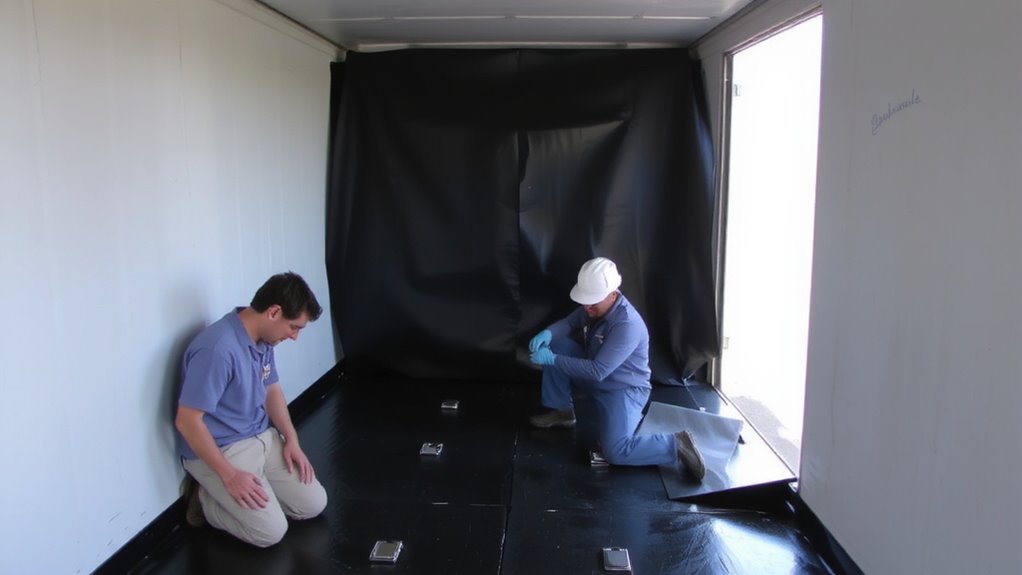
Before you seal the container, you’ll need to strip it down to bare metal because any rust, debris, or old coatings will compromise the bond between the liner and the steel. Use a grinder or sandblaster for even results, focusing on seams, corners, and floor joints where moisture hides. Inspect welds and repair any cracks-water will exploit even small weaknesses. Make sure the container sits level on properly graded ground; poor foundation grading leads to uneven stress and pooling, risking liner fatigue over time. Address ventilation planning now by marking locations for intake and exhaust vents-necessary to prevent condensation buildup before filling. Avoid sealing any openings yet, as airflow remains critical during prep. Clean all dust and particles thoroughly after grinding. A dry, smooth, structurally sound surface ensures the liner adheres correctly and lasts. Skip shortcuts here and you’ll avoid leaks later.
Install and Seal the Liner in 5 Steps
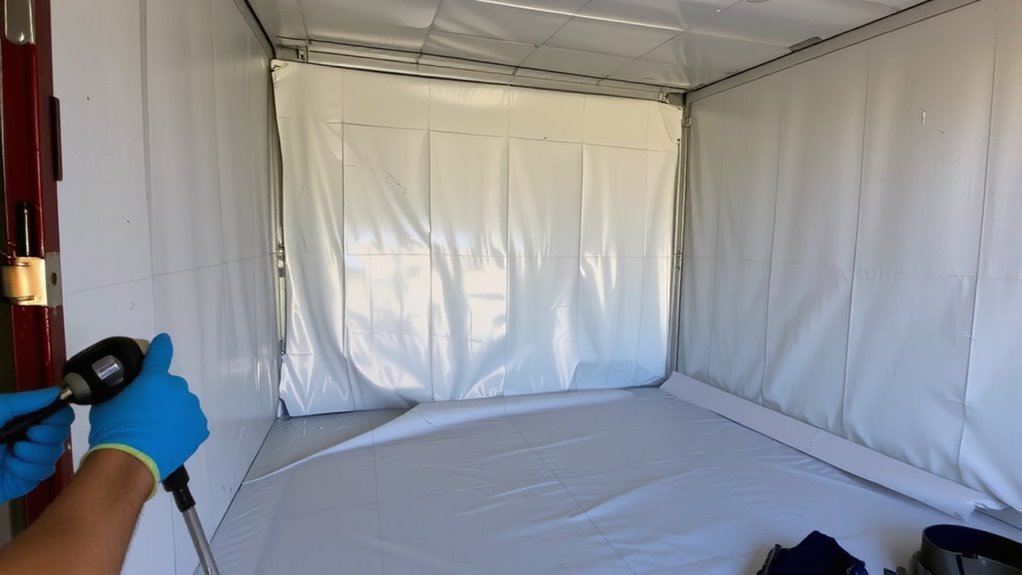
Once the container’s surface is clean and structurally sound, you can begin installing the liner, starting with a high-density polyethylene (HDPE) or reinforced polyurea membrane rated for potable water storage-these materials resist punctures, UV degradation, and microbial growth better than standard PVC or butyl rubber. Unroll the liner slowly, ensuring even liner tension to prevent wrinkles that could trap air or stress seams. Align all seams precisely-misaligned joints increase leak risks and reduce lifespan. Use manufacturer-approved adhesives or thermal welding for HDPE; polyurea liners often require professional spraying for uniform thickness. Double-check seam alignment before final bonding. Trim excess material only after full adhesion. Inspect for gaps or thin spots, especially around corners and fittings. Proper liner tension and exact seam alignment are critical-compromises here lead to premature failure under water pressure. This step isn’t reversible, so take time to get it right.
Prevent Contamination in Container Water Storage
You’ve sealed the liner properly, and that keeps the water in-but keeping contaminants out requires ongoing control over access, environment, and maintenance. Protecting water quality means limiting exposure to dirt, sunlight, and organic matter that fuel microbial growth. Use secure, sealed lids and position the container away from runoff or chemical storage. Regularly inspect vents and access points for breaches. Below are key risk factors and mitigation steps:
| Risk Factor | Impact on Water Quality | Mitigation Strategy |
|---|---|---|
| Sunlight exposure | Promotes algae and microbial growth | Use opaque covers or shade |
| Poor access control | Introduces debris and pathogens | Install locked, sealed entry |
| Stagnant conditions | Encourages bacterial buildup | Rotate water every 6 months |
Testing water quality quarterly helps confirm your protections are working. Simple test strips check pH and chlorine, while lab tests detect unseen microbial growth. Prevention is consistent, not perfect-small lapses add up.
Fix Leaks and Extend Your Liner’s Lifespan
A liner’s lifespan depends on how well you spot and seal leaks early-small punctures or seam separations can lead to big losses over time. You must perform routine inspections every few months, checking seams, corners, and anchor points for wear. Look for discoloration, pooling water, or damp spots on the container floor-these often signal a leak. Use water testing kits monthly to detect drops in water volume that aren’t explained by usage, which can point to undetected leaks. Most liner materials allow for field repairs with compatible patch kits; seal punctures immediately using manufacturer-approved adhesives. Avoid makeshift fixes-they fail under pressure. UV exposure and sharp objects are the main threats, so keep the interior clean and shielded. With consistent routine inspections and prompt repairs, most liners last 10–15 years. Water testing and timely fixes aren’t optional-they’re essential to preserving storage integrity.
On a final note
You get reliable water storage when you pick a liner rated for potable use and install it right. A 30-mil PVC liner handles punctures better than thinner options, but check for UV resistance if your container sees sun. Seams and corners are weak points-seal them with reinforced tape. Inspect yearly for leaks or biofilm. With proper prep and maintenance, this setup lasts 10+ years. It’s not fancy, but it works.