How to Use Digital Mapping to Identify Natural Shelter Locations in Storms
Use a reliable offline mapping app with preloaded topographic maps and test it against known landmarks to guarantee accuracy. Look for U-shaped contour lines spaced closely-they signal sheltered bowls behind ridges. Check satellite imagery for dark tree patches or rock overhangs that block wind and rain. Avoid low elevations; even 10 feet of gain reduces flood risk. Mark stable shelters with saved waypoints, but verify their safety in daylight. Choosing the right features now improves your odds when the storm hits.
Notable Insights
- Use offline-capable mapping apps with preloaded topographic maps to locate shelters when cell service is unavailable during storms.
- Analyze contour lines to identify gentle slopes and natural depressions, avoiding steep or flood-prone areas.
- Look for U-shaped contour patterns and concave curves that indicate sheltered hollows ideal for storm protection.
- Examine satellite imagery for dense tree cover and rock overhangs that provide wind and rain protection.
- Cross-reference elevation data and terrain features to avoid low-lying zones and confirm access to higher, stable ground.
Choose the Right Digital Mapping App
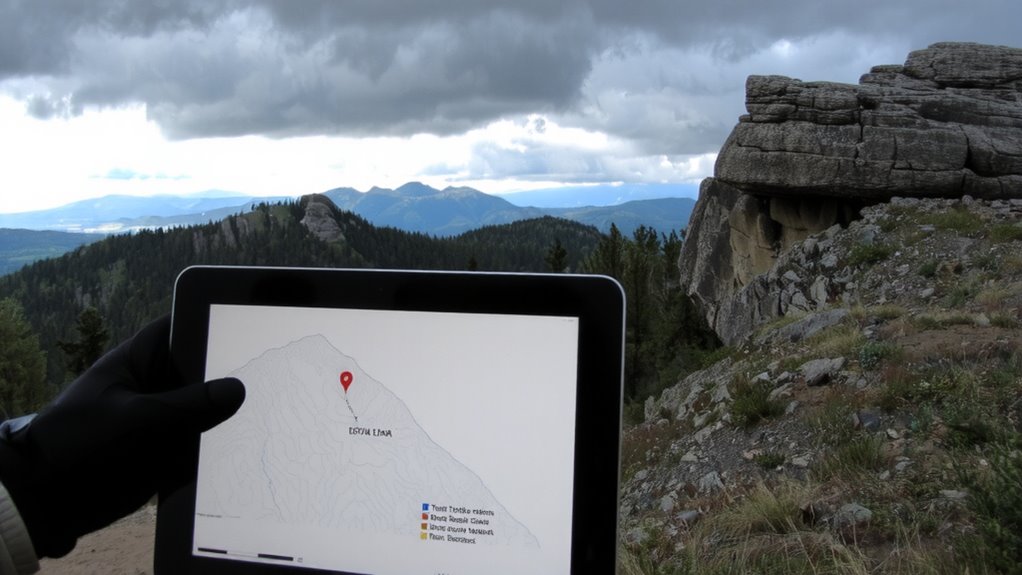
While not every map app works when storms hit, the right one can make a real difference in finding shelter fast. You need strong app reliability-especially offline performance-since cell service often fails in severe weather. Apps that preload topographic maps and run without signal save vital time. User interface matters just as much; cluttered screens slow decisions when seconds count. Choose one with intuitive controls and quick access to location tools, like GPS coordinates and elevation data. Some apps crash under stress or drain battery too fast-test beforehand. Open-source options often balance function and efficiency, while commercial apps may offer better customer support. Either way, verify map accuracy against known landmarks in calm conditions. A dependable app won’t promise miracles, but it can deliver consistent navigation when the storm hits and shelter is minutes away.
Read Contour Lines for Shelter Clues
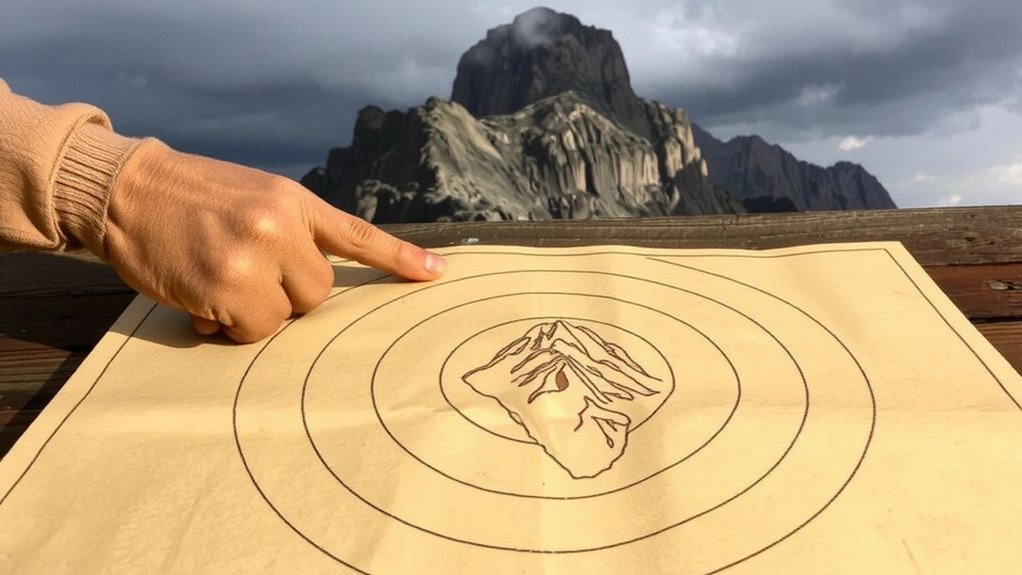
If you’re trying to locate natural storm shelter fast, learning to read contour lines gives you a real edge-these lines show changes in elevation, and that tells you where terrain can block wind or collect water. Closely spaced lines mean high slope steepness, which often creates wind-blocking ridges or risky runoff zones. Widely spaced lines suggest gentle slopes, less ideal for shelter. Look for U-shaped contour patterns-those indicate terrain curvature that forms natural bowls or depressions, likely spots for cover. Concave curves facing uphill often mark protected hollows; convex ones suggest exposed ridges. Steepness affects runoff speed, so avoid sharp V-shaped valleys where water gathers fast. Use the contour interval value-usually 10 or 20 feet-to judge changes accurately. Don’t assume elevation alone guarantees safety; combine slope steepness and terrain curvature to assess actual protection. Digital maps with clear contours let you spot safer zones before storms hit, improving your odds with minimal guesswork.
See Natural Shelters From Satellite Views
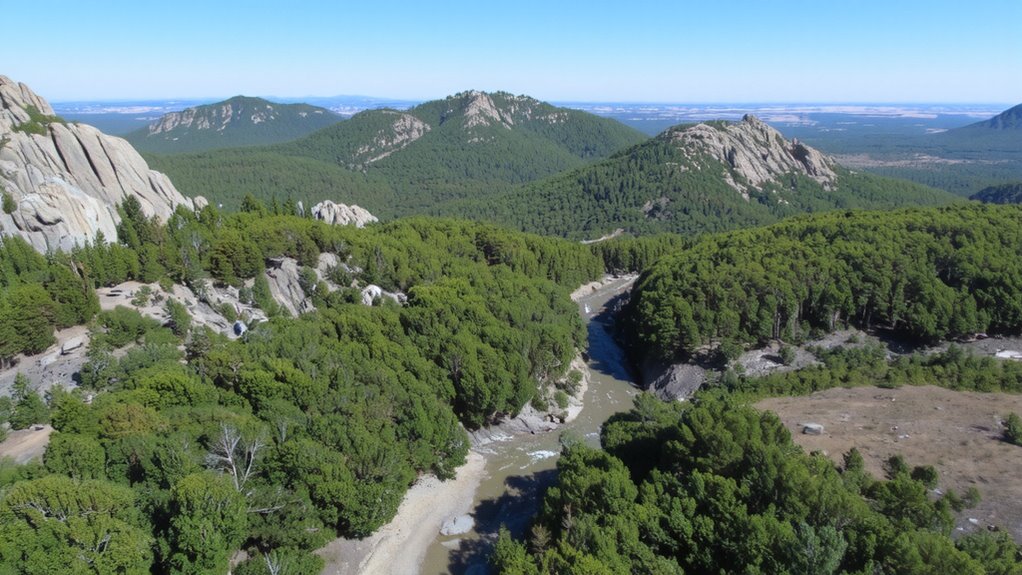
Since satellite imagery shows actual ground features in detail, you can spot potential shelters like rock overhangs, dense tree clusters, or dry creek beds before arriving onsite. You’ll see tree cover that’s thick enough to block wind and rain, which helps narrow down spots with natural overhead protection. Look for dark, uniform patches-those usually mean dense canopy. Rock formations appear as sharp, high-contrast areas, often casting noticeable shadows; overhangs or alcoves in these structures can serve as dry zones during storms. Satellite views won’t confirm stability or safety up close, but they let you prioritize areas worth checking. Not all tree cover is sturdy, and not every rock formation offers real shelter-some overhangs are too shallow or fractured. Use zoom and different angles to assess size and continuity. This saves time in the field and improves your odds of finding usable protection fast.
Avoid Floods With Elevation Data
Spotting natural shelters from above is useful, but knowing the ground level matters just as much. You need elevation data to avoid flood zones during storms. Most flash flooding occurs in low-lying areas where water collects quickly, so staying above these zones increases your safety. Digital maps with contour lines show elevation gradients, letting you identify higher ground nearby. A 10-foot gain in elevation can make the difference between dry ground and standing water. Check for steep gradients-rapid changes in elevation mean water flows faster, increasing flood risk below. Flatter areas uphill are safer. Use tools like USGS topographic maps or apps with terrain layers to spot these features. Don’t assume a small hill is enough; verify its height relative to surrounding land. Elevation gradients help you judge how water will move, so you can avoid paths it’s likely to take. Stay clear of dry riverbeds and valleys, even if they look safe now.
Pre-Map Your Storm Shelter Spots
When storms roll in, you won’t have time to search for shelter-you need to know your options already. Pre-map likely shelter spots using digital maps so you can act fast. Mark locations with good shelter proximity to your usual routes, minimizing travel during severe weather. Focus on natural formations like ridgelines, dense tree cover, or rock overhangs, but verify terrain stability-avoid loose slopes or areas prone to landslides. Use topographic layers to confirm elevation doesn’t drop sharply nearby, which could mean weaker ground or flash flood risk. Save these waypoints in your map app and label them by accessibility and structural reliability. Revisit them periodically; a stable spot today might be compromised by erosion or fallen trees tomorrow. Digital pre-mapping reduces decision fatigue when every second counts. It’s not about finding perfect cover-it’s about choosing the most practical, reachable option with the least risk.
Check Shelter Safety Before You Go
Unless you’ve personally checked the shelter spot recently, don’t assume it’s safe-you need to verify overhead cover, structural integrity, and access routes in daylight. Overhanging branches, loose rock, or weakened structures could fail under stress, so inspect for signs of wear or instability. Shelter integrity matters-what looked solid on a map might be compromised in reality. Use your map to identify multiple access paths, but confirm they’re still passable and free of hazards. Include a risk assessment for flash flood zones, falling debris, and exposure to wind. Terrain features can change after weather events, so rely on current observations, not just digital data. Check for soft ground, erosion, or new cracks in rock faces. If anything looks unstable, skip it. Your safety depends on accurate field verification, not assumptions. A few minutes of inspection can prevent serious danger later. A reliable best survival map helps ensure you’re making informed decisions in dynamic environments.
Focus Your Search on Real Storm Risks
If you’re facing an approaching storm, your map-based shelter search should prioritize the actual threats you’re likely to encounter, not hypothetical worst cases. Check current weather alerts to confirm the storm type, intensity, and expected path-don’t assume risks based on past events. Use digital tools to review historical storm patterns in the area; regions prone to flash flooding need different shelter criteria than those facing high winds or hail. Focus on terrain features that counter your specific threat-dry ravines for rainstorms, windbreaks for storms with strong gusts. Avoid over-preparing for rare dangers while underestimating common ones. Real-time data trumps speculation. Relying on verified storm patterns helps you choose terrain that’s reliably safer, not just看上去 secure. Your map analysis is only as good as the accuracy behind it-always align your shelter plan with active weather alerts and local conditions.
On a final note
You’ve mapped terrain, checked elevation, and identified shelters-now trust the data. Digital tools pinpoint ridgelines, drainages, and flood zones accurately, but they don’t replace on-site checks. A 30-meter contour interval may hide steep drops; tree cover on satellite might obscure deadfall risks. Use mapping apps with offline access and GPS sync to verify your spot. Real storms test theory fast-your best shelter balances elevation, overhead cover, and escape routes. Know the maps, but watch the weather.