How to Use a Tactical Backpack With MOLLE Webbing for Gear Organization
You secure gear to your tactical backpack by threading nylon webbing or paracord vertically through the MOLLE grid, using a ladder pattern for stability. Match pouch size to your load to prevent strain and shifting. Place frequently used items within reach, ideally on the shoulder straps or top flap. Sewn-on PALS webbing lasts longer than thermal-bonded. Upgrade with MALICE clips or laser-cut panels for better alignment and faster changes-you’ll see how small tweaks improve performance over long use.
Notable Insights
- Use MOLLE’s PALS grid to attach pouches with nylon cord or MALICE clips for secure, customizable gear placement.
- Match pouch size to intended load to maintain stability and prevent strain on stitching points.
- Thread webbing vertically in a ladder pattern through backpack and pouch bars to evenly distribute weight.
- Position frequently accessed items like flashlights on shoulder straps or top flaps for dominant-hand reach.
- Upgrade to laser-cut panels and reinforced straps for improved durability, alignment, and modularity.
Understand MOLLE Webbing Basics
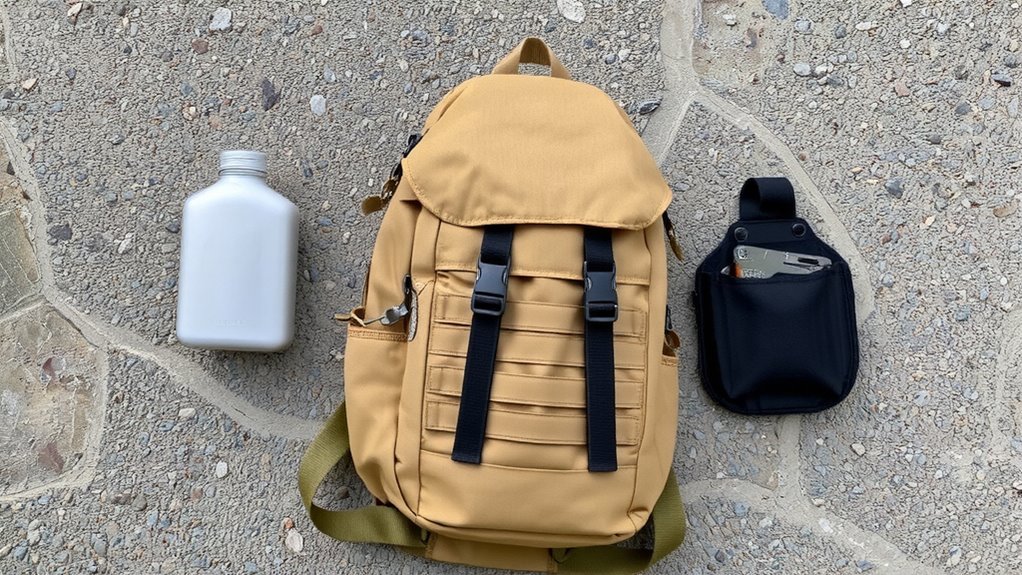
MOLLE-Modular Lightweight Load-carrying Equipment-is the backbone of modern tactical gear organization, and it’s worth understanding how it actually works. You attach pouches and accessories via heavy-duty nylon webbing stitched in horizontal rows across your backpack. These webbing materials-typically 1-inch nylon straps-create a grid you can customize with compatible gear. The MOLLE history dates to the late 1990s, replacing older ALICE systems by integrating laser-cut panels and improved attachment strength. PALS (Pouch Attachment Ladder System) is the standard grid pattern you’ll see, with 1-inch spacing between webbing bars. You secure items using plastic or nylon cords, threading them through webbing and pouch ladders, not just clipping on. It’s slower than hook-and-loop but far more durable under load. While sewn-on webbing adds weight, it resists tearing better than thermal-bonded versions. Knowing this helps you assess pack durability and compatibility-not all webbing is made the same.
Choose Essential Pouches by Use Case
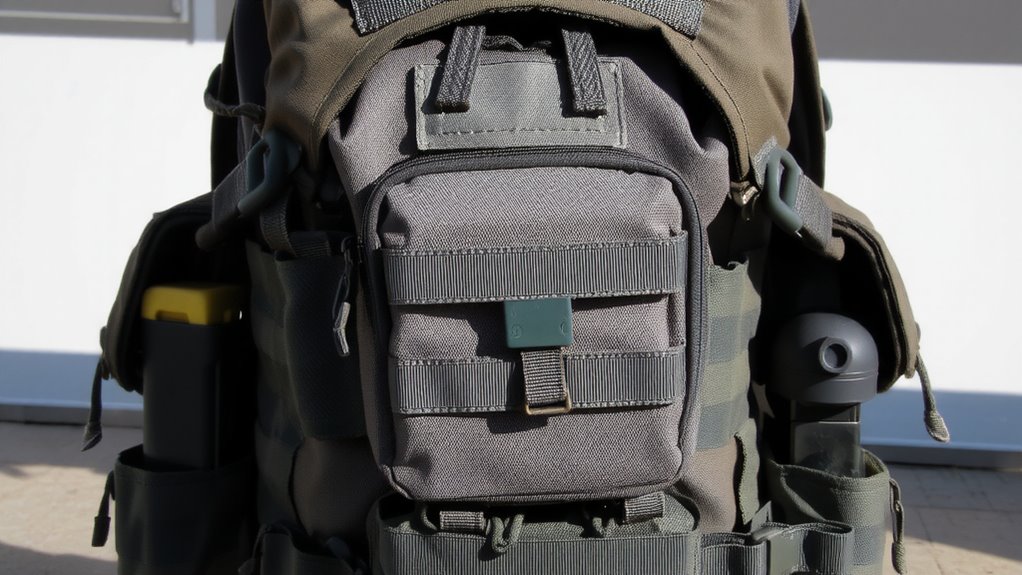
Now that you know how the grid system holds gear, it’s time to pick the right pouches for your needs. Pouch selection depends on your mission-whether hiking, commuting, or emergency response. Focus on gear prioritization: carry what’s essential and accessible. A reliable tactical backpack ensures durable MOLLE compatibility and long-term performance across use cases. Below are common use cases and recommended pouch types:
| Use Case | Pouch Type | Holds |
|---|---|---|
| Urban Commute | Laptop sleeve pouch | 15″ laptop, documents |
| Hiking | Water bottle pouch | 1L bottle, small tools |
| Emergency Kit | Admin pouch (small) | First-aid, flashlight, meds |
Each pouch should secure items without excess bulk. Overloading strains MOLLE stitching over time. Match pouch size to expected load-smaller pouches stay stable, larger ones suit bottom or side panels. Pouch selection isn’t about quantity; it’s about function. Gear prioritization guarantees efficiency when every second counts.
Thread Pouches on the MOLLE Grid
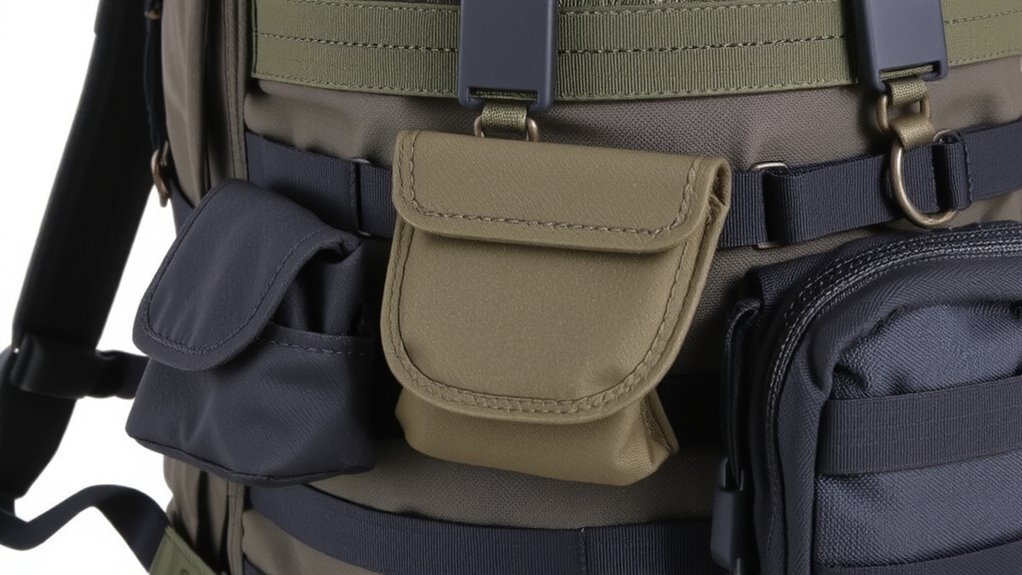
Threading pouches onto the MOLLE grid is a simple but critical step in building a reliable loadout. You secure each pouch using nylon webbing or paracord, weaving it vertically through the backpack’s webbing and the pouch’s backing. Proper thread routing-especially a ladder pattern-ensures even load distribution and prevents shifting under movement. Skipping cross-weaves risks detachment during activity. Most quality pouches use double or triple stitching, but stitching durability varies by manufacturer; some cut corners with single rows that fray under stress. You should inspect stitch density and seam alignment before loading. After installation, tug firmly on each pouch to confirm stability. Incorrect threading compromises both retention and long-term wear. Recheck connections after first use, as materials settle. Consistent technique improves reliability, especially in rugged use. Thread routing isn’t just about attachment-it affects how load forces transfer across the pack.
Arrange for Fast Access and Comfort
You’ve secured the pouches, but how you position them determines whether they’re useful or just in the way. For fast access, place frequently used items-like a flashlight or radio-within reach of your dominant hand, ideally on the shoulder strap or top flap. Less-used gear belongs on the sides or lower sections. Ergonomic placement reduces strain and keeps the backpack balanced, especially when loaded. Avoid overloading one side, which can shift weight and cause discomfort over time. Use quick release mechanisms on critical pouches-like a medical kit or flashlight-so you can grab them without fumbling. These fasteners should be secure but easy to operate under stress. Test each setup during movement: if something bounces, catches, or slows you down, reposition it. Comfort and speed depend on how well the load adapts to your body, not the other way around. Choosing the right base pack is crucial-consider a best tactical sling pack that integrates seamlessly with MOLLE-compatible pouches for optimal versatility and comfort.
Fix and Upgrade Your MOLLE Loadout
A solid MOLLE loadout starts with durable attachments that won’t loosen under movement-standard nylon webbing and plastic clips work, but they’re prone to stretch and break over time. You’ll want heavy-duty nylon or reinforced polymer straps with metal hardware; they hold tension better during extended use. Check each connection point regularly-replacing worn attachments prevents gear loss in the field. Upgrade with laser-cut MOLLE panels for improved alignment and reduced wobble. These offer better gear modularity, letting you position pouches at precise angles. Load customization improves when you mix MALICE clips with traditional threading-faster attachment without sacrificing security. MALICE clips don’t fray webbing and resist vibration loosening. Reconfigure based on mission needs: swap bulkier pouches for slimmer ones when weight matters. Test each layout on a full-day trial run. If something shifts or snags, adjust placement or fasteners. Solid upgrades save time and maintain reliability. For optimized performance, consider investing in Top MOLE Accessory Picks that combine durability with modular flexibility.
On a final note
You now know how MOLLE works, picked the right pouches, and threaded them securely. Your gear sits where you need it-accessible, balanced, and stable. Sweat-testing confirms load stability, and real-world use reveals any hot spots or shifts. Adjust strap tension and reposition if needed. MOLLE isn’t magic-it’s a system. It trades minor setup time for lasting customization. Done right, it keeps essentials ready without bulk. Keep reassessing. Needs change. So should your loadout.