Step-by-Step Primary Survey Protocol for Solo Backcountry Rescuers
Check the scene first-ensure no hazards like loose rocks, wildlife, or weather threats put you at risk. Tap and shout to check responsiveness; if none, signal for help with three whistle blasts. Open the airway with a head tilt-chin lift, then look, listen, and feel for breathing. Control severe bleeding fast: use a commercial tourniquet above the wound or pack with hemostatic gauze. Perform a quick head-to-toe exam, watching for head injuries, chest instability, or spine concerns. Monitor pulse, breathing, and mental status every 5–10 minutes. You’ll soon see how each step affects survival odds in remote terrain.
Notable Insights
- Ensure scene safety by scanning for environmental hazards like unstable terrain, wildlife, and weather risks before approaching the victim.
- Check responsiveness by tapping the shoulder and shouting; use three whistle blasts or shout for help if unresponsive.
- Open the airway with head tilt-chin lift, then look, listen, and feel for breathing for no more than 10 seconds.
- Control severe bleeding immediately with a tourniquet above the wound or direct pressure with hemostatic gauze for trunk injuries.
- Perform a rapid head-to-toe assessment, monitoring vital signs and neurological status every 5–10 minutes for changes.
Ensure Scene Safety First
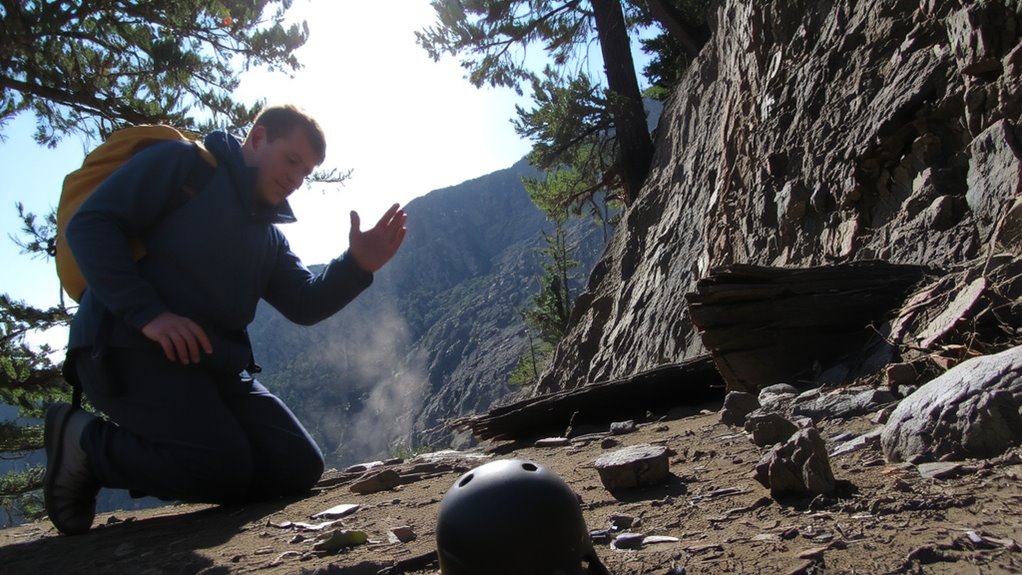
Before you rush to help, take a moment to assess whether the scene puts you at risk-because if you become a victim too, the situation only worsens. You can’t assist if you’re injured or incapacitated. Scan for environmental hazards like loose rocks, flash flood zones, or unstable terrain that could endanger both you and the patient. Weather shifts quickly in backcountry settings, so check for lightning risks or hypothermia-inducing conditions. Stay alert for wildlife awareness-bears, snakes, or moose may be nearby, especially if the victim disturbed them. Keep distance from animals, store food securely, and carry bear spray if in high-risk areas. Avoid moving into dense brush or cliff edges where footing is unreliable. Your safety depends on constant observation, not instinct. A stable, visible location allows effective care. Evaluate threats logically, not emotionally. One misstep compromises the entire rescue.
Check Responsiveness and Call for Help
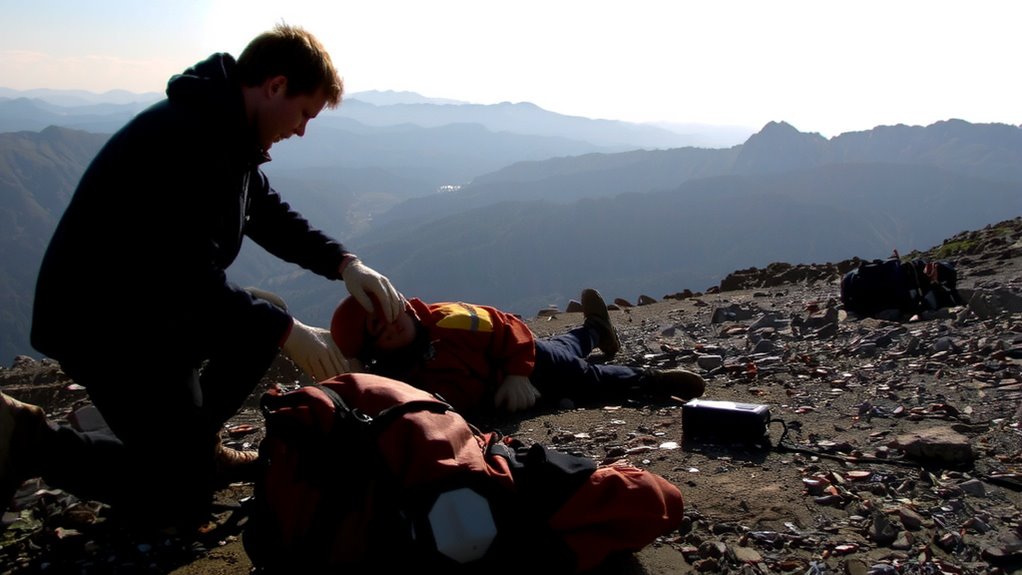
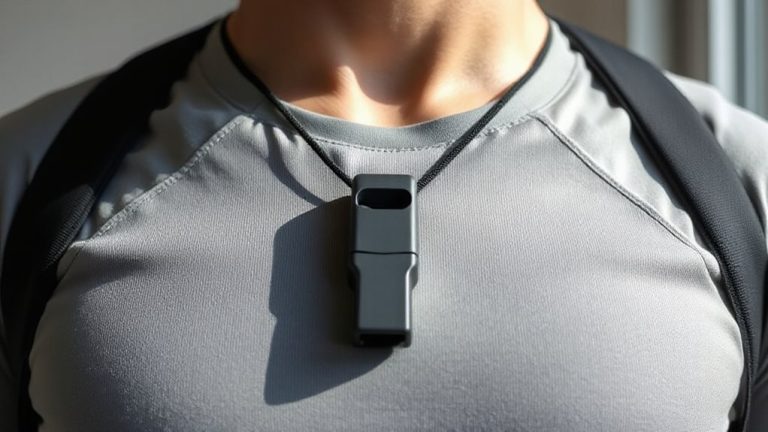
If the scene is safe, check for responsiveness by tapping the person’s shoulder and shouting, “Are you okay?”-a simple verbal and physical stimulus usually confirms whether they’re conscious. If they respond, you have a conscious victim and can gather verbal cues about their condition. Note their voice clarity, coherence, and any signs of distress. A responsive person can help guide your next steps. If there’s no response, assume immediate danger and prepare to act. Even if subtle, movements or sounds count as responsiveness. Your prompt recognition of verbal cues improves assessment accuracy. Time matters-delays reduce survival odds. After checking responsiveness, call for help immediately. If alone, shout loudly to signal nearby hikers. Use a whistle if you have one-three blasts are a recognized distress signal. A reliable backpacking whistle can significantly improve your chances of being heard over long distances in remote terrain. Activate emergency systems early. Help may be hours away in backcountry settings. Early notification narrows survival gaps when minutes count.
Open the Airway and Check Breathing
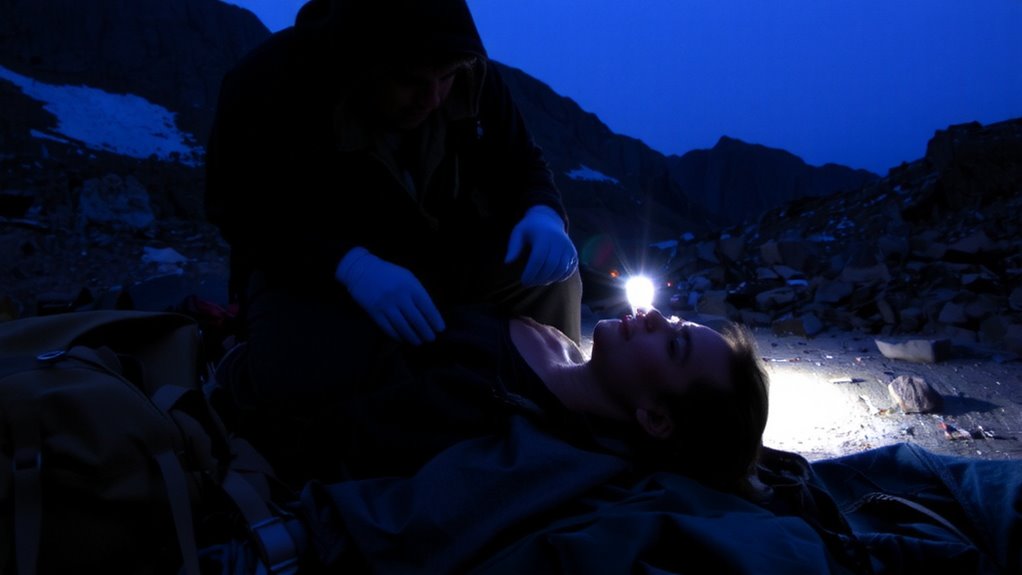
You’ve checked for responsiveness and sent out a call for help-now it’s time to assess the airway and breathing. Position the person on their back. Tilt the head back gently and lift the chin to open the airway. Look, listen, and feel for breathing for no more than 10 seconds. This step guarantees you maintain a clear airway and can assess respiration accurately. If the person isn’t breathing normally, prepare for rescue breaths. Avoid over-tilting the neck, especially if a spinal injury is suspected. A blocked or compromised airway can prevent oxygen from reaching the lungs, making this step critical.
| Sign | Indicates | Action |
|---|---|---|
| Chest rises and falls | Normal breathing | Monitor |
| Gasping or no movement | Abnormal respiration | Prepare to ventilate |
| Snoring sound | Partial airway blockage | Reopen airway |
| Gurgling | Fluid in airway | Roll to recovery position |
| Silent chest | No breathing | Begin rescue breaths |
Control Severe Bleeding Immediately
Get a handle on severe bleeding fast-time is tissue, and every second counts. If you see spurting or pooling blood, act immediately. For limb injuries, use tourniquet application high and tight-2 to 3 inches above the wound, not over a joint. Tighten until the bleeding stops; record the time applied. A commercially made tourniquet is more reliable than makeshift options-test models show better consistency in pressure and durability. If the wound is on the trunk or tourniquets aren’t an option, pack the injury with hemostatic agents like chitosan or kaolin-based dressings. These promote clotting faster than gauze alone. Apply firm, direct pressure for at least 3 minutes. Recheck for continued seepage. Hemostatic agents work, but only if packed deep into the wound channel. Don’t waste time with non-compressible bleeding-control what you can, and move fast. For reliable limb hemorrhage control, consider a top-rated tourniquet based on performance in real-world and laboratory testing.
Perform Head-To-Toe Trauma Assessment
Once the bleeding’s under control, start a head-to-toe trauma assessment to catch life-threatening injuries you might miss at a glance. Begin at the head, checking for deformities, lacerations, or signs of basilar skull fracture-like raccoon eyes or Battle’s sign. Assess airway patency and listen for gurgling or stridor. If you suspect spinal injury, maintain manual spinal immobilization throughout. Move to the neck, palpating for tenderness, tracheal deviation, or crepitus. Expose the chest and check for symmetry, paradoxical movement, or flail segments. Inspect the abdomen for distension or bruising, then palpate gently. Evaluate pelvis stability with minimal motion. Roll the patient only if absolutely necessary, using log-roll technique with spinal precautions. Perform a rapid neurological screening-check pupil reaction, limb movement, and sensation. Any deficits indicate urgent evacuation. Keep assessments efficient and focused-delayed findings risk deteriorating outcomes.
Monitor Vital Signs for Evacuation
How stable is the patient, really? You need to monitor essential signs every 5–10 minutes to assess patient stability. Check pulse rate, respiration, skin condition, and mental status consistently. A dropping pulse or rising respiratory rate often signals deterioration, even if the patient seems calm. Persistent altered mental status suggests poor perfusion or head injury. Record each reading if possible-trends matter more than single values. Stable essential signs over time mean the patient may tolerate delayed evacuation. Unstable or worsening signs mean immediate transport is necessary, no matter terrain or weather. Patient stability isn’t a guess; it’s determined by objective changes. Don’t rely on first impressions. Reassess continuously. If essential signs drift, so does safety. Your judgment, based on measurable data, guides evacuation urgency. No essential sign exists in isolation-evaluate them together to see the full picture.
On a final note
You’ve done the essentials: made the scene safe, checked responsiveness, opened the airway, controlled bleeding, and assessed trauma. Breathing and circulation are stable for now. Keep monitoring pulse, breathing, and mental status every 5 minutes. Prioritize rapid evacuation-delays risk deterioration. This protocol works with minimal gear, but success depends on speed and accuracy. No fancy tools needed, just consistent checks and clear decisions based on what you observe.