Vacuum Pasteurization: Store Wild Vegetable Purees 1 Year
You can safely store wild vegetable purees long-term using vacuum pasteurization. Removing air lowers the boiling point, so you heat to 185°F for 15 minutes without overcooking. This kills microbes and deactivates spoilage enzymes while preserving nutrients and flavor. Use a vacuum sealer and precise water bath, then cool fast in ice water. Seal properly and store below 40°F. Get the details right, and your purees stay fresh for up to a year. There’s more to get right for consistent results.
Notable Insights
- Vacuum pasteurization extends shelf life by inactivating spoilage-causing enzymes at lower temperatures.
- Lower processing temperatures preserve nutrients, flavor, and color in wild vegetable purees.
- A chamber vacuum sealer and precision water bath are essential for effective home pasteurization.
- Seal purees in vacuum-rated pouches or mason jars before heating to 185°F (85°C) for 15 minutes.
- Cool rapidly in ice water, then store sealed purees at or below 40°F for 6–12 months.
Why Vacuum Pasteurization Works for Wild Vegetable Purees
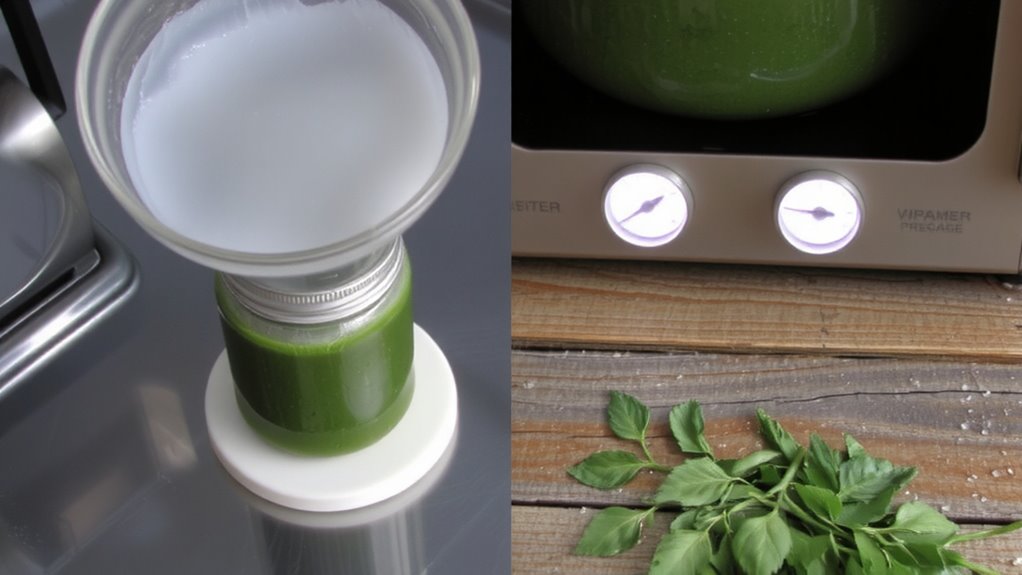
While wild vegetable purees are packed with nutrients, they’re also prone to rapid spoilage without proper treatment, so pasteurization becomes essential-but traditional methods risk degrading flavor and texture. You need a method that guarantees safety without sacrificing quality, and that’s where vacuum pasteurization comes in. By reducing pressure before heating, you lower the boiling point of water, allowing effective enzyme deactivation at lower temperatures. This means spoilage-causing enzymes are neutralized without overcooking the puree. At the same time, the sealed vacuum environment supports microbial inhibition, limiting pathogens and extending shelf life. You’re not relying on extreme heat, so volatile compounds and color stay intact. It’s not perfect-setup costs are higher-but for long-term storage with minimal quality loss, vacuum pasteurization works because it balances safety, nutrition, and sensory traits better than conventional approaches. You get stability without major trade-offs.
How Vacuum Pasteurization Preserves Freshness and Nutrients
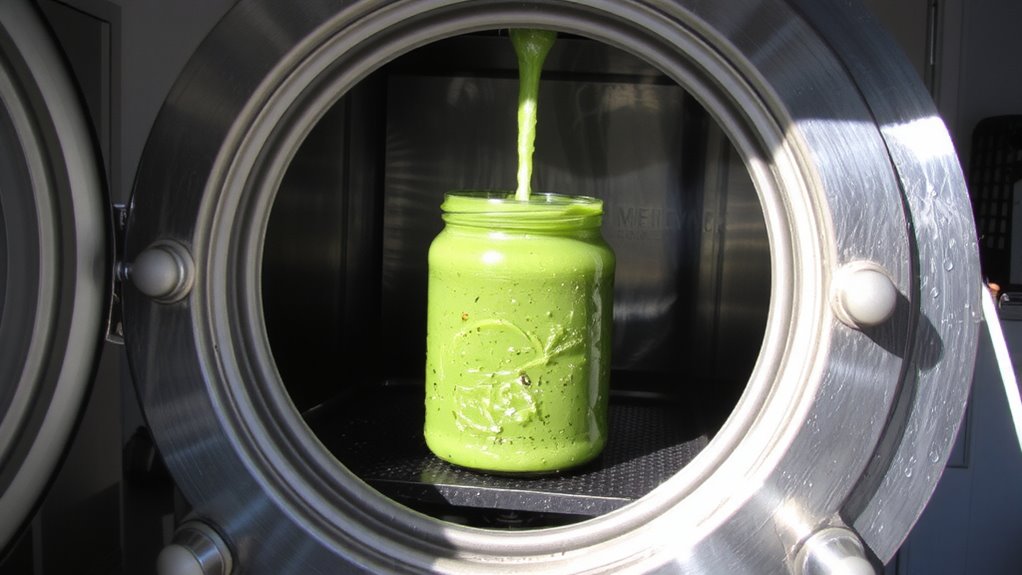
Because heat degrades nutrients and alters flavor, vacuum pasteurization helps you retain more of the original profile by using lower processing temperatures. This method supports better nutrient retention and flavor stability compared to conventional high-heat techniques. By removing air before heating, oxidation is minimized, which slows deterioration of sensitive vitamins like C and A. You also avoid off-flavors caused by thermal breakdown, so your wild vegetable purees taste closer to fresh.
| Factor | Vacuum Pasteurization | Conventional Heating |
|---|---|---|
| Temp Used | 70–85°C | 90–121°C |
| Nutrient Retention | High | Moderate to low |
| Flavor Stability | Excellent | Fair to poor |
You get longer shelf life without sacrificing quality. The process isn’t perfect-some texture changes occur-but for long-term storage, it’s one of the most effective options available.
Home Equipment for Vacuum Pasteurization
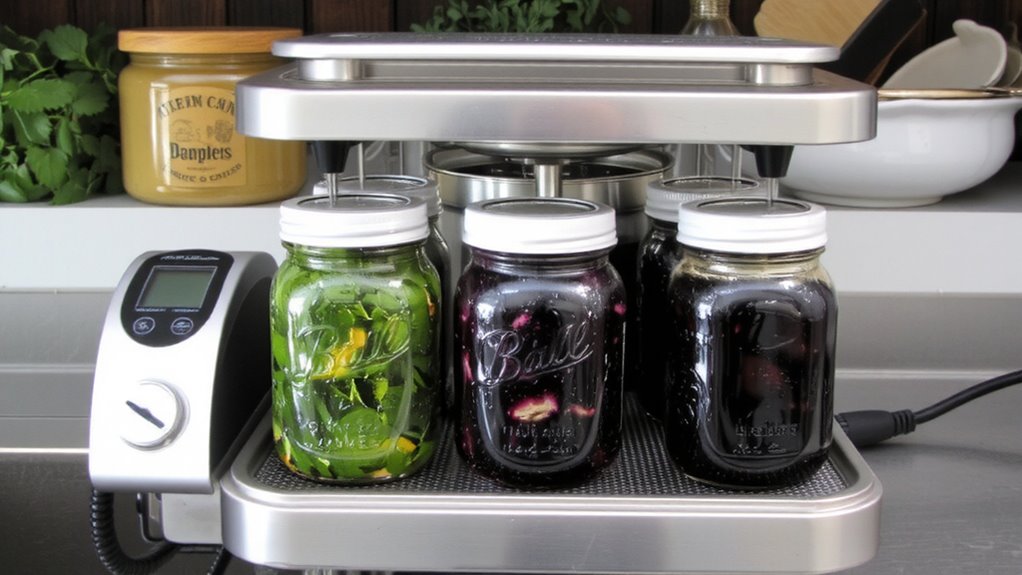
You’ll need reliable gear to pull off vacuum pasteurization at home, and not all equipment delivers the same results. Start with a vacuum sealer that handles moist foods-chamber sealers work better than external types for wild vegetable purees. They remove air more completely, reducing oxidation and microbial growth. For heating, a precision water bath or sous vide setup maintains consistent temperatures, essential for meeting safety standards. Look for models with ±0.5°C accuracy. Mason jars or vacuum-rated pouches must withstand heat without warping or leaking. Some equipment types, like modified atmospheric packaging systems, aren’t worth the cost for home use. Stick to proven, simple tools. Always follow safety standards: use food-grade materials, verify temperature calibration, and avoid makeshift solutions. Your setup doesn’t need to be expensive, but it must be accurate and repeatable. Poor seals or temperature swings risk spoilage. Test each component under real conditions before committing to long-term storage batches.
How to Pasteurize Purees Step by Step
Once you’ve prepped your wild vegetable puree and sealed it in vacuum-rated pouches or mason jars, the pasteurization process starts by submerging the containers in a precision water bath set to 185°F (85°C). Hold them there for 15 minutes to guarantee pathogens are reduced to safe levels. Proper sealing techniques are essential-any leak ruins the vacuum and compromises safety. Use only equipment rated for vacuum use; standard jars or bags may fail. After heating, remove containers and cool immediately. Cooling duration matters-quench in ice water until the center drops below 70°F (21°C), usually taking 20–30 minutes, to prevent residual heat from degrading texture or nutrients. Fast, uniform cooling maintains quality and minimizes microbial risk. Don’t shortcut sealing or cooling-they’re as essential as the heat treatment. Each step affects shelf life and safety, so follow them precisely. This method delivers reliable preservation when executed without deviation.
Avoid These Vacuum Pasteurization Mistakes
Getting the steps right in pasteurization doesn’t mean you’re in the clear-small mistakes can still compromise safety and quality. Overfilling containers reduces vacuum efficiency, leaving air pockets where microbes survive. You need at least a 1-inch headspace to guarantee proper seal formation and even heat distribution. Ignoring altitude affects processing because water boils at lower temperatures as elevation increases, meaning your puree may not reach the necessary internal temperature to kill pathogens. At 5,000 feet, boiling occurs at 203°F instead of 212°F, which can under-process the contents. Use pressure-adjusted times or follow altitude-specific guidelines to maintain efficacy. Always verify your equipment’s pressure readings and calibrate regularly. These details aren’t optional-they directly impact shelf life and safety. Skip them, and you risk spoilage or contamination, no matter how clean your setup seems. Stick to precise volumes, respect elevation adjustments, and follow tested protocols without shortcuts.
Storage Tips for Vacuum-Pasteurized Purees
After processing, store vacuum-pasteurized purees at or below 40°F to maintain microbial safety and extend shelf life. You’ll need consistent refrigeration-any temperature rise risks spoilage. Check the seal inspection regularly; a broken or weakened seal compromises sterility and invites contamination. If the pouch feels bloated or you notice liquid seepage, discard it. For best results, use oxygen-barrier packaging and store away from light to preserve nutrient content and color. Label visibility matters-clearly mark each package with date, batch, and contents to track shelf life and rotation. Storing upright prevents leaks and maintains seal integrity. Avoid stacking heavy items on pouches, as pressure can deform seals over time. These purees typically last 6–12 months under ideal conditions. Your storage discipline directly affects safety and quality-cut corners and you’ll lose product.
On a final note
You save time and retain nutrients with vacuum pasterurization, but success depends on precise temperature and timing. Use a vacuum sealer and water bath or canner for reliable results. Purees last up to 18 months refrigerated or frozen, though texture may degrade slightly. Avoid underprocessing, which risks spoilage, or overheating, which damages vitamins. It’s not flawless, but it’s one of the few methods that balances safety, nutrition, and shelf life without preservatives.