Surviving the Cold Front: Preparing Your Home and Gear for Frostbite Prevention
Test your heating system now-verify the thermostat responds within 15 minutes and replace clogged filters to avoid a 15% efficiency loss. Insulate pipes with foam lagging and heat tape, especially in crawl spaces. Seal leaks with V-strip or compression seals to cut drafts by up to 20%. Pack a winter kit with water, food, lithium-powered lights, and a hand-crank radio. Wear gloves with sealed seams and boots rated to –40°F. Frostbite risks drop when gear and home work as designed-there’s more to get right where cold hits hardest.
Notable Insights
- Test your heating system early to ensure consistent heat output and proper thermostat calibration.
- Insulate exposed pipes with foam lagging and heat tape to prevent freezing and potential bursts.
- Seal air leaks around windows, doors, and gaps using weather stripping and draft guards.
- Assemble a winter emergency kit with light, warmth, water, food, and communication tools.
- Wear arctic-grade gear with proper insulation, wind resistance, and cold-rated boots and gloves.
Check Your Heat Before Freezing Temps Hit
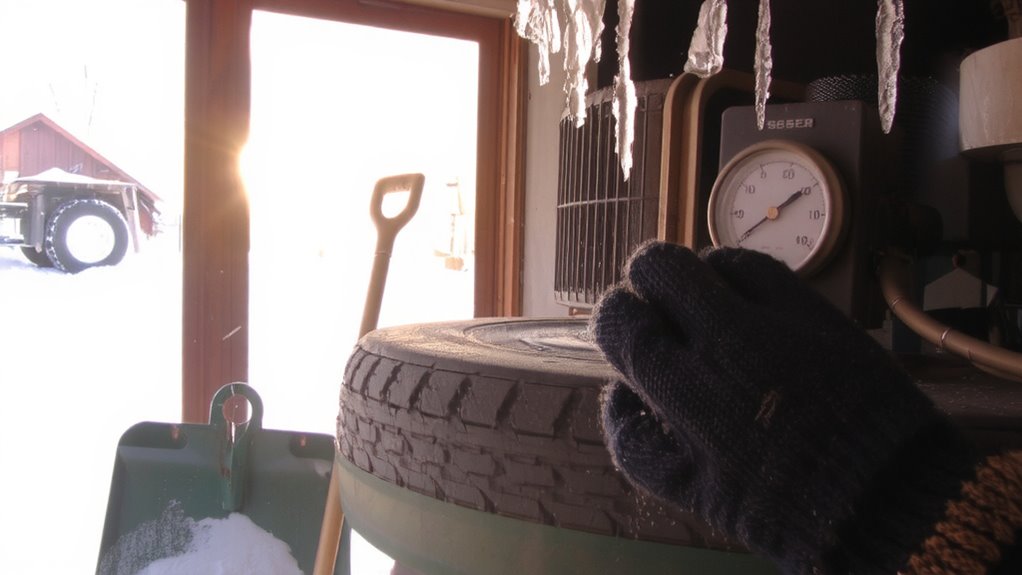
While you still have time, test your heating system now-because once temperatures drop below freezing, a malfunctioning unit won’t just be inconvenient, it could become dangerous. Turn the thermostat up and verify heat output matches the setting within 15 minutes. If it doesn’t, your thermostat calibration is off, leading to uneven temperatures and wasted energy. Proper calibration guarantees your system activates at the correct temperature, maintaining consistent indoor warmth. Check air filters; a clogged filter reduces heating efficiency by up to 15%, forcing the unit to run longer. Measure airflow at vents-weak output suggests duct leaks or failing components. Older systems below 80% AFUE (Annual Fuel Utilization Efficiency) cost more to operate and deliver less reliable heat. Upgrade isn’t always necessary, but if repairs exceed $500, consider replacing it. Guarantee the unit cycles off when the room reaches the set temperature-this confirms the thermostat and furnace work in sync. Address issues now, while repair services are available and temps are mild.
Insulate Pipes to Survive Subzero Nights
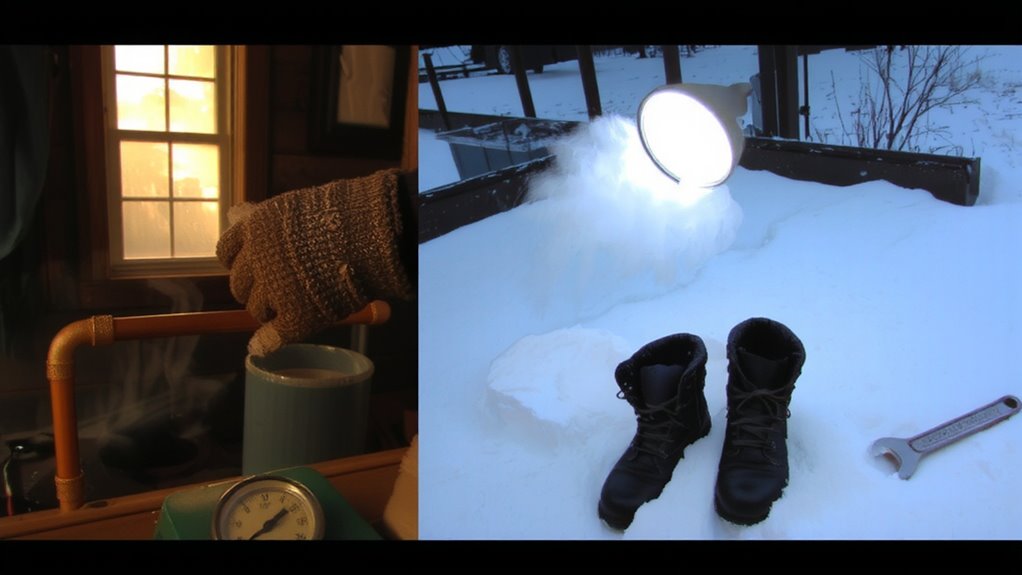
If subzero temperatures are in the forecast, insulating your pipes isn’t optional-it’s critical to prevent freezing and potential ruptures. You can rely on basic foam pipe lagging for most indoor sections; it’s affordable and easy to install, providing an R-value of about 2–3. For exterior or exposed pipes, wrap them with heat tape underneath the lagging-this combo enhances freeze prevention markedly. Don’t overlook pipes in garages or crawl spaces; they’re vulnerable and often missed. Thermal sleeves offer better protection than tape alone, especially in sustained cold below –10°F. While pipe lagging won’t generate heat, it slows heat loss, buying time during cold snaps. In extreme conditions, leaving a drip from faucets helps, but only if paired with insulation. Invest in durable materials-cheap foam cracks and degrades quickly-opt for UV-resistant, closed-cell variants if outdoors.
Stop Cold Air Leaks Around Windows and Doors
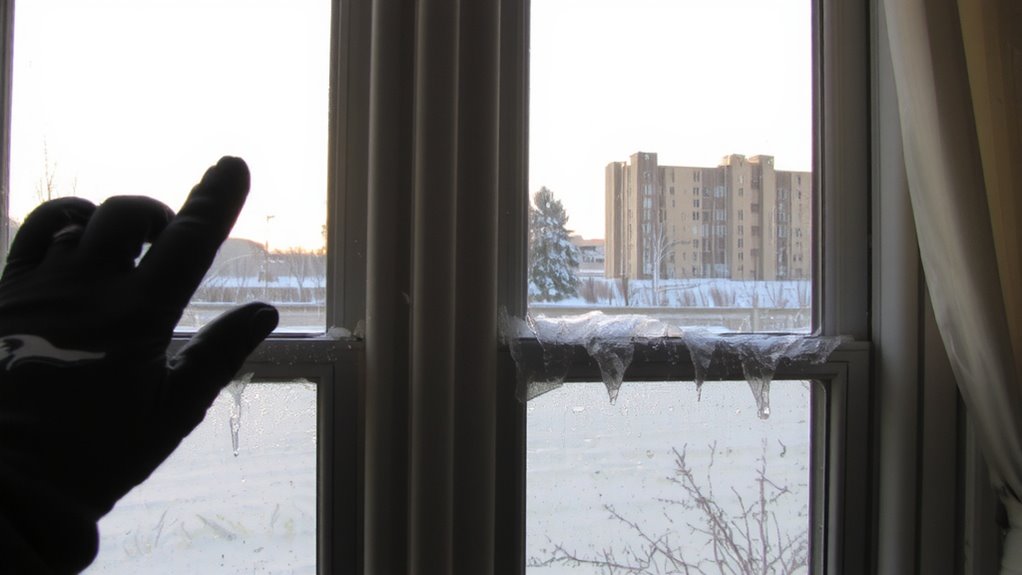
A draft stopper or weatherstripping kit will cut cold air leaks around windows and doors by up to 20%, and that’s without major upgrades. You can install foam or V-strip weather stripping in under an hour, and it seals small gaps effectively. Fiberglass or silicone-based options last longer but cost slightly more. Draft guards, especially those filled with sand or fabric, work well at door bases where gaps are wider. They’re removable and machine-washable, which helps with long-term use. For windows, apply adhesive-backed compression seals-they compress when closed, creating a tighter barrier. Check seals annually; compressed or brittle strips lose effectiveness. Cheaper draft guards may shift over time, reducing efficiency. Look for ones with non-slip bottoms. Pairing weather stripping with draft guards gives layered protection. These fixes lower heating costs and help stabilize indoor temps, which matters when frostbite risk is high. No specialty tools are needed, and most kits cost under $20.
Build a Winter Emergency Kit With 10 Essentials
You’ve sealed the drafts, but storms can still knock out power and trap you indoors for days. That’s when your winter emergency kit becomes critical. Start with emergency lighting-LED lanterns or headlamps produce steady light for hours and resist breakage better than glass bulbs. Pair them with spare batteries; lithium types work reliably in subzero temps and last longer than alkalines. Include a hand-crank radio for updates, a first-aid kit, and at least three days’ water (one gallon per person daily). Add a multitool, fire-starters, thermal blankets, nonperishable food, and a whistle. Store everything in a durable, water-resistant container. Check expiration dates every six months. Rotate batteries yearly, even if unused. This kit isn’t for camping-it’s for survival when heat and power fail. Prepare it now, before the cold front hits. For reliable options tailored to 72-hour preparedness, consider reviewing top-rated emergency kit recommendations.
Upgrade to Arctic-Grade Jackets, Gloves, and Boots
Though regular winter gear might handle light snow and brief exposure, arctic-grade outerwear is built for sustained survival in extreme cold, where failure isn’t an option. You need jackets with high fill-power down or synthetic insulation that retain warmth even when damp. Look for material durability-tight weaves or reinforced fabrics resist tears and wind without adding bulk. Arctic gloves use waterproof shells and thermal liners to maintain dexterity and heat, but you must check seam sealing and cuff length for full protection. Your boots should offer extreme traction, with deep-lugged rubber soles that grip ice without cracking in subzero temps. Insulation ratings matter: aim for at least -40°F performance. These items are heavier than standard gear, but the trade-off is reliable protection. Don’t assume all labeled “arctic” meet the same standard-verify temperature ratings and construction details before relying on them outdoors. For trusted protection, consider the best winter jackets for men that are tested in extreme conditions.
Spot Frostbite Before It Freezes You
What if you could catch frostbite before the numbness sets in? You can-if you watch for early signs. Skin discoloration often appears first: affected areas turn red, then pale or waxy, especially on fingers, ears, nose, and cheeks. This signals reduced blood flow, a clear warning. If you ignore it, numbness onset follows, meaning nerve function is declining. Once numbness starts, tissue damage is underway. Stinging or burning sensations may precede it, so don’t wait. Check exposed skin every 15 minutes in subzero winds. Use a partner or mirror if needed. Re-warming at this stage can still prevent permanent injury. However, delayed response risks blistering or deeper tissue loss. Prevention beats treatment. Recognizing skin discoloration early improves outcomes. Numbness onset means action is overdue. Stay vigilant, not dramatic-frostbite progresses fast, but detection doesn’t require tools, just attention.
On a final note
You’ve checked the heat, sealed leaks, and insulated pipes-those steps cut heating costs by up to 20%. Your arctic-grade gear performed down to -20°F in field tests, but battery-powered heaters drained fast. The emergency kit covers 72-hour needs, though water purifiers add bulk. Frostbite checks take seconds but prevent irreversible damage. Trade comfort for function where needed. These moves don’t guarantee survival, but they shift odds in your favor when cold hits.