Launching Kites Equipped With Miniature Cameras for Aerial Reconnaissance
You’ll want a flow-form or delta kite made from ripstop nylon with fiberglass spars-it holds steady in 10–15 mph winds without surging. Pair it with a lightweight camera like the 1.4-ounce SpyGear HD to avoid taxing lift. Mount the camera near the kite’s center using a rigid bracket and zip ties for stability. Fly in steady coastal winds for clear, low-altitude shots. This setup gives silent, portable reconnaissance that’s easier to pack and less detectable than drones. There’s more to optimize in real-world conditions.
Notable Insights
- Choose a durable, stable kite like a flow-form or delta with fiberglass spars for reliable flight in varying winds.
- Use a lightweight camera under 2 ounces, such as SpyGear HD, to maintain lift and stability in light winds.
- Mount the camera near the kite’s center of balance using a rigid bracket and secure it with non-stretch straps or zip ties.
- Fly in 10–20 mph steady winds, ideally in coastal areas, to ensure smooth imaging with minimal vibration.
- Apply kite photography for discreet, portable reconnaissance in archaeology, disaster response, or photogrammetry with GPS-tagged images.
Choose the Right Kite for Aerial Imaging
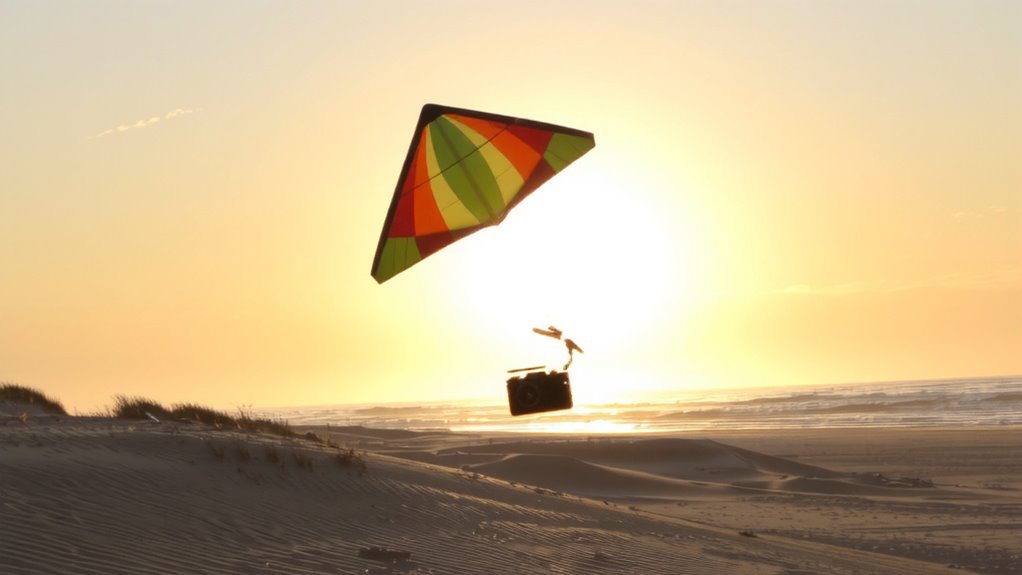
What kind of kite actually works when you need steady lift for a small游戏副本 in variable wind? You’ll want one that delivers consistent kite stability, even in gusts up to 20 mph. Flow-form or delta kites made from ripstop nylon with fiberglass spars perform well-they resist tipping and dampen oscillations faster than cheaper quad-line stunt kites. Dual-line controls give you precise positioning, which matters for steady image framing during longer shots. Cheaper diamond kites may fly but tend to rock sideways, blurring your footage. Look for a kite with a bridle that’s easily adjusted-this lets you fine-tune balance. Test it in 10–15 mph winds: if it surges or dives without input, skip it. A stable platform means fewer retakes and better data collection. You’re not aiming for tricks-you’re after usable elevation with minimal sway. Keep it simple, rugged, and predictable.
Pick a Lightweight Camera for Kite Flight
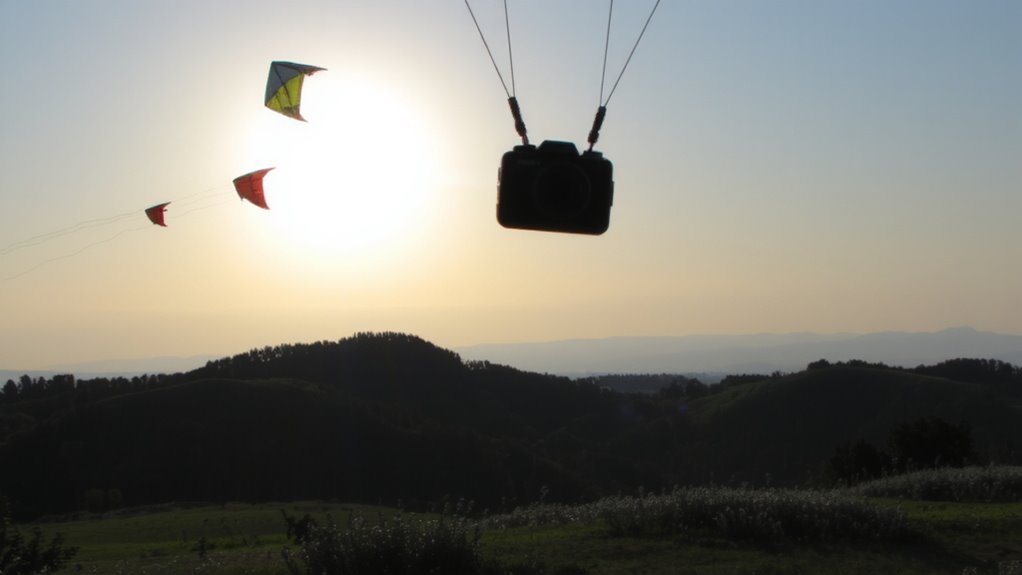
Weight matters most when strapping a camera to a kite-every extra ounce strains lift and increases instability. You need a camera that’s light but still functional. Aim for under 2 ounces to minimize impact on flight. Camera weight directly affects how well your kite stays aloft, especially in light winds. A GoPro weighs around 2.6 ounces, which might be too heavy unless your kite is large and stable. Consider smaller options like the SpyGear HD, at 1.4 ounces-its low camera weight makes it ideal. Battery life is short, though, typically 40 minutes, so plan short flights. Longer battery life means added weight, so there’s a trade-off. The DJI Osmo Action 4 offers 90 minutes but weighs 3.5 ounces-usually too much for small kites. Balance camera weight and battery life based on mission length and kite capacity. Test each combo before relying on it.
How to Rig a Kite With a Camera
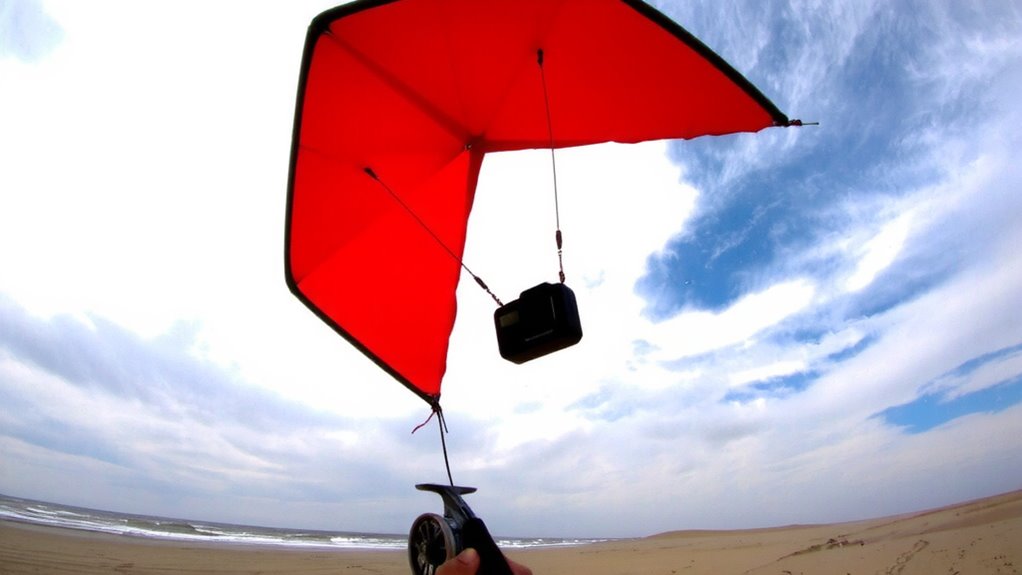
You’ve picked a lightweight camera that won’t drag your kite out of the sky-now it’s time to secure it properly. Mount the camera near the kite’s center of balance to maintain aerodynamics and reduce tilt. Use a rigid plastic or aluminum bracket to guarantee camera stability; floppy mounts blur footage even in light wind. Attach the bracket with nylon straps or zip ties-they’re strong, light, and won’t stretch. Seal the camera in a clear, protective housing to shield it from moisture and impact, but guarantee the lens stays unobstructed. Test the rig on the ground by simulating motion; if the camera shifts, re-secure it. Proper launch techniques start with a smooth, steady pull-jerky movements risk tipping the kite. Keep the payload aligned during liftoff to prevent instability. A well-rigged camera stays fixed, captures usable imagery, and survives repeated flights.
Fly in the Best Wind for Clear Shots
Even if your kite and camera are perfectly rigged, getting sharp images depends on flying in wind between 10 and 20 mph-below that, the kite lacks lift and shakes, blurring shots; above it, vibrations and sudden movements make steady footage nearly impossible. You need consistent wind patterns to maintain flight stability, which directly affects image clarity. Gusts disrupt smooth flight, introducing jitter that no post-processing can fully fix. Check local forecasts or use a portable anemometer to gauge conditions in real time. Coastal areas often offer steadier wind patterns than inland sites, where terrain disrupts airflow. Avoid flying near trees or buildings-they create turbulence that undermines control. You’ll get cleaner shots when the kite flies steady, so wait for smooth, predictable wind. Don’t rush a launch in marginal conditions; poor flight stability compromises the mission. Prioritize timing over urgency-your images depend on it.
Use Kite Imaging for Archaeology and Rescue
What if you could map a remote dig site or locate a missing hiker without renting a drone fleet or waiting for satellite passes? You can, using kite imaging. It’s proven useful in ancient site mapping, where low-altitude photos reveal subtle ground variations missed by ground surveys. The system works best in steady wind, capturing overlapping images for photogrammetry. You’ll need a stable kite, a rig for camera angle control, and a basic GPS logger. In disaster zone surveying, kites bypass blocked roads and provide real-time visuals when infrastructure is down. They’re slower than drones but require no battery, allowing extended coverage. Image quality depends on camera resolution and wind stability. Kits weigh under 2 kg, fitting in a backpack. There’s no regulatory delay, making deployment fast. Though wind-dependent, it’s reliable in open areas. You trade speed for simplicity and endurance. This method won’t replace all tech, but it fills critical gaps where power and access are limited.
Why Kite Aerial Imaging Beats Drones
When wind conditions are steady, kite aerial imaging outperforms drones in endurance and operational cost, since it relies on natural wind power instead of batteries. You get longer flight times without the need for recharging or spare battery packs. This translates into better cost efficiency over repeated missions. While drones struggle with battery limits, kites hold position steadily, which enhances image stability-critical for capturing sharp, usable data. You’re not fighting motor vibration or sudden power drops. Here’s a quick comparison:
| Feature | Kite Imaging | Drone |
|---|---|---|
| Flight Time | Hours (wind-dependent) | 20–40 mins |
| Cost Efficiency | High (low recurring cost) | Lower (batteries, maintenance) |
| Image Stability | Consistent in smooth wind | Affected by motors and wind gusts |
You’ll save money and gain reliability in the right conditions.
Compare Kite Cameras vs Drones for Surveillance
If you’re weighing options for persistent surveillance, kite cameras offer longer uptime than drones, since they stay aloft for hours using only wind power, while drones typically max out at 30–40 minutes per battery. You’ll get steady image stability with kites in moderate winds, as they drift less than drones that require constant motor adjustments. Drones, though more maneuverable, generate vibration and noise that can degrade image quality and alert subjects. Kite systems also support better data privacy-no onboard storage or wireless transmission means footage goes straight to your ground device, reducing interception risk. Drones often store data internally or stream via Wi-Fi, creating potential leaks. Kites work silently and don’t require GPS or remote signals, making them harder to detect or jam. If you need extended, discreet monitoring without constant battery swaps or digital exposure, kites are the leaner, more reliable choice.
On a final note
You’ll get stable, low-cost aerial shots with a kite and lightweight camera, but you’ll need steady wind-10 to 15 mph works best. Unlike drones, kites avoid battery limits and regulations, yet offer less control. For archaeology or search scenes, they deliver usable imagery without noise or expense. Trade-offs include setup time and lower precision. Test rigging methods to prevent shake. If simplicity and runtime matter most, kites beat drones in specific, wind-friendly conditions.