Navigating Marshes Safely: Essential Navigation Techniques for Wetlands
Use a walking staff and 1:24,000-scale topographic map to test ground firmness and track your route-you’ll avoid hidden channels and sinking peat that GPS can’t reveal. Stick to dense reeds or subtle ridges for firmer footing, and check water ripples for recent flow. Calibrate your compass before entering, and take frequent bearings. If visibility drops, follow reflective markers every 50 yards. You’ll learn how to handle emergencies without panic.
Notable Insights
- Use a walking staff to test ground firmness and detect hidden quicksand or soft mud before stepping.
- Follow subtle ridges and dense reed beds, which often indicate stable, root-bound paths through marshes.
- Take frequent compass bearings using visible features like creek bends to maintain accurate direction.
- Avoid walking on shiny surfaces or pooled water between plants, as they signal unstable, soft ground.
- Place reflective markers every 50 yards when visibility drops, to maintain route accuracy in fog.
Know the Dangers of Marsh Navigation
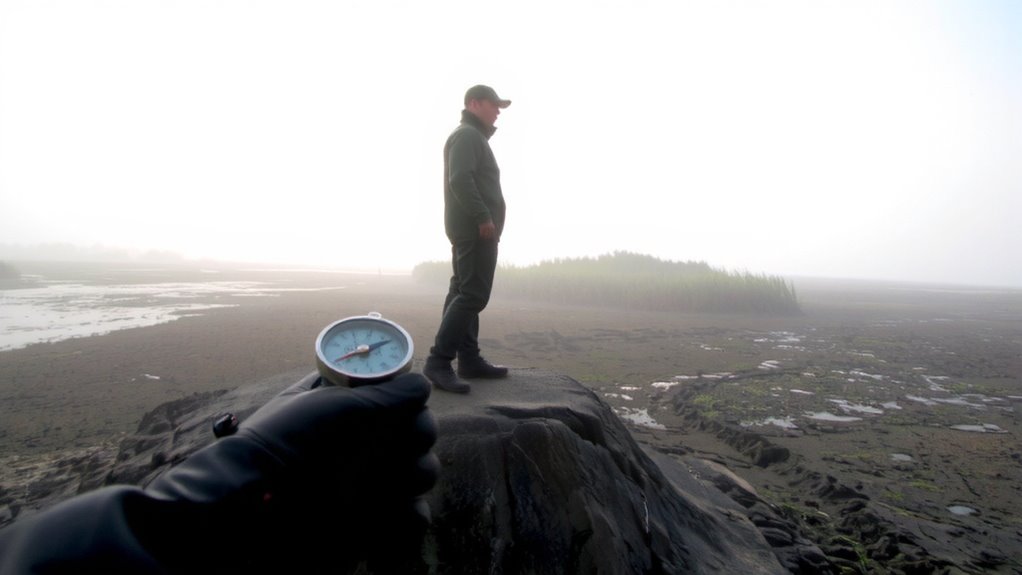
While marshes might look calm and inviting, they’re deceptively hazardous, and stepping onto one without preparation can leave you stuck or worse. You’ll often encounter quicksand zones-saturated patches that can’t support your weight. These areas give way suddenly, trapping you up to your knees or deeper. Hidden channels are just as dangerous; they’re concealed by vegetation or standing water, making them hard to spot until you’re waist-deep. Both hazards increase the risk of drowning, hypothermia, or prolonged exposure. A walking staff helps test ground firmness ahead of each step. GPS alone won’t detect terrain stability, so visual scanning and probing are essential. You need boots with strong traction and gaiters to reduce mud intrusion. Avoid marshes after heavy rain-they’re more unstable. Knowing these dangers doesn’t eliminate risk, but it improves your odds of crossing safely.
Spot Safe Paths Through Reeds and Mud
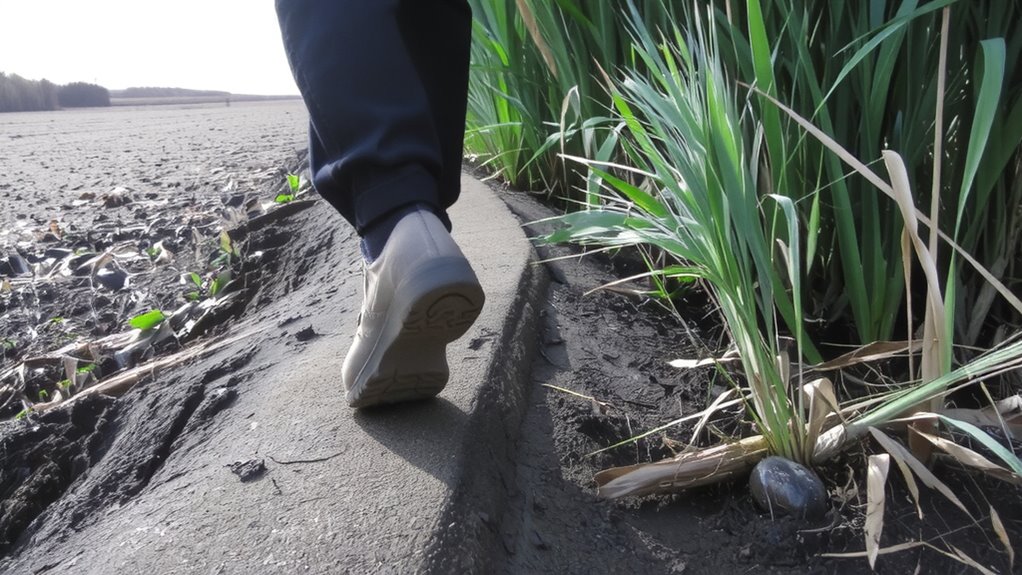
You already know marshes hide dangers like quicksand and submerged channels, so now it’s time to focus on finding where you can actually step. Look for firm ground by reading plant patterns-dense reeds often mark stable soil, while sparse or broken patches suggest mud. Follow subtle ridges or slightly elevated zones where water flow has naturally cleared softer sediments. Test each step with your foot before committing weight. Avoid areas where water pools between plants, as they’re usually too soft to support you.
| Condition | Safe Path Likelihood | Reason |
|---|---|---|
| Thick, upright reeds | High | Indicates root-bound soil |
| Ripples in standing water | Moderate | Shows recent water flow |
| Sunken, tilted plants | Low | Sign of unstable mud |
Use a Map and Compass in Wetlands
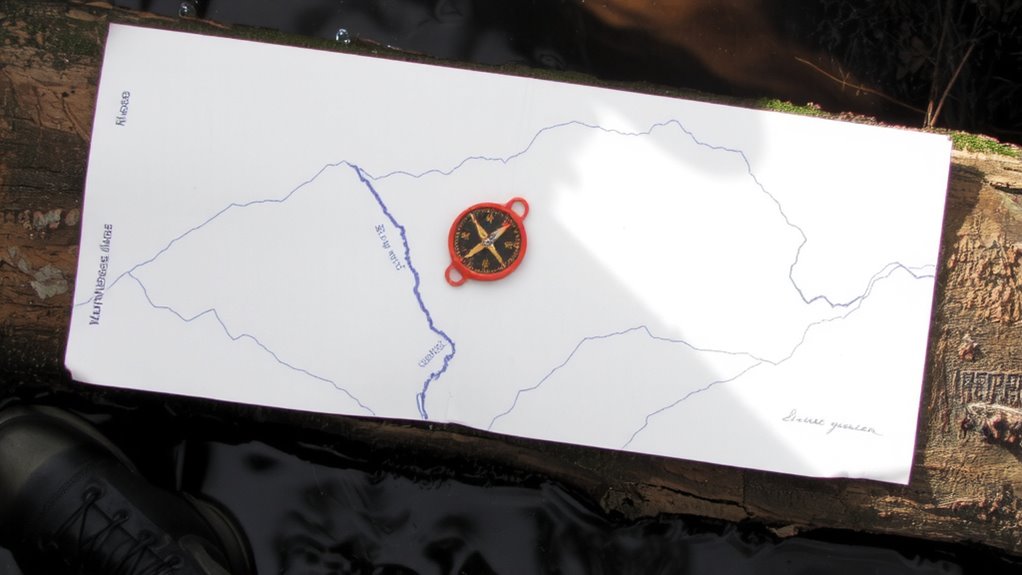
If visibility drops or landmarks disappear in the wetlands, relying on a map and compass becomes essential since GPS signals can falter in dense marsh areas. You need accurate map reading to match terrain features to what’s around you, especially when trails vanish or water shifts course. Carry a topographic map scaled at 1:24,000 for detail and update it regularly to reflect changes in wetland structure. Always pair it with a baseplate compass that has a declination adjustment. Perform compass calibration before entering the marsh to align with current magnetic variation-failure to do so introduces errors that compound over distance. Take bearings frequently and use identifiable points like creek bends or elevated ground to reorient. Don’t rely on memory; continuously cross-check your position. While digital tools help, physical navigation tools are reliable when batteries die or signals fail. Practice these skills in familiar areas so they work when conditions worsen. For dependable performance in harsh conditions, consider a survival compass built for durability and precision.
Identify Dangerous Ground Before You Step
Because marsh terrain can shift underfoot without warning, checking the ground ahead saves time and keeps you out of trouble. Quicksand zones and hidden pools are common but avoidable with careful observation. Use a trekking pole to test surface firmness before stepping. Look for rippling water, shiny patches, or vegetation gaps-these often mark hidden pools or unstable ground. Stay on tussocks or firm mats of roots when possible.
| Hazard Type | Detection Tip |
|---|---|
| Quicksand zones | Spongy sound and dark, wet patches |
| Hidden pools | Shiny surface or standing water |
| Soft mud | Footprint sinks deeper than 2 inches |
| Floating mats | Wobble when poked with a pole |
| Sinking peat | No visible vegetation, uniform brown |
Stay Found in Fog or Low Visibility
How do you keep from losing your way when the marsh vanishes into fog? You rely on pre-set visibility markers and practiced fog signals. Before entering low visibility, place bright, reflective markers at key turns or junctions-these give fixed points you can trust when sight drops below ten feet. Use a whistle or horn in set patterns-two bursts means stop, three means help-so others can locate you without confusion. GPS works, but batteries fail; physical markers don’t. A compass is more reliable than sight, so follow bearings closely. If markers are spaced every 50 yards, you won’t drift far off route. Avoid moving fast-maintain contact with the last known marker before advancing. Fog signals and visibility markers aren’t backups-they’re your primary tools when the marsh disappears. For reliable directional accuracy, choose a baseplate hiking compass with global needle technology.
What to Do If You Start Sinking?
What’s the first thing you do when the ground gives way beneath your boots? Don’t panic. Sudden movement worsens sinking. Instead, distribute your weight by lying flat on your back or rolling onto a sleeping pad or backpack. Use slow, controlled motions to inch toward firmer ground-this is a core self rescue technique. If you’re alone, stop, assess, and avoid vertical pulls that break surface tension. Carry a whistle or mirror for emergency signaling; three sharp blasts or flashes are universally recognized distress signals. Test your gear beforehand-whistles outperform shouted calls in wind, and signal mirrors work over greater distances than lights. Self rescue techniques reduce risk more reliably than gear, but emergency signaling guarantees help arrives if needed. Avoid sudden struggles; measured actions preserve energy and increase survival odds in soft, unstable terrain. Prevention matters, but preparation saves lives. For reliable long-range visibility, consider a high-reflectivity emergency signaling mirror designed for survival situations.
Navigate by Reading the Wetland Landscape
A solid grasp of wetland terrain keeps you on firm footing when trails disappear. You can’t rely on markers here-natural cues are your best guide. Track animal signs to find stable paths; deer, raccoons, and birds often use firm ground or game trails that avoid deep muck. These routes aren’t guaranteed, but they improve your odds. Read water flow to judge depth and movement; slow, clear seepage often means shallower areas, while dark, swift channels signal deep, unstable zones. Flow direction also hints at elevation changes-water moves from higher to lower ground, helping you orient yourself. Mud cracks or ripples on the surface reveal recent water levels. Use them to anticipate hidden sinks. Combine these observations with your map and compass. Relying solely on one cue risks error. Together, they offer a reliable, real-time assessment of safe passage.
On a final note
You’ll move faster and safer by sticking to firm ground you can see or test. Trust your compass when landmarks vanish, and always probe ahead in murky spots. A good map and steady pace beat rushing through unknowns. If you sink, spread your weight and roll toward solid ground. Light gear helps you stay agile. Wetlands test patience, but clear thinking keeps you out of trouble.