Creating Personal Safety Corridors on GPS for Night Hiking
You can create a personal GPS safety corridor for night hiking by setting a virtual boundary along your route in apps like Gaia GPS or AllTrails+. It alerts you if you drift off trail, typically within 3–5 meters accuracy under open sky. Use a 20–50 meter buffer, adjust for terrain and speed, and rely on offline maps. Pair with a compass and power bank. False alerts happen in dense canopy, so verify position. System trade-offs include battery use and signal delays-knowing the limits keeps you on track. Next steps reveal how to fine-tune settings based on real trail conditions.
Notable Insights
- Set a GPS safety corridor along your route using apps like Gaia GPS or AllTrails+ to receive deviation alerts.
- Adjust corridor width between 20–50 meters based on trail complexity and visibility conditions.
- Enable audio or vibration alerts to notify you instantly if you drift off the designated path.
- Use offline maps and ensure location services remain active with battery-saving settings enabled.
- Respond to alerts by stopping, verifying position with landmarks, and using a compass as a backup.
What Is a GPS Safety Corridor: and Why Use One at Night?

A GPS safety corridor is a virtual boundary you set along a trail using navigation software, and it’s especially useful at night when visibility drops and terrain features are harder to identify. You rely on it to trigger alerts if you stray outside the designated path, reducing the chance of disorientation. This tool supports effective risk assessment by defining safe zones based on terrain difficulty, weather, and trail conditions. It’s not foolproof, but it improves emergency preparedness by giving you immediate feedback when you deviate. Most GPS units and smartphones handle corridor tracking with minimal battery drain. You still need backup navigation, like a map and compass, since tech can fail. The corridor doesn’t prevent accidents-it helps you respond faster. Using one means accepting that night hiking demands extra planning, and integrating digital tools with proven safety practices gives you a measurable edge when conditions are unpredictable.
How to Set Up a GPS Safety Corridor in 5 Minutes
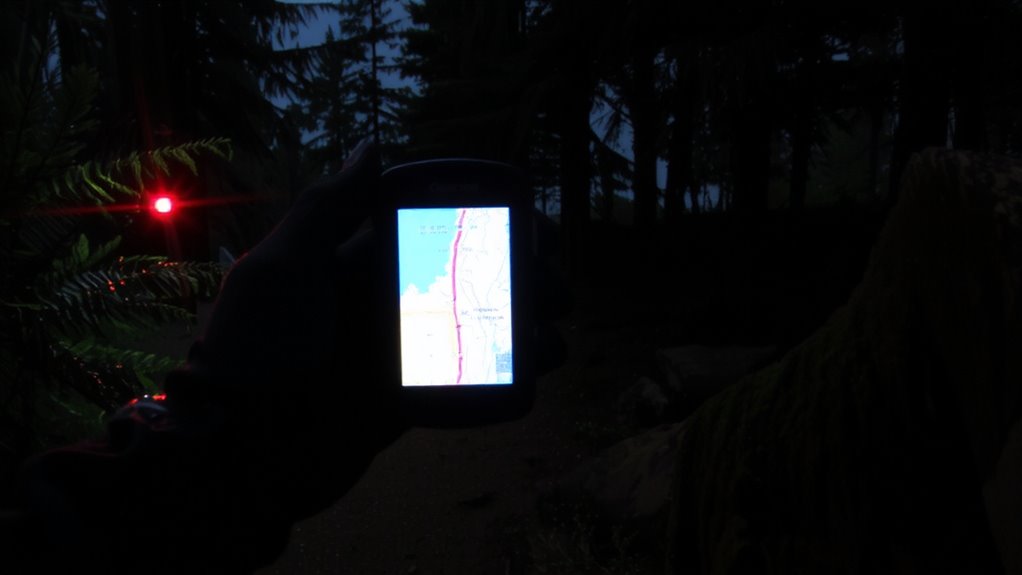
You already know a GPS safety corridor helps you stay on track when night hiking, but setting one up doesn’t require deep technical skills or extra gear. Open your GPS app and load your route. Select the “safety corridor” or “bread crumb trail” feature, then adjust the width-20 to 50 meters works for most trails. Confirm the corridor activates alerts if you stray. Enable battery saving mode to extend device life without sacrificing tracking accuracy. Most modern apps balance GPS, GLONASS, and network signals automatically, but turning on signal boosting improves lock speed in tree cover. Test the alert sound beforehand. The whole process takes about five minutes and runs reliably on mid-tier smartphones. You don’t need premium hardware. Just make certain location services stay active and avoid power-saving settings that kill background processes. It’s a simple setup with measurable benefits: fewer navigation errors, reduced flashlight use, and continuous path awareness-all critical after dark. For added reliability, consider using one of the best GPS devices for hiking which are designed to perform well in remote areas with limited signal.
Best GPS Apps That Support Safety Corridors
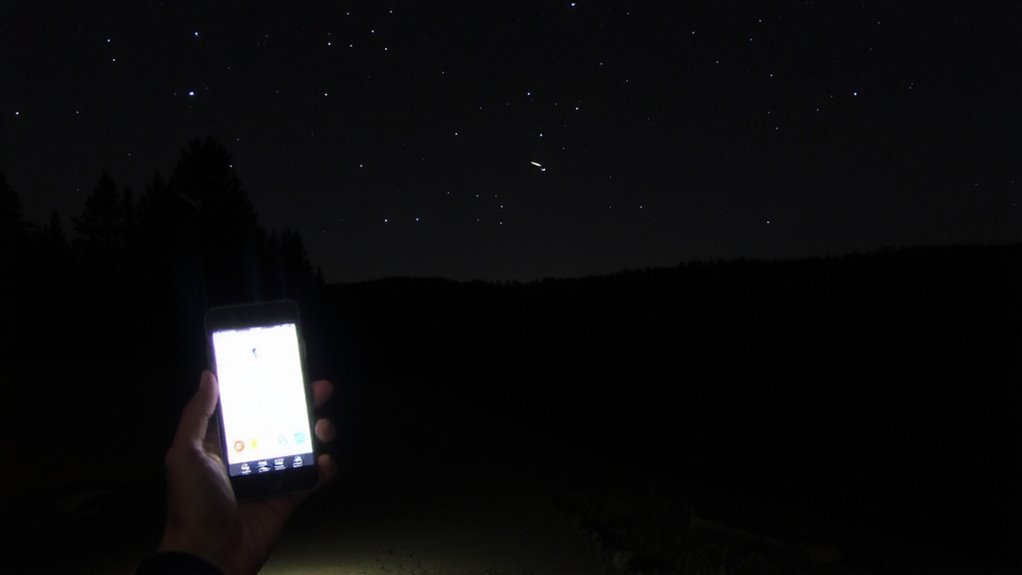
Five reliable GPS apps consistently deliver safety corridor functionality without requiring a high-end device or steep learning curve. You’ll want offline maps and route sharing for night hikes, where connectivity drops and safety matters most. These apps perform reliably under real trail conditions, balancing battery use and accuracy.
| App | Offline Maps | Route Sharing |
|---|---|---|
| Gaia GPS | Yes | Yes |
| AllTrails+ | Yes | Yes |
| Komoot | Yes | Yes |
Gaia GPS offers precise boundary alerts but consumes more power. AllTrails+ has an intuitive interface and solid trail database, though its corridor alerts are less customizable. Komoot gives turn-by-turn navigation with route sharing that updates in real time, ideal for group coordination. All three support downloadable offline maps, so you’re not caught blind when the signal fades. Choose based on your need for alert sensitivity and data efficiency-not hype.
How to Adjust Your Buffer Zone for Terrain and Speed
Most hikers set buffer zones too wide on flat trails and too narrow on steep terrain, which increases false alerts or misses critical deviations. You need to adjust your buffer based on terrain awareness and speed adaptation. On flat, clear paths, a 10–15 foot buffer works-it’s narrow enough to catch drift but avoids false alarms. When the trail turns rocky or steep, widen it to 25–30 feet; uneven ground forces small, necessary detours. If you’re moving fast, especially downhill, expand the zone slightly-faster speeds reduce reaction time, so the GPS needs more room to register corrections. Slow, cautious sections let you tighten it. Matching buffer width to both terrain and pace keeps alerts accurate without oversensitivity. It’s not one-size-fits-all-your settings should reflect real trail conditions and how quickly you’re moving through them.
What to Do When Your GPS Alerts You’re Off Track
A GPS alert that you’re off track doesn’t mean you’ve made a mistake-terrain adjustments and signal delays can trigger warnings even when you’re maneuvering correctly. First, stop and assess: check your route overlay on the map, verify your last known position, and cross-reference with visible landmarks. Signal interference from dense canopy or steep terrain often causes brief inaccuracies-wait 30 seconds to see if the signal corrects. If the alert persists, confirm your GPS device hasn’t experienced battery failure or software lag. Carry a backup power source rated for low temperatures. Rely on your pre-planned safety corridor and compass bearings if the GPS remains inconsistent. Avoid rerouting based on a single alert. Devices vary in positional accuracy, typically 3–5 meters under open sky, but performance degrades without clear satellite view. Trust your navigation plan over transient alerts. For optimal reliability, consider a hiking GPS device with proven performance in rugged outdoor conditions.
How to Maintain GPS Accuracy on Night Hikes
Why does your GPS sometimes drift or lose signal when you need it most at night? Signal interference from dense tree cover, steep terrain, or even your clothing can block satellite reception, reducing accuracy. Cold temperatures also slow battery chemistry, affecting performance. You’ll want to guarantee clear sky visibility when possible and avoid holding the device near metal or electronics that cause interference. Enable battery conservation modes, but know they may reduce update frequency-there’s a trade-off between runtime and tracking precision. Using an external power bank adds weight but extends usability. Tested units like the Garmin GPSMAP 66i maintain lock longer under canopy than basic models. Accuracy improves when you stay in open corridors, even at night. Regularly recalibrate the compass and check firmware. You won’t prevent all drift, but smart settings and positioning cut errors markedly.
On a final note
You save battery and reduce distractions by setting a 20–50 meter buffer, depending on terrain. Apps like Gaia GPS and AllTrails handle corridors well, but test them in daylight first. Accuracy drops in valleys or under trees, so check periodically. Alerts help, but don’t rely on them alone-stay aware. A safety corridor works best when combined with a headlamp and map backup. It’s a lean tool, not a fix for poor planning.