Crafting a DIY Water Filter Using Local Plant Materials and Simple Tools
You can build a working water filter fast using a plastic bottle, gravel, sand, charcoal, and plant fibers like cattail down. Layer them from coarse to fine to trap debris, silt, and some contaminants. It won’t remove viruses, but it improves clarity and reduces harmful particles. Test the output against source water to judge effectiveness. Fine-tune layer thickness or charcoal amount if needed-results vary by material quality and water source. Better performance starts with smarter layering.
Notable Insights
- Use natural materials like sand, gravel, and hardwood charcoal for effective filtration layers.
- Collect clean, dry plant fibers such as cattail down to act as fine particulate sieves.
- Construct a filter by layering materials from coarse to fine in an inverted bottle or container.
- Ensure all components are non-toxic and sourced from uncontaminated local environments.
- Test filtered water for clarity and odor, adjusting layers to improve performance.
Why a DIY Natural Water Filter Could Save You
If you’re ever stuck without clean water, building a filter from natural materials might be the difference between staying safe and getting sick. You won’t always have access to purification tablets or tools, so knowing how to construct a basic filter is a core survival skill. It removes debris, parasites, and some bacteria-though not viruses-reducing illness risk. This method isn’t perfect, but it’s better than drinking untreated water. Emergency preparedness means planning for the likely failures, and water contamination is one of them. A DIY filter extends your endurance in the field, buying time until safer options are available. It weighs nothing, requires no fuel, and uses what’s around you. While boiling is more effective, it uses energy and time. A natural filter works passively, giving you immediate improvement with minimal resources. Mastering this skill means understanding its limits and strengths in real conditions. For longer-term reliability, pairing your DIY method with portable best water filters for survival can significantly improve water safety.
Gather These 4 Natural Filtration Materials
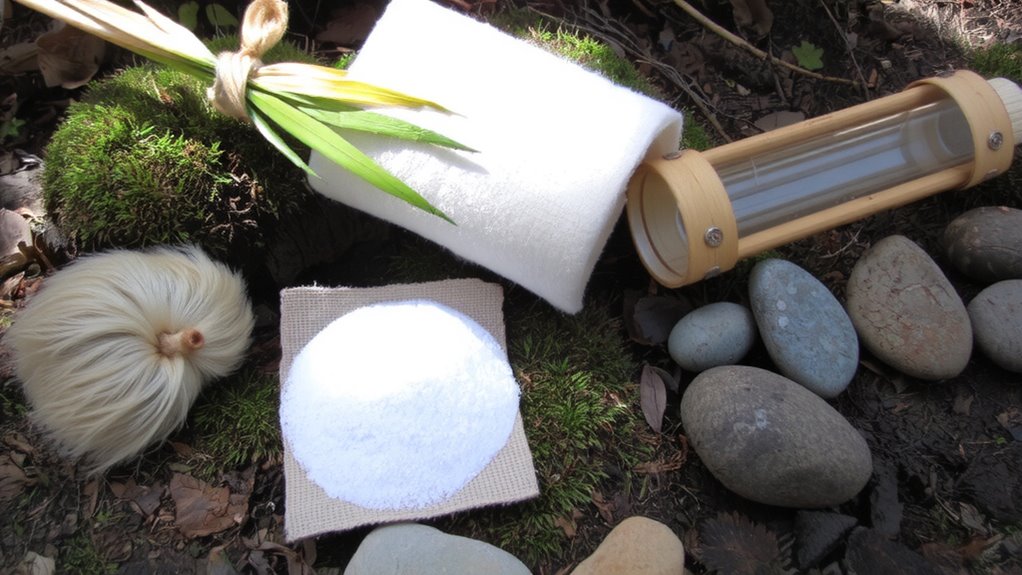
Since you’re working with what’s available in nature, your filter’s effectiveness depends on choosing the right materials-start by gathering these four key components found in most environments. First, collect fine sand to trap small particulates; it’s dense and widely accessible. Next, use crushed charcoal from hardwoods, which improves water taste and reduces impurities through adsorption. Then, layer in small gravel or pebbles to filter out larger debris and support structure. Finally, add cottony plant fibers like cattail down or milkweed-these act as fine sieves. Your plant selection directly impacts filtration efficiency, so pick clean, non-toxic species. Material sourcing matters too: use dry, uncontaminated materials to avoid introducing pathogens. Each layer has a function, and skipping one reduces performance. You won’t get lab-grade results, but with careful layering, you’ll produce safer drinking water in a survival scenario. For added safety, consider combining your DIY filter with one of the best survival water purifiers available to ensure thorough pathogen removal. best survival water purifiers
Build a Working Filter in 5 Simple Steps

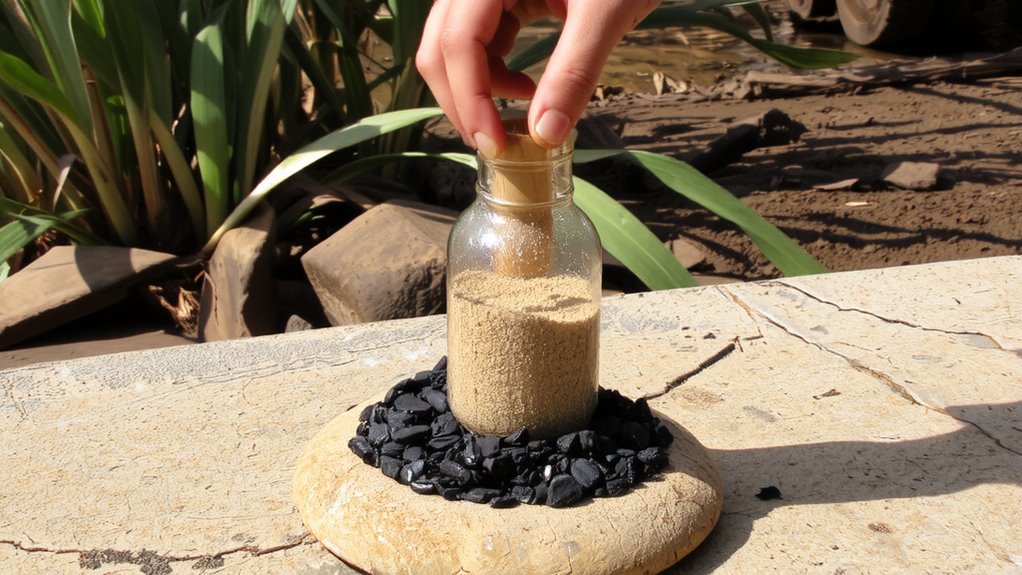
A sturdy container is your starting point-grab a plastic bottle, cut the bottom off, and invert the top to form a funnel. Secure it in a stand or holder to keep it stable during use. Next, cover the mouth with mesh or cloth to hold materials in place while allowing water through. Layer your chosen materials carefully, as the order affects both filter efficiency and flow rate. Coarser materials go on top to catch large debris, slowing clogging and maintaining flow rate. Finer layers beneath increase filter efficiency by capturing smaller particles. Pack each layer evenly, avoiding gaps that let unfiltered water slip through. Make certain air pockets are minimized-tap the sides gently to settle materials. The design balances speed and cleanliness: too tight, and flow rate drops; too loose, and filter efficiency suffers. This version works best with pre-settled water to extend function. For insight into commercial options that use advanced filtration media, consider researching best water filters to compare performance standards.
Use These Layers to Trap Dirt and Toxins
While layering your filter, start with coarse gravel or small stones at the top to catch large debris like leaves and twigs-this keeps the lower layers from clogging too fast. Below that, add a layer of sand to trap finer sediments. Sand alone won’t remove toxins, so the next layer must be activated charcoal, which binds contaminants like heavy metals and chlorine. It’s one of the few materials proven to improve water safety in survival setups. Then, include finely shredded plant roots, which help filter microdebris and add structural stability. Some roots also contain natural compounds that assist in purifying water, though their effect is limited compared to activated charcoal. Each layer has a distinct job: gravel blocks bulk waste, sand handles silt, charcoal reduces chemicals, and plant roots support filtration. Don’t skip or swap layers-each contributes to cleaner output.
Test and Improve Your Filter’s Output
How clean is your filtered water, really? Test it by collecting a sample before and after filtration. Check for visible particles, smell, and clarity-these are basic indicators of water quality. If the filtered water still looks cloudy or has an odor, your filter isn’t reducing contamination levels enough. You can also use a simple water test kit to measure bacteria, turbidity, or pH. These tools give you real numbers, not guesses. If contamination levels remain high, adjust your filter layers. Add more activated charcoal, tighten sand grading, or increase plant fiber density. Each change affects performance differently. Retest after every modification. Improvement isn’t instant-trial and error is necessary. Your goal isn’t perfection but safer drinking water. Repeat testing guarantees you’re actually improving water quality, not just assuming you are. Trust data, not appearances.
On a final note
You now have a working filter that removes visible debris and reduces some contaminants. It won’t eliminate all pathogens, so boil water afterward if possible. Flow rate slows with finer layers, but that improves particle capture. Charcoal helps with odor and chemicals, though it doesn’t sterilize. This setup is lightweight, uses local materials, and performs reliably in short-term survival situations when built and maintained correctly.