Building an Insulated Snow Shelter With a Ventilation Shaft
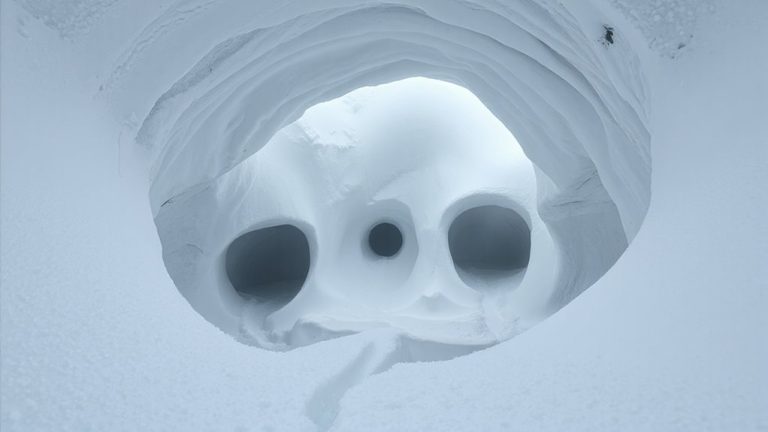
Pick a safe, flat or ridgeline spot with firm, wind-packed snow-avoid gullies or trees. Build a snow cave or quinzhee using compacted layers for stability and insulation. Shape walls in smooth arches, 12–18 inches thick, to prevent collapse. Add a fist-sized vent near the roof, angled with a stick to maintain airflow. This prevents deadly CO₂ buildup from your breath. Line the interior with foam and a thermal blanket to retain heat. You’ll want to know how each design handles extreme cold and ventilation over time.
Notable Insights
- Choose a safe, flat or ridgeline location with firm, wind-packed snow to minimize avalanche risk.
- Build a snow cave or quinzhee using dense snow, ensuring walls are 12–18 inches thick for insulation and stability.
- Shape interior walls with smooth, arched curves to distribute weight and prevent collapse.
- Install a fist-sized ventilation hole near the roof, slanting it upward to prevent blockage and ensure airflow.
- Insulate the sleeping platform with a foam pad and reflective emergency blanket to retain body heat.
Choose the Safest Spot for Your Snow Shelter
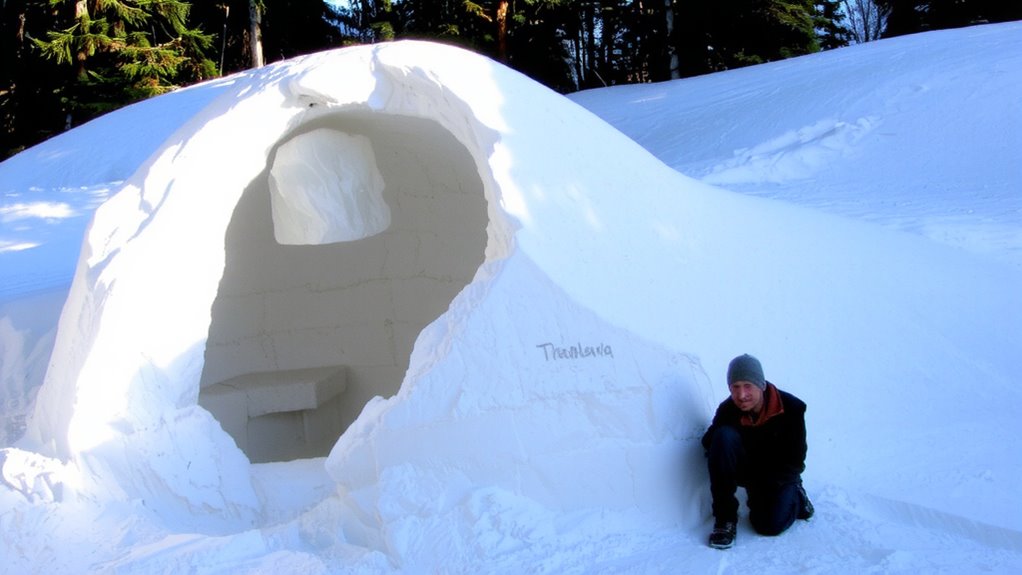
While you might be tempted to start digging wherever you first feel tired, picking the right spot matters more than most realize-it can mean the difference between a safe, stable shelter and a dangerous collapse. You need to assess avalanche risk first; avoid steep slopes, gullies, or terrain traps where snow accumulates and releases. Staying on a ridgeline or flat plateau reduces your exposure. Ground stability is equally critical-look for firm, wind-packed snow that holds together under light pressure. Avoid areas with visible layers or cracks, which suggest weak structural integrity. Stay clear of tree wells or rocks that may shift or transfer heat, melting surrounding snow. A stable base supports your shelter’s walls and ceiling, preventing sudden failures. Spots with consistent snow density allow easier excavation and better load distribution. Choosing wisely here doesn’t guarantee safety, but it greatly lowers risk. Your survival depends not just on effort, but on where you apply it.
Build an Insulated Snow Shelter: Cave or Quinzhee
If you’ve picked a safe spot, your next decision is what type of insulated shelter to build-either a snow cave or a quinzhee, each with clear trade-offs. A snow cave requires digging into a drift or slope, relying heavily on snow density for structural integrity. It’s faster to build if the snow is already firm. A quinzhee needs piling and waiting for settlement, which takes longer but works in flatter terrain. Both insulate well, but structural integrity depends on proper snow density and shaping.
| Shelter Type | Time Required | Best Snow Density |
|---|---|---|
| Snow Cave | 1–2 hours | High (settled) |
| Quinzhee | 3–5 hours | Medium to high |
| Both | Varies | Critical for strength |
| Neither | Immediate | Poor = collapse |
Shape Walls for Strength and Heat Retention
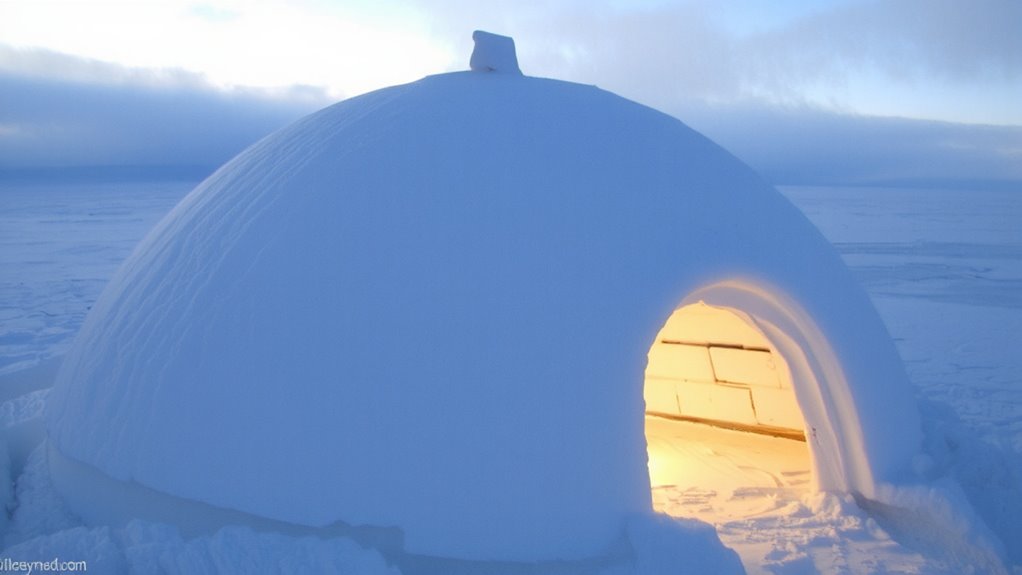
You’ve chosen your shelter type based on terrain and snow conditions, so now focus on shaping the walls correctly to guarantee both stability and warmth. An arched design distributes weight evenly, reducing weak points and improving structural integrity under snow load. Build inward with gradual curves-avoid flat or angular walls, which are more prone to collapse. Your shelter’s strength depends on compacted layers; each 3–4 inch layer must be densely packed before adding the next. Use a snow probe or stick to check uniform thickness-aim for 12 to 18 inches throughout. Thicker walls offer better insulation but take more time and effort. A well-compacted arched wall resists wind, retains heat more efficiently, and reduces melt-refreeze damage. Balance speed and durability: rushed layers compromise safety. Test firmness by pressing your glove into the surface-it should resist indentation. Proper shaping directly impacts survivability in cold conditions.
Add a Working Ventilation Hole in Your Shelter
Why risk carbon dioxide buildup when a simple vent hole could keep you safe? You need proper airflow dynamics to maintain breathable air and support thermal regulation. A working ventilation hole isn’t optional-it’s essential for long-term survival in a snow shelter.
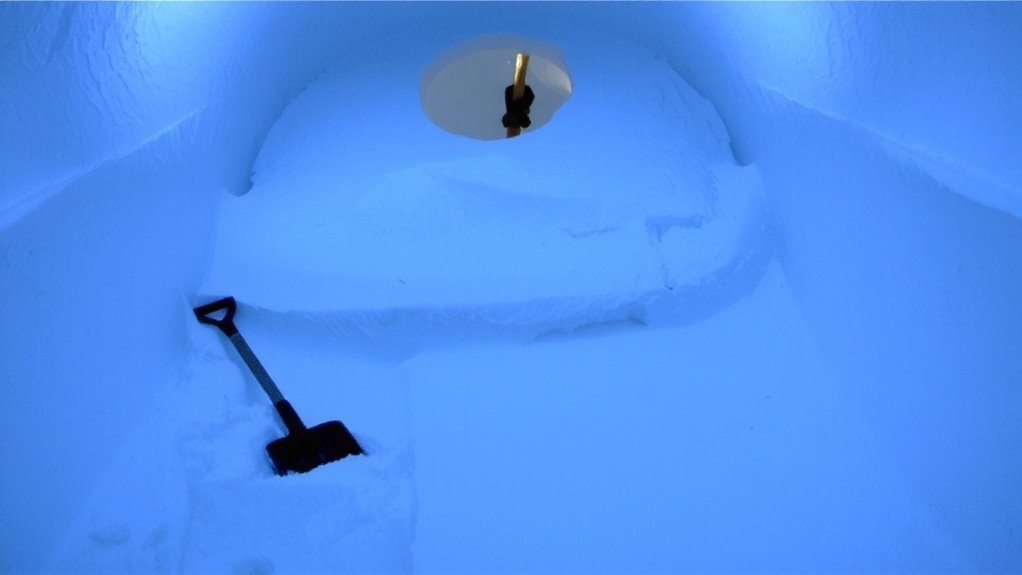
Place the vent high on the wall or near the roof peak to allow passive airflow without sacrificing heat retention. Use a hollow tube or punch a fist-sized hole, then angle a small branch or stick through it to prevent snow from sealing it shut.
| Feature | Benefit | Trade-off |
|---|---|---|
| High vent placement | Improves airflow dynamics | Slight heat loss |
| 2-inch diameter | Balances airflow and insulation | Requires maintenance |
| Angled shaft | Prevents blockage | Harder to dig |
| Natural materials | Readily available | Less durable |
Prevent Deadly Carbon Dioxide Buildup
A well-placed vent hole keeps air moving, but it won’t stop CO₂ from building up if you’re burning fuel or sharing the shelter with others. You’re producing carbon dioxide with every breath, and in a sealed space, levels rise fast. Even one person can reduce oxygen levels to dangerous points in under two hours. Burning a stove or candle worsens this, consuming oxygen and releasing more carbon dioxide. Without airflow, dizziness, headaches, and unconsciousness follow. A vent helps, but it’s not a fix if it’s blocked or too small. Use a tall vent shaft to promote natural convection. Crack open an exit briefly each day to refresh air. Never sleep with a fire inside. Monitor how you feel-if you’re groggy, air quality is likely poor. Real survival gear accounts for ventilation, not just warmth. Your shelter must balance protection with breathable air. Oxygen levels below 19.5% are hazardous. Stay aware, stay alert.
Insulate Your Interior for Maximum Warmth
While trapping body heat is essential, the materials you use inside determine how well that heat stays put. For maximum thermal efficiency, line the sleeping area with a closed-cell foam pad-it’s lightweight and resists compression under your body. Add a reflective emergency blanket on the walls to boost heat reflection, directing warmth back toward you instead of letting it soak into the snow. Avoid cotton; it retains moisture and loses insulating value. Wool or synthetic insulation layers work better and maintain performance when damp. Keep your sleeping bag off the snow floor with at least 2 inches of insulation beneath you. The ground will pull heat fast if you don’t. Your body generates about 100 watts of heat at rest-smart interior insulation guarantees most of it stays where it’s needed, not lost to the structure. A durable outdoor fire blanket can also serve as an additional insulating layer in emergency shelters.
Why Ventilation Is Life-or-Death in Snow Shelters
How long can you survive in a tightly sealed snow shelter before the air turns dangerous? Not long. Without proper air circulation, carbon dioxide builds up and oxygen levels drop fast. You might feel drowsy or disoriented within hours-signs your shelter’s killing you quietly. A ventilation shaft isn’t optional; it’s as critical as insulation. It maintains safe oxygen levels and allows consistent air circulation, even in harsh winds.
| Condition | Risk Level |
|---|---|
| No vent | Extreme |
| Poor air circulation | High |
| Oxygen levels <19.5% | Dangerous |
Tested shelters without airflow failed safety thresholds in under 3 hours. One small shaft, correctly placed, prevents suffocation and moisture buildup. Don’t risk it-build the shaft. Your life depends on that one opening letting fresh air in and stale air out.
On a final note
You’ve built a strong shelter with insulation and a ventilation shaft-two non-negotiables. Without airflow, CO₂ builds fast, risking unconsciousness. The shaft works only if it’s clear and tall enough to create draft. Insulation cuts heat loss, but damp gear reduces efficiency. Test airflow with vapor from breath; if it lingers, adjust the shaft. This setup lasts hours to days, depending on snow density and body heat. It’s basic, not foolproof, but meets core survival needs when executed right.