Camouflaged Survival Shelter: Build a Hidden Lean-To (45°)
Pick a spot near rocks or boulders to block your outline and reduce wind exposure. Use dry foliage and branches to build a lean-to at a 45-degree angle, then weave in smaller sticks for support. Cover it with layered debris 6–8 inches thick to trap heat and dampen sound. Seal gaps with mud to block wind and hide movement. Position the entrance in shadows and away from trails. Mask smells and waste downwind. You’ll stay hidden longer than you think.
Notable Insights
- Choose a concealed location using natural terrain features like rock formations and crevices to avoid detection and retain heat.
- Gather dry foliage and leafy branches to build a camouflage layer that sheds rain and blends with the surroundings.
- Construct a low-profile lean-to by angling branches at 45 degrees and covering them with a tight lattice of sticks.
- Waterproof the shelter with 6–8 inches of densely packed debris layered to break up the shelter’s outline and reduce noise.
- Conceal the entrance with irregularly placed brush and position all human traces, like waste and cooking, far downwind and hidden.
Choose a Hidden Spot That Blends Into the Terrain
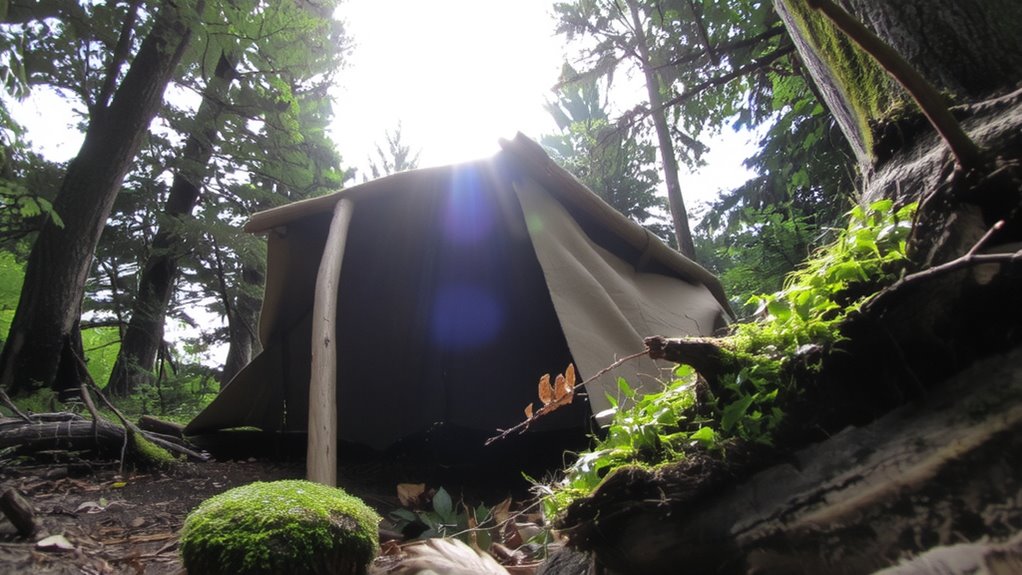
While you might be tempted to set up camp near a clear landmark or trail, picking a spot that naturally blends into the surrounding terrain gives you better concealment and protection. You’re less visible when you avoid open areas and stick to natural breaks in the landscape. Rock formations offer solid backdrops that block your outline and provide wind resistance. Their crevices can shield you from view while radiating heat at night. Animal trails may seem convenient, but using them as direct access increases detection risk. Set up a short distance from them instead, using the paths as indirect routes. This balances ease of movement with concealment. Flattened ground near boulders or under low canopy reduces your exposure. You trade some comfort for security, but that’s the point. Choose terrain that hides your shape, not one that highlights it.
Collect Leaves, Branches, and Mud for Cover

If you want your shelter to vanish into the landscape, start by gathering leaves, branches, and mud-natural materials that break up your outline and match the surroundings. Your leaf collection should include plenty of dry, broad foliage; these stack densely and shed light rain. Avoid green, sappy leaves-they’re noisy when crushed and attract bugs. Gather branches with existing leaf cover to speed up the process and improve blending. Use them to form a lattice over your frame before adding more material. Mud application works best when layered thinly over woven branches-this adds weight, blocks wind, and seals gaps. Too much mud causes sagging; too little reduces concealment. Test adhesion by pressing a handful to a vertical surface-if it holds for 30 seconds, it’s usable. These materials are free, abundant, and effective when applied correctly. They’re not perfect, but they’re reliable in most temperate environments.
Build a Lean-To Shelter That Stays Off the Radar
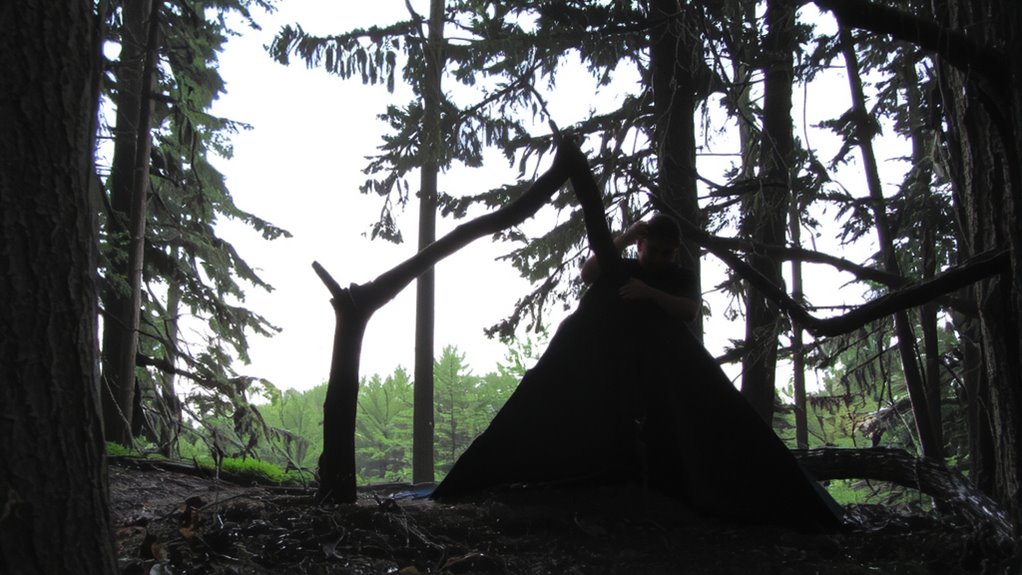
A lean-to shelter gives you quick cover with minimal effort, and when built right, it stays nearly invisible. Start by propping a strong ridgepole between two trees or anchor it to a rock and stake. Lean sturdy branches at a 45-degree angle to form the frame. Cover them with tightly woven smaller sticks to support debris without adding bulk. Keep the profile low and align the open side away from likely observation points. Use natural materials already on the ground to avoid disturbing the soil and drawing attention. This setup supports fire starting on the opposite side if needed, but stay upwind to avoid smoke trails. For tool crafting, a fixed-blade knife works best-durable and efficient for notching supports or slicing bindings. Nylon cord adds reliability, though natural fibers work in a pinch. Balance speed, concealment, and function. This design is simple, effective, and leaves little trace.
Weatherproof With Debris Without Drawing Eyes
You’ve got your lean-to framed and positioned to avoid detection, so now it’s time to seal it against the weather without giving away your position. Start by layering natural debris-branches, leaves, grass-over the frame, packing it tightly to create thermal insulation that traps body heat and reduces heat loss. A 6–8 inch layer performs best in most climates. This debris also provides noise reduction by dampening wind and rain impact, keeping the interior quieter and less detectable. Avoid uniform patterns; mimic the surrounding ground cover to stay visually blended. Use damp moss or soil on the outermost layer to suppress movement and hold material in place. The added mass improves insulation value and wind resistance. Keep the shelter low-profile and avoid overstacking, which could shift the silhouette. Test airflow by moving around inside-you shouldn’t feel cold drafts or hear excessive outer noise. Thermal insulation and noise reduction are critical, and this method delivers both without synthetic materials.
Hide Your Entrance and Mask Human Signs
While your shelter’s structure stays hidden, the entrance remains the most likely place to give you away-so conceal it with overlapping natural materials like bent saplings, leafy branches, or loose brush that blend with the surroundings and break up the outline. Use irregular camouflage patterns to disrupt the shape, avoiding symmetrical layouts that draw the eye. Position the entrance where natural shadows fall, like under dense foliage or beside a boulder, to further reduce visibility. Seal gaps with debris to prevent interior movement from showing. For scent masking, avoid cooking near the shelter and scatter human waste at least 200 feet away, downwind. Rubbing dirt or crushed local plants on gear reduces body odor detection. Disturb minimal ground vegetation when entering to limit sign of use. These steps lower detection risk without added tools or weight. Simple execution beats complex solutions in evasion scenarios. A durable, lightweight best tarp shelters can enhance concealment and weather resistance when integrated into natural camouflage.
On a final note
You’ve built it right if it stays dry, hidden, and blends in. A lean-to with debris cover works-no shine, no straight lines. Mud and leaves break your outline; a low entrance keeps you unseen. Ventilation prevents condensation, but you don’t need extras like tarps if nature supplies enough cover. It won’t last a month, but it’s good for three to five days. Fast, quiet, and functional-that’s what matters.