How to Evaluate Your Family’s Ability to Navigate Evacuation Routes
You need to know if everyone in your family can reach safety on foot or with assistance. Check mobility limits, medical conditions, and device needs like oxygen or wheelchairs. Test each evacuation route yourself-measure travel time, surface type, and ramp access. Include pets and medications in every trial run. Run timed drills monthly to catch delays early. Real-world performance beats assumptions every time-your next step reveals how to refine the plan further.
Notable Insights
- Assess each family member’s mobility, including walking ability, stair use, and limitations due to chronic conditions like heart disease or diabetes.
- Map multiple evacuation routes using tools like Google Maps and verify accessibility for wheelchairs or mobility aids.
- Test drive each route to measure real-world travel time, accounting for terrain, congestion, and medical equipment needs.
- Conduct timed evacuation drills monthly to identify delays and ensure everyone can keep pace under realistic conditions.
- Confirm availability and functionality of mobility aids, oxygen supplies, and backup power for medical devices during route traversal.
Assess Family Mobility and Medical Needs
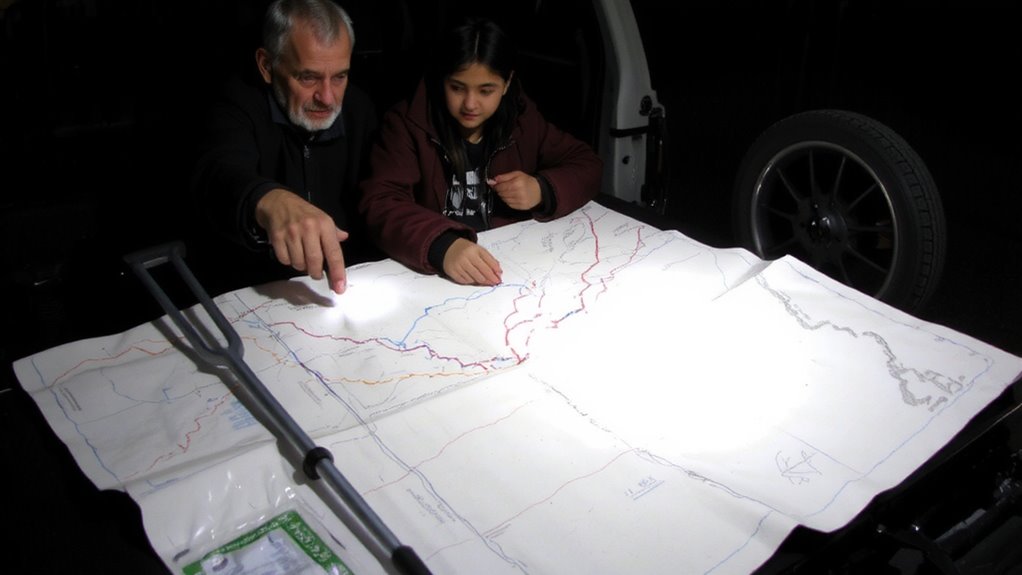
If you’re planning an evacuation, you’ll need to account for everyone’s physical abilities and medical conditions right from the start. Emergency preparedness requires a clear mobility assessment for each family member. Can someone walk long distances? Use stairs? Transfer from bed to wheelchair independently? Document limitations honestly. A person with limited stamina may not manage rough terrain, even with assistance. Chronic conditions like diabetes or heart disease demand medication access and power for medical devices. Include oxygen, mobility aids, and backup supplies in your plan. Test your equipment during drills-don’t assume it works under stress. Consider weight, durability, and setup time for wheelchairs or walkers. Trade-offs exist: lightweight gear may lack support. Knowing these details ahead improves response speed and safety. Effective evacuation plans reflect real capabilities, not hopes. Accurate mobility assessment isn’t optional-it’s essential for practical, usable emergency preparedness.
Map and Compare Multiple Evacuation Routes
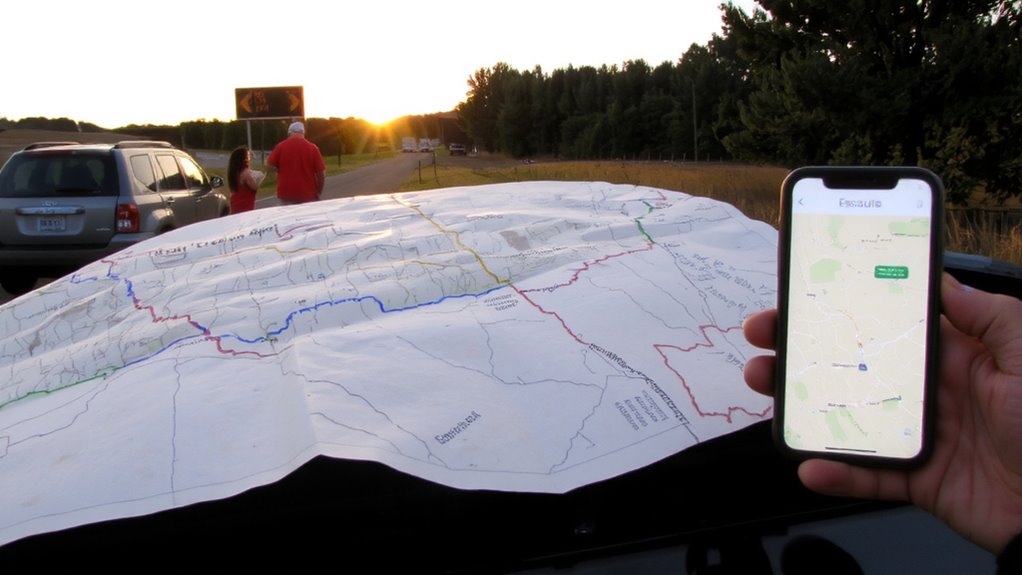
You’ve already mapped out your family’s mobility limits and medical needs, so now it’s time to match those realities with actual escape paths. Use tools like Google Maps or local emergency plans to map and compare multiple evacuation routes. Consider traffic patterns during peak and crisis times-some roads clog quickly, making alternate highways essential. Test drive each route to measure real-world travel time and accessibility. A good survival map can significantly improve situational awareness and route planning during disasters, so choose best survival maps based on durability, scale, and terrain detail.
| Route | Estimated Time (min) |
|---|---|
| Primary Highway | 22 |
| Alternate Highway A | 31 |
| Alternate Highway B | 37 |
| Rural Backroad | 44 |
| Secondary Connector | 28 |
Alternate highways add distance but often save time when traffic patterns shift. Include at least two viable options to account for road closures or congestion. Route flexibility improves your chances during emergencies.
Include Pets, Meds, and Special Equipment
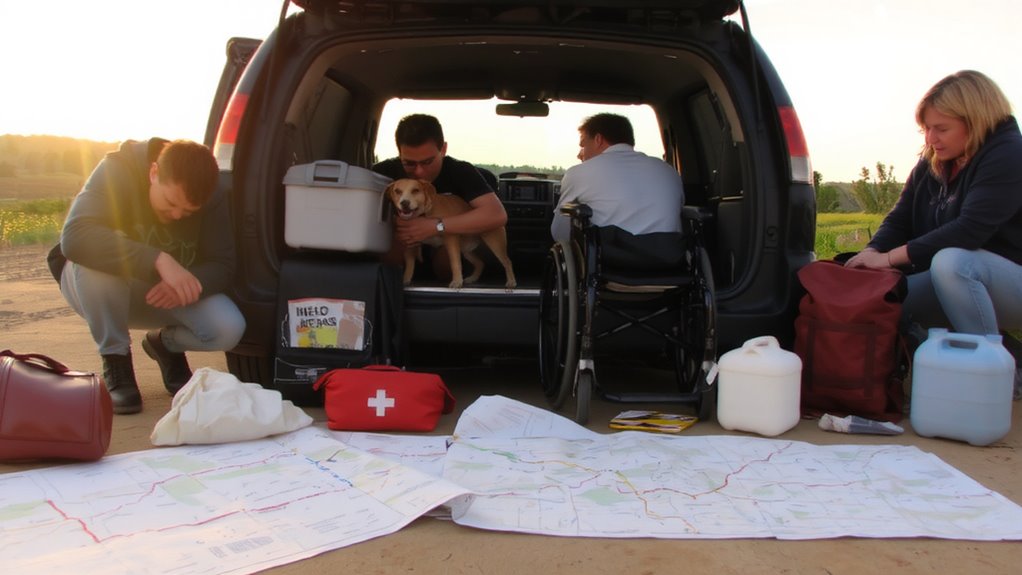
When planning your evacuation, don’t overlook the essentials that keep your family-both human and animal-safe and functional. You need reliable pet transportation; carriers should be sturdy, well-ventilated, and sized for quick loading. For medication storage, use insulated, waterproof containers with temperature logs if necessary. Prescription needs don’t pause during emergencies, so track expiration dates and keep a seven-day supply minimum. Include mobility aids, oxygen tanks, or feeding pumps in your assessment-check battery life and spare part availability. Weigh each item’s necessity against portability. A collapsible wheelchair might save space, but verify its durability on uneven roads. Test storage solutions in humidity and heat to confirm protection. Your evacuation plan fails if it ignores these elements. Adapt containers and carriers to fit your route’s conditions, whether urban sidewalks or rural trails. Plan access, not just possession. Include a reliable light source such as a long-lasting emergency lantern with multiple brightness settings for safe nighttime navigation.
Run Timed Evacuation Drills Monthly
Regularly running timed evacuation drills guarantees you know exactly how long it takes to gather your household, pets, medications, and essential gear under realistic conditions. Monthly timed practice assures everyone remembers their role without hesitation. You’ll spot delays-like a missing flashlight or a slow-moving pet-and fix them before an emergency. Higher drill frequency builds consistency; monthly tests are frequent enough to reinforce habits but not so often they’re ignored. Use a stopwatch during each drill to record exit times, then adjust routes or roles if delays occur. Include turning off utilities and locking doors to simulate real conditions. Review results each time-small improvements add up. Over time, your household will move faster and with less confusion. This measurable, repeatable process confirms your evacuation plan works under stress. Timed practice isn’t about speed for speed’s sake-it’s about predictability, safety, and making certain no one gets left behind.
Plan for Wheelchairs and Limited Mobility
Planning for household members with wheelchairs or limited mobility starts by evaluating how your current evacuation routes support slower movement and assistive devices. Check each exit for wheelchair accessibility-ramps should have a 1:12 slope, doorways must be at least 32 inches wide, and pathways need to be clear of clutter. Test mobility aids on all surfaces, including carpet, tile, and pavement, to guarantee wheels won’t snag or stall. Battery-powered wheelchairs require fully charged backups and a plan for manual transport if power fails. Consider evacuation chairs for stairs-these are lightweight but require training to use safely. Assign able-bodied helpers to assist, but don’t rely solely on them. Practice drills with all mobility aids included. Time each exit route; if it takes longer than 3 minutes, revise the path or upgrade the aids. Every second counts when speed and reliability matter most.
On a final note
You know your routes work when you’ve timed them under real conditions. Test each one monthly, factoring in traffic, road closures, and mobility aids. Include pets, meds, and equipment every run-it reveals gaps fast. If a route takes longer than 20 minutes or blocks wheelchair access, it’s not reliable. Adjust based on results, not assumptions. Drills expose flaws no map can show.