How to Plan for Evacuation When You Have a Medical Device With Limited Battery Life
Test your device’s actual battery life monthly-it often falls short of claims. Carry at least two charged power banks matched to your device’s voltage and amperage, with surge protection. Keep everything in a labeled, durable kit with foam inserts. Map shelters, hospitals, and libraries on your route that offer reliable charging. Use transport with inverters or built-in power. Run full drills under real conditions. Realistic prep reveals gaps specs miss.
Notable Insights
- Test your device’s actual battery runtime monthly under real-world conditions to establish a reliable usage baseline.
- Keep at least two fully charged, compatible power banks rated for your device’s voltage and current needs.
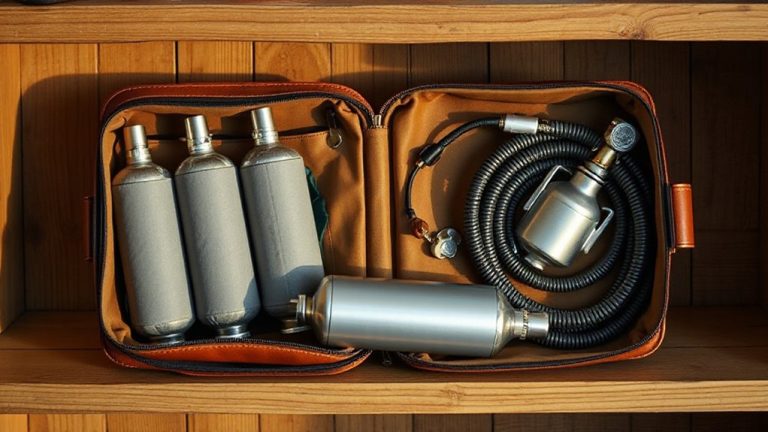
- Store all device components, batteries, and cords in a labeled, durable, and easy-to-carry power kit.
- Identify and map reliable charging locations like hospitals, shelters, and libraries along your evacuation route.
- Conduct evacuation drills using only battery power to confirm device runtime and transport safety under real conditions.
Know Your Medical Device’s Battery Life
Most medical devices run between 4 and 24 hours on a full charge, so you need to check your device’s exact runtime under normal use-basing your evacuation plan on estimates could leave you without power when you need it most. You can’t rely on manufacturer specs alone; real-world conditions like temperature and usage frequency affect performance. Conduct regular battery testing to see how long your device actually lasts when you’re using it as you would during an evacuation. Power monitoring helps track charge decline over time, especially as batteries age and lose capacity. Test monthly, under typical conditions, and record the results. This data gives you a realistic baseline. A device that claims 12 hours but delivers 8 in testing changes your planning timeline. Know the difference early. Accurate battery testing and consistent power monitoring aren’t optional-they’re essential for survival. Plan with facts, not guesses.
Pack Multiple Battery Backups and Adapters
Since your medical device will likely outlast its battery during an evacuation, you’ll need backups that match your runtime needs-and then some. Choose battery backups with proven power efficiency to extend operation without unnecessary bulk. Each backup should meet your device’s voltage and amperage requirements-check for device compatibility to avoid failures. Bring at least two charged power banks rated to supply your device’s voltage continuously. Use DC-to-DC converters if your device runs on a specific voltage; inefficient adapters can drain power faster. Include adapters for car outlets, solar panels, and wall outlets to increase charging options. Confirm each adapter locks securely-loose connections interrupt power. Don’t assume all portable batteries work the same. Test each combination before an emergency. Prioritize models with built-in surge protection and low-voltage cutoffs. Redundancy matters more than convenience when lives depend on consistent power. Consider adding a 12V solar battery charger to maintain power during extended outages when grid and vehicle charging aren’t available.
Build a Ready-to-Go Kit for Power-Dependent Devices
You’ve got your battery backups and adapters sorted-now it’s time to put them somewhere that keeps everything accessible and protected. Use a durable, water-resistant bag sized to fit your device, extra batteries, and cords without crowding. Consider device weight when choosing a case-too heavy and it’s hard to grab fast; too light and it may not offer enough storage space. A semi-rigid case balances protection and portability. Label the outside with medical symbols and your name. Inside, organize components so you can see and reach them quickly. Foam inserts help secure items and prevent damage. Avoid overpacking-limited storage space means every item must serve a purpose. Test the kit weekly: pick it up, open it, check connections. Make sure weight distribution allows for one-handed carrying if needed. This isn’t about convenience-it’s about function when seconds count.
Find Charging Spots on Your Evac Route
Where will you recharge if the power’s out for hours-or days? Planning your evacuation route means identifying reliable charging stations and understanding local power networks. Don’t assume every gas station or rest stop has working outlets-verify in advance. Hospitals, emergency shelters, and public libraries often maintain backup power and may allow device charging. Use apps that map open charging stations during outages, especially those tied to resilient power networks like solar microgrids.
| Location Type | Typically Has Backup Power | Accessible During Evacuation |
|---|---|---|
| Hospitals | Yes | With authorization |
| Emergency Shelters | Often | Yes |
| Public Libraries | Sometimes | Limited hours |
| Rest Areas | Rarely | Unpredictable |
| Community Centers | Occasionally | Check local alerts |
Prioritize spots with confirmed power networks and clear public access.
Secure Transport That Supports Medical Device Power
How do you keep your medical device running when the grid’s down and you’re on the move? You need transport solutions that maintain power during evacuation. Medical vehicle modifications, like installed inverters and dedicated circuits, let you run devices directly from your car’s battery. These upgrades provide steady power without draining the starter battery, as long as the alternator functions. For smaller devices, power safe transport containers with built-in battery packs offer portable, stable output. They’re tested to run CPAPs or oxygen concentrators for up to eight hours, depending on the model. Not all containers survive rough handling, so choose ones with impact ratings and thermal shielding. Vehicle mods work best for long evacuations, while containers suit short moves or last-mile transfers. Both options require pre-testing with your actual device load to confirm runtime and compatibility.
Practice Your Evac Plan With Full Device Load
Running your medical device during an evacuation means testing it under real conditions, not just assuming your gear will hold up when it matters. You need to run timed drills with your full device load active-oxygen concentrator, ventilator, or pump-just as you would during an actual emergency. This includes powering everything from the same battery source you plan to use, so you see how long it actually lasts under demand. Schedule simulated blackouts to practice without grid power, relying only on backups and portable chargers. These drills reveal if your battery capacity matches your needs or if you’re overestimating runtime. Test your mobility setup too-can you move quickly with equipment powered on? How long does your battery drop to 20%? Real data from practice beats guesswork. Timed drills build muscle memory and expose gaps in your plan so you can adjust before an actual crisis hits. A reliable backup option during extended outages is a solar laptop charger, which can steadily replenish power when paired with compatible devices.
On a final note
You need power, so plan for it like fuel. Check your device’s battery runtime and pack at least two backups or a verified external battery that fits your model. Keep adapters and charging cables ready. Map shelters or hospitals along your route that offer power access. Confirm transport-like medical vans or ride-share services-can keep your device running. Test the full setup weekly; if it fails, adjust now, not during an emergency.