Creating an Emergency Shelter From Found Objects in Various Environments
You’ll need to scan for hazards like dead trees, flash flood zones, and animal signs before building. In forests, lean a ridgepole against a log, pile on branches and 2–3 feet of leaves or moss for insulation. In snow, dig into a stable drift, shape a domed roof, and add a ventilation hole. Use rock overhangs or cactus fronds in deserts for shade. In cities, secure plastic sheeting with rubble against walls. Anchor all materials well and insulate the ground-each choice affects warmth and safety. Better techniques follow.
Notable Insights
- Assess safety by avoiding flood zones, dead trees, and animal signs while selecting elevated, flat terrain.
- Build a debris hut in forests using a ridgepole frame and 2–3 feet of layered leaves or pine boughs.
- Excavate a snow cave in stable drifts, shaping an inward roof and adding floor insulation and a ventilation hole.
- Create desert shade with cactus-frond lean-tos placed under south-facing overhangs for prolonged coverage.
- Use scavenged urban materials like cardboard and plastic, anchored securely and checked daily for stability.
Assess Dangers Before Building
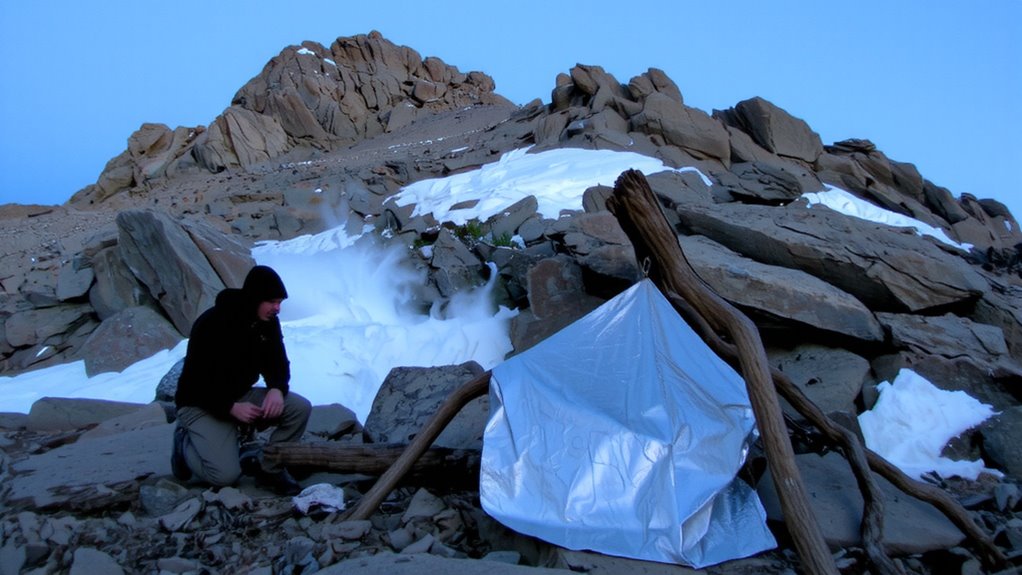
Before you start stacking branches or rolling out a tarp, you’ve got to check your surroundings-because a shelter that protects from rain might put you in the path of a falling limb or flash flood. Look overhead for dead trees and loose rocks; terrain instability increases risk, especially on slopes or after rain. Avoid riverbeds and gullies-flash floods can arrive fast and with little warning. Scan for signs of wildlife threats: droppings, tracks, or claw marks suggest recent activity. Don’t camp near animal trails or dens. Flat, elevated ground away from trees is usually safest. Wind exposure matters too-natural windbreaks help, but only if they won’t collapse on you. You need protection without added danger. Every choice has trade-offs: cover vs. safety, warmth vs. escape routes. Prioritize stability and awareness. Your shelter’s strength means nothing if the ground gives way or a bear claims the spot first. A reliable emergency shelter can offer critical protection when built in a safe location.
Build an Emergency Shelter With Debris in Woods
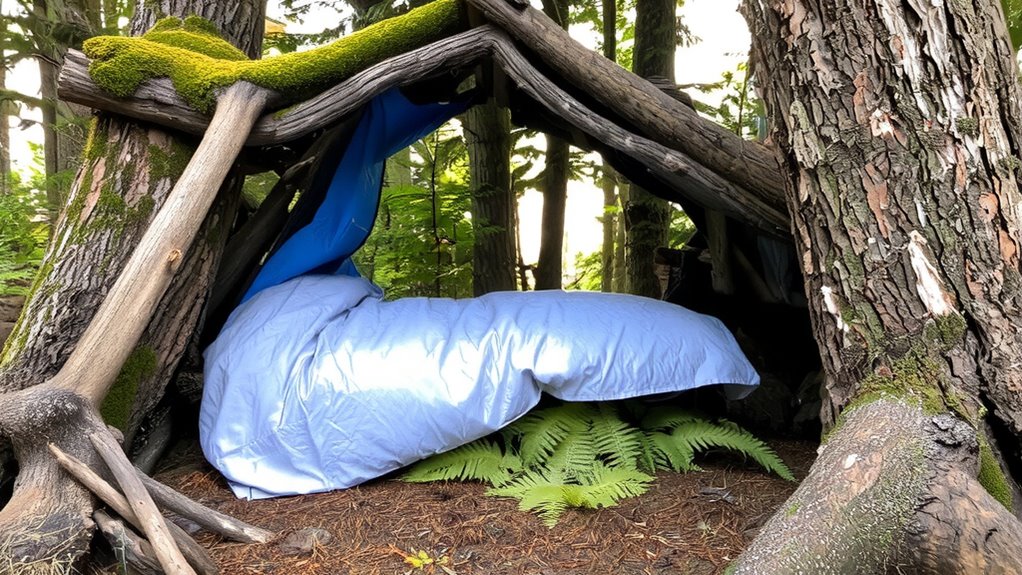
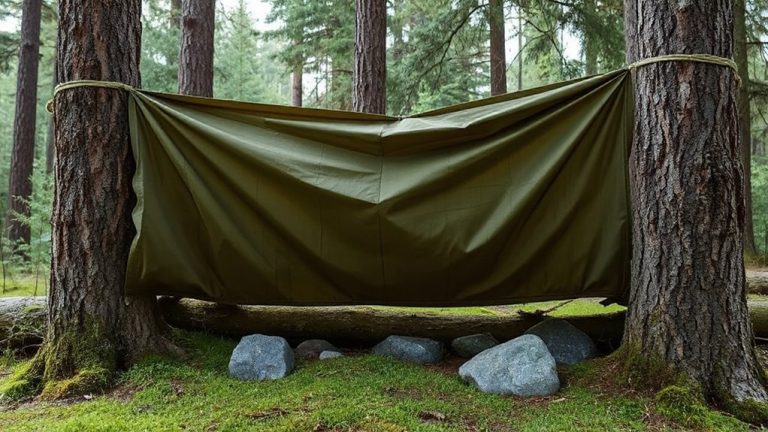
A debris hut is your best bet when stranded in the woods with nothing but what’s around you-just a tarp or space blanket if you’re lucky. Start by finding a sturdy ridgepole and leaning it against a log or low tree branch. Pile on branches to form a frame, then pack it densely with forest debris like leaves, moss, and pine boughs. These materials trap heat and shed rain when layered thick-aim for at least 2 to 3 feet deep. Use larger sticks to anchor the debris and prevent shifting. Your shelter should be just big enough to fit your body to retain warmth. Insulate the ground with extra woodland materials to reduce heat loss. A well-built debris hut won’t last months, but it can keep you alive for days. It’s slow to build and takes effort, but it’s effective when you’ve got no gear. For longer-term safety, consider choosing one of the best survival shelters based on your environment and top survival shelters.
Make a Snow Cave or Windbreak in Winter
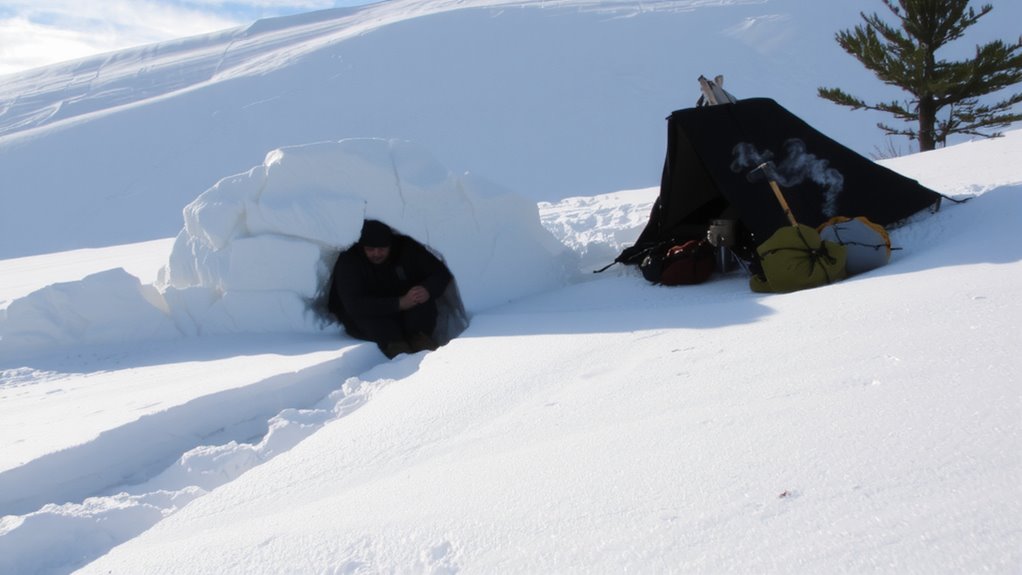
If you’re caught in deep snow without shelter, digging into a snowbank to create a snow cave can be your best option for staying warm. Start snow excavation on a stable drift, ideally on a slope or against a natural wind barrier. Dig a compact entrance large enough to crawl into, then hollow out the interior about 3–4 feet high. Shape the roof inward to prevent collapse. Place an insulating layer like a pad or pack on the floor-warm air rises, so sleeping elevated helps. Build a small windbreak at the entrance if possible, using snow blocks or skis for extra wind blocking. Guarantee ventilation with a small hole near the top to prevent CO₂ buildup. A snow cave can maintain a temperature near 32°F (0°C), even when outside temps drop much lower. While time-consuming, proper snow excavation gives better wind blocking and thermal protection than most improvised alternatives.
Create Desert Shade From Natural Materials
Though shade is critical in desert survival, you won’t last long relying on luck to find it. You need to act fast and use what’s nearby. A rock overhang is one of the best natural shelters-look for large, south-facing cliffs that provide extended shadow. Position yourself close to the base to maximize coverage as the sun moves. If no overhang exists, build a lean-to using available debris. Cactus fronds, though tough to handle, work well as a roofing material-they block sunlight and resist drying out. Stack them thickly to reduce heat penetration. Elevate the structure slightly to allow airflow underneath. Combine the frame with a reflective ground cover, like light-colored fabric or sand, to cut radiant heat. This setup isn’t waterproof, but it lowers ambient temperature by 20–30°F. It’s lightweight, fast, and uses no tools-ideal when resources are scarce. For longer-term scenarios, consider pairing your shelter with a compact emergency shelter kit that includes reflective materials and insulating layers.
Turn City Waste Into an Emergency Shelter
You won’t always find cactus fronds or rock overhangs when you’re stranded in a city, but that doesn’t mean you’re out of options. Urban scavenging lets you repurpose cardboard, plastic sheeting, and scrap metal into a functional shelter. Look for undamaged materials-wet or brittle items compromise structural stability. Cardboard panels, if dry and layered, offer rigidity; plastic tarps provide cover but need secure anchoring. Use bricks or rubble as weight to stabilize walls. Position your shelter against a wall or dumpster for added support and wind resistance. Avoid loose debris or chemically stained objects. Test stability by applying light pressure-adjust supports if shifting occurs. Most city materials degrade faster than natural ones, so check integrity every 12–24 hours. While not a long-term solution, proper urban scavenging gives moderate protection with minimal tools. Success depends on material condition, assembly method, and environmental exposure.
Insulate and Waterproof Any Shelter
A well-insulated and waterproof shelter keeps core temperature stable and blocks moisture, two essentials for staying alert and functional in harsh conditions. Use thermal layering by stacking insulating materials like dry leaves, cardboard, or fabric between walls and interior surfaces to reduce heat loss. Each added layer increases resistance to conduction, but compressing materials reduces effectiveness-aim for loft without squeezing. Weather sealing matters just as much; gaps let wind and water in, undermining insulation. Cover seams and joints with plastic sheeting, tape, or mud to create a continuous barrier. Test seals by feeling for drafts or checking condensation buildup. Waterproofing with tarps or trash bags works if overlapped and secured properly. Avoid trapping moisture inside-balance sealing with limited ventilation. In rain, pitch shelter on higher ground and trench around it. These steps aren’t perfect, but they’re proven and adaptable across environments.
Check for Hazards and Maintain Warmth
Once your shelter’s sealed against wind and moisture, shift focus to safety and heat retention-staying warm means nothing if the structure collapses or exposes you to danger. Check for structural stability: test joints, supports, and anchoring; reinforce weak points with additional debris or debris ties. Avoid overloading the roof, which risks collapse under weight or wind. Scan for hazards like sharp objects, unstable terrain, or dead branches overhead. If using fire for warmth, prioritize fire safety: place the source upwind and at a safe distance, clear flammable materials within a 3-foot radius, and never leave it unattended. A contained, small fire reflects heat efficiently without risking shelter ignition. Insulate the sleeping area with available materials to reduce conductive heat loss. Monitor for shifting weight or wind stress compromising structural stability. Practice fire safety to prevent disaster.
On a final note
You’ve assessed the risks, used what’s available, and built shelter suited to your environment. Each design balances warmth, protection, and effort. Debris shelters insulate but take time; snow caves retain heat well if dug correctly. Desert shade works if positioned to block midday sun. Urban materials offer coverage but may lack durability. No shelter is perfect-trade-offs exist in every choice. Stay dry, stay insulated, and monitor for hazards. Your survival depends on adaptation, not ideal conditions.