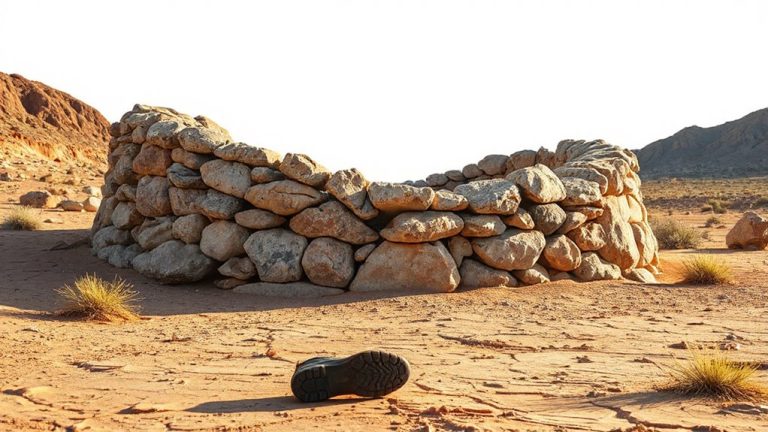
Mapping Terrain Features With Sticks and Stones When No Tools Are Available
You can map terrain with sticks and stones when tools are gone-no batteries, no signal. Line up stones to mark rivers and trails; they stay put in rain and wind. Use upright sticks on ridges every 10 to 15 feet for visibility in open ground. Tie fabric or stack rocks near cliffs to warn of danger. Lay out a scaled model with symbols: a curve for a bend, stacked stones for high ground. Update it every 15 minutes as you move. Accuracy beats memory, and spacing markers within sight keeps you on track. A mirrored signal boosts range when paired with ground signs. Simple, durable, and fast to build, it cuts guesswork and saves energy. There’s a system to how each piece fits the terrain-and knowing it changes how you move.
Notable Insights
- Use stones to trace rivers and trails with continuous or spaced patterns for durable, visible pathways.
- Mark clearings by arranging stones in rings or perimeter shapes to define open areas.
- Place upright sticks along ridges and high ground every 10–15 feet for elevation visibility.
- Build rock cairns or use trail blazes to signal dangers like cliffs within line of sight.
- Create scaled terrain layouts with symbolic stick and stone placements, updated every 15 minutes or after changes.
Why You Need a DIY Terrain Map in an Emergency
Every emergency requires quick, accurate decisions, and knowing the layout of your surroundings can mean the difference between safety and danger. You need a DIY terrain map because it clarifies survival priorities when time and focus are limited. By arranging sticks and stones, you create a tactile reference that supports effective resource allocation-tracking water sources, shelter sites, and escape routes. This method doesn’t rely on batteries or signal, making it reliable in remote areas. A well-constructed map reduces guesswork, helping you conserve energy and avoid redundant travel. It’s not about precision; it’s about practical orientation. You assess terrain features quickly, then update the map as conditions change. Compared to memory alone, this system improves accuracy by anchoring spatial data externally. It works with minimal materials and scales to available space. In real scenarios, survivors who map their environment make more strategic moves, directly improving outcome potential through better decision structure.
Use Stones to Map Rivers, Trails, and Clearings
When you’re working with limited tools, stones offer a durable way to mark key terrain features because they won’t blow away or degrade like organic materials. Use stone alignment to trace the path of a river-place stones in a continuous line that mirrors the river’s flow. For trails, set stones in a straight or slightly curved pattern that follows the route, placing them close enough to be seen from one to the next. To mark clearings, arrange stones in an outer ring or perimeter that defines the open space. You can incorporate natural symbols by shaping stones into arrows or using distinct colors to indicate specific features. These markers remain visible in most weather and resist displacement better than sticks. While stone alignment takes more time than simple stacking, it provides longer-lasting reference. Just avoid over-marking-too many stones can be confusing. Keep it simple, logical, and consistent for effective navigation.
Mark High Ground and Ridges With Sticks
Stones work well for tracing low-lying features like rivers and trails, but sticks are better suited for marking high ground and ridges where visibility matters. You’ll want to use longer, straight sticks as elevation markers since they catch light and contrast with terrain. Place them upright along crest lines so they’re visible from a distance. Stick alignment should follow the ridge’s natural contour, spaced 10–15 feet apart for consistency. This method works best in open areas where shadows and angles help the markers stand out. In dense brush, their effectiveness drops due to limited line of sight. These markers aren’t permanent-weather and animals will displace them-so expect to refresh them every few days. They’re lightweight and easy to deploy, making them practical for short-term navigation. Use them alongside other terrain cues for reliable reference.
Signal Dangers and Landmarks Clearly
Since visibility and clarity are critical in high-risk terrain, use bright, reflective materials to mark dangers and landmarks where natural indicators fall short. Trail blazes painted on rocks or fabric strips tied to shrubs increase detection at a distance, especially in low light. Build rock cairns in stable patterns to avoid collapse, placing them where terrain shifts suddenly-like cliffs or crevasses. These markers work best when spaced within sight of one another, ensuring continuity. Consider durability and local weather; sandstone erodes faster, reducing cairn stability. A compact emergency signaling mirror can significantly enhance landmark visibility by reflecting sunlight over long distances, especially when paired with established ground markers. Below is a comparison of marker types based on visibility and lifespan:
| Marker Type | Visibility (m) | Avg. Lifespan (days) |
|---|---|---|
| Trail blazes | 50 | 90 |
| Rock cairns | 30 | 180 |
| Fabric strips | 70 | 60 |
Trail blazes last less than cairns but offer longer-range detection. Use both for redundancy.
Build a Layout That Shows the Whole Picture
Though individual markers help spot immediate hazards, you’ll need a layout that ties each element into a coherent system to truly understand the terrain. Arrange stones and sticks in a scaled representation, keeping proportional distances that reflect what you see. This gives you a mini-model of your surroundings, revealing patterns you’d miss when focused only on single points. Natural balance matters-place elements so no one feature overpowers the layout. A large boulder or stream should take up space equivalent to its real-world impact, preventing misjudgment. Use symbolic placement: a curved stick for a river bend, stacked stones for a ridge. These aren’t artistic choices-they’re functional shortcuts that convey meaning quickly. Orientation should match cardinal directions when possible. A well-balanced layout reduces cognitive load, letting you interpret movement paths, barriers, and safe zones at a glance. It’s not perfect, but it’s measurable and adjustable, offering clarity when tools aren’t.
Update Your Map as You Move Forward
As you move, keep adjusting your map so it stays useful-terrain shifts and so should your layout. Track route progression by adding stones for new landmarks and shifting sticks to reflect terrain changes. If a ravine blocks your path, update your layout immediately. Delayed updates lead to navigational errors. Use the table below to log key features during movement.
| Feature | Symbol | Update Needed? |
|---|---|---|
| Stream | Curved stone | Yes |
| Hill | Pebble pile | No |
| Fallen tree | Short stick | Yes |
| Rock cluster | Stone ring | No |
This method guarantees accuracy. You don’t need precision tools-only consistent updates. Every 15 minutes or at major terrain changes, review your map. Misrepresenting route progression risks inefficient detours. Simple, timely revisions keep your navigation reliable. Adjustments take seconds but prevent hours of backtracking. Your map is a working tool, not a one-time sketch. Keep it current.
On a final note
You’ll use what’s available, so stick to simple markers that last. Stones show rivers and trails reliably; they don’t blow away. Sticks mark high ground but check for wind. Update the layout as you move-accuracy drops fast if you don’t. This method won’t replace a GPS, but it works when tech fails. No extra weight, no power needed. Just clear, real-time tracking using terrain and debris. It’s basic, but it’s field-tested and functional.