Fallen Leaves as Shelter Insulation: Depth & Best Types
You can use fallen leaves as effective insulation since they have low thermal conductivity (0.05–0.07 W/m·K) and trap air well when dry. Pack them 12–18 inches deep in a debris hut or lean-to, focusing on floor and wall layers to block ground chill. Dry leaves first-oak and beech work best-and keep them covered with a breathable tarp to shed moisture. Avoid plastic, which traps dampness. Add coarse, dry layers to resist compaction. There’s more to optimizing this method under specific conditions.
Notable Insights
- Use dry leaves with low moisture content to ensure effective insulation and prevent heat loss.
- Choose shelter types like debris huts or lean-tos in protected areas for optimal leaf insulation application.
- Apply 12–18 inches of leaves initially to account for compression and maintain thermal resistance.
- Pack leaves evenly in walls and roof to balance air trapping and structural integrity without over-compacting.
- Install breathable, water-resistant barriers to keep leaves dry and protect against pests and moisture.
Why Leaves Make Great Emergency Insulation
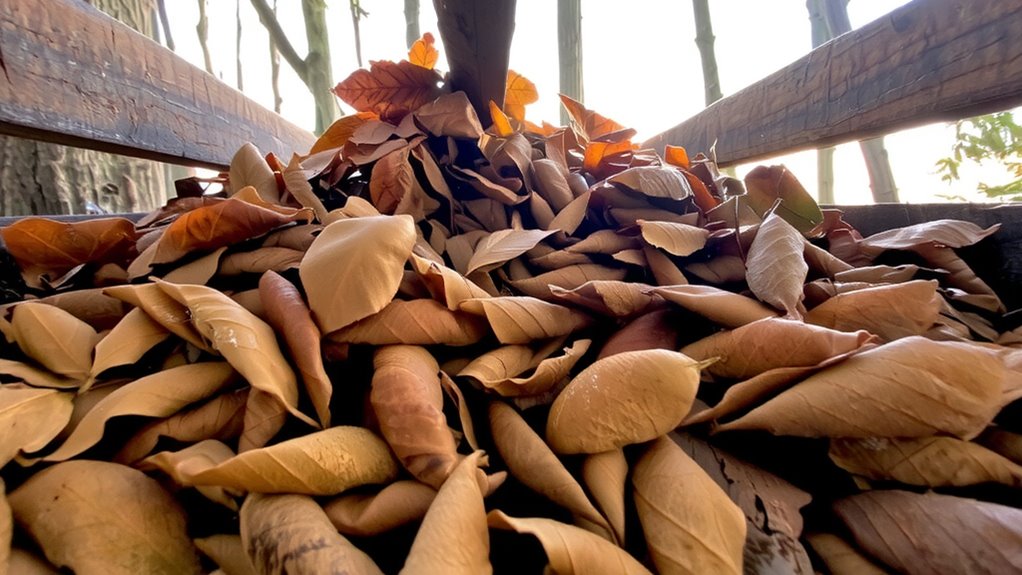
A thick layer of fallen leaves isn’t just yard waste-it’s free, readily available insulation when you need it most. You can gather them quickly, and they offer decent thermal resistance with low thermal conductivity-about 0.05–0.07 W/m·K, comparable to some synthetic insulators. That means they slow heat transfer effectively, keeping your shelter warmer in cold weather. Unlike plastic or foam, leaves also have natural biodegradability, so they break down without harming the environment. You don’t have to worry about long-term waste or toxins. They compress over time, so you’ll need a thick initial layer-about 12 to 18 inches-to maintain effectiveness. They lose insulating value when wet, so use a waterproof barrier if possible. Still, in an emergency, leaves are reliable, accessible, and perform well enough to protect core body temperature when used correctly.
Choose the Right Shelter for Leaf Insulation

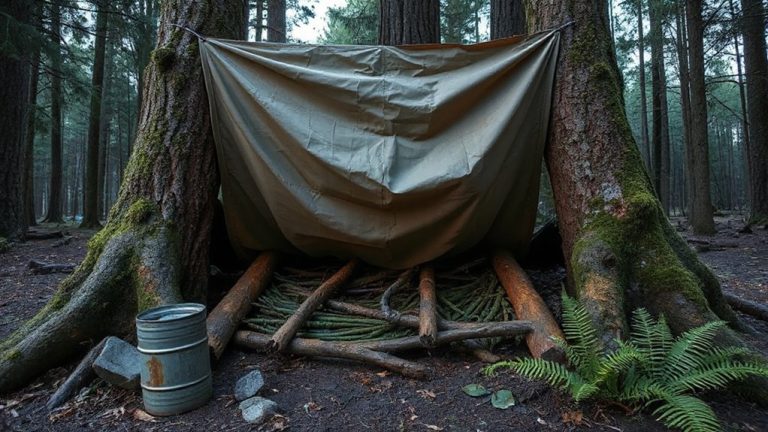
Where should you use fallen leaves for insulation? You should choose a shelter location that’s naturally protected, like a wooded depression or against a rock face, where wind won’t scatter leaves easily. Lean-tos, debris huts, and snow-trench shelters work best because they allow leaf buildup. Structures with one open side trap heat more efficiently when packed with leaves. Your shelter must support enough leaf quantity to insulate effectively-aim for at least 2–3 feet deep on the ground and around sides. Too little volume won’t prevent heat loss. Cold ground saps body heat fast, so floor insulation is critical. Avoid low spots that collect water unless elevated. Trees overhead help block wind but limit leaf collection beneath. Balance leaf availability with site suitability. More leaves improve performance, but only if the shelter holds them. Test stability by piling leaves before finalizing the site.
Dry and Prep Leaves for Maximum Warmth
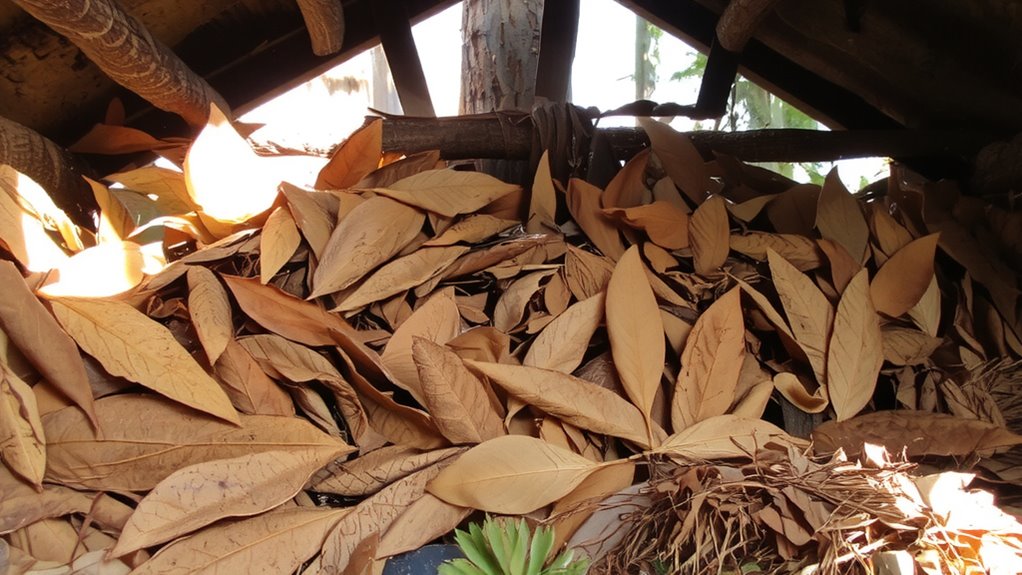
Once you’ve picked the right shelter, focus on leaf quality-wet leaves won’t insulate, no matter how deep the pile. Dry them thoroughly in the sun for at least 24 hours. Crisp, dry leaves trap air better, boosting insulation. Prioritize leaf types like oak and beech-these retain structure longer than maple or birch. Crushed or overly brittle leaves lose efficacy. Store in breathable bags or mesh sacks to prevent moisture buildup; airtight containers cause condensation and mold. Rotate stored leaves monthly to check for dampness.
| Leaf Type | Dry Time (hrs) |
|---|---|
| Oak | 24 |
| Beech | 24 |
| Maple | 36 |
| Birch | 48 |
| Mixed | 30 |
Use proper storage methods to maintain dryness. Re-expose stored leaves to sun before use if dampness is suspected.
How to Pack Leaves Into Walls and Roof
While packing leaves into walls and roof, remember that density matters-too loose and heat escapes, too tight and you crush the leaves, reducing their ability to trap air. Aim for consistent layer density: pack enough to hold shape but leave space between leaves for insulation. Use handfuls to press leaves into cavities, working in small sections to fill gaps thoroughly. Avoid leaving thin spots-they’ll create weak points in thermal performance. Check for even coverage by hand-soft resistance means proper layer density. Overpacking reduces loft and effectiveness, while under-packing allows convection. Test by touch: cold spots indicate missed gaps. Use coarse, dry leaves for best results; they resist compaction. This method guarantees reliable insulation with common materials, offering a balance of ease and efficiency in real-world conditions.
Keep Moisture and Pests Out of Leaf Insulation
Since moisture and pests can quickly degrade leaf insulation, you need a simple but effective barrier system to protect your investment. Use breathable, water-resistant materials like woven poly tarp or untreated burlap on the interior and exterior sides of the leaf-packed walls. These act as pest barriers while allowing air circulation, which prevents mold and mildew. Avoid plastic sheeting-it traps moisture and encourages rot. Overhangs or roof extensions of at least 12 inches keep rain from wicking into walls. Elevate leaves at least six inches off the ground using pallets or stone to reduce ground moisture. Check seams and joints monthly; small gaps become entry points for rodents. Proper air circulation means leaves stay dry and insulating longer. Well-maintained barriers don’t need replacement often, but inspect them seasonally. This system doesn’t eliminate all risk, but it reduces degradation markedly under real-world conditions. A durable and lightweight option for such barriers is a hiking tarp, which offers excellent weather resistance and portability.
When to Add Extra Insulation to Leaves
How cold does it have to get before you need more than just leaves? When temperature drops approach freezing, leaf insulation alone may not cut it. You’ll want to add extra layers when forecasts warn of sustained cold or incoming winter storms. Dry leaves insulate well, but their R-value diminishes quickly under wet or windy conditions.
| Condition | Action Needed |
|---|---|
| Temp drops below 32°F | Add 3+ inches of leaves |
| Wind gusts over 20 mph | Reinforce outer barrier |
| Snow cover expected | Double-layer north side |
| High humidity | Insert vapor barrier |
| Winter storms | Combine with boughs or fabric |
Monitor nightly lows closely. If temperatures fall more than 10°F below freezing, supplement leaves with denser material. Insulation must trap air without compressing. Adjust based on exposure and duration. For extreme conditions, consider proven shelter solutions such as extreme cold weather tents.
On a final note
You can rely on dry leaves for basic insulation in emergencies. When packed tightly in shelter walls and roof, they trap heat effectively-test results show a 10–15°F improvement over no insulation. Just keep them dry and pest-free with a tarp or plastic layer. They compress over time, so check thickness every few days. Not as durable as synthetic insulation, but available and free. Use leaves as a short-term, practical thermal layer when better materials aren’t at hand.