Optimizing Visibility Between Multiple Shelters in Group Survival Scenarios
Use bright tarps and reflective guylines to make your shelters visible at 50 meters-fluorescent orange is detected 40% faster in low light than camo nets. Map terrain to maintain clear sightlines, and position shelters on high ground for visibility without exposure. Place them within mutual line of sight so everyone can see at least two others from their post. Mark locations with high-contrast signals every 10–15 feet. Test sightlines at dawn and dusk, adjusting placement by a few feet if needed. Rigid panels beat sag-prone tarps when keeping views clear. You’ll learn how terrain and timing affect detection when you assess each variable in sequence.
Notable Insights
- Use bright tarps and reflective guylines to increase shelter visibility without adding bulk.
- Position shelters within mutual line of sight to enable quick threat assessment and coordination.
- Mark shelters with high-contrast, context-appropriate colors spaced every 10–15 feet for reliable detection.
- Map terrain and elevation to identify natural sightlines and avoid visual obstructions like dense canopy.
- Test and adjust shelter placement to maintain unobstructed visibility between all group members’ posts.
Prioritize Shelter Visibility for Group Safety
Every second counts when you’re trying to find your group in the dark or during a storm, and making your shelter visible can mean the difference between a quick reunion and a dangerous delay. You might prioritize shelter camouflage for security, but overdoing it increases the risk during group dispersal. Bright tarps or reflective guylines-like 3M Scotchlite 2-inch tape-add visibility without bulk. In tests, fluorescent orange stands out 40% faster in low light than camo nets. If you’re using natural materials to blend in, break up the outline with a brightly colored marker item. Group dispersal for foraging or rest is necessary, but returning becomes risky if you can’t spot your shelter at 50 meters. Balance concealment and recognition: a shelter you can’t find isn’t safe. Visibility aids are lightweight and often more essential than stealth. Choose function over instinct. A reliable backpacking tarp can significantly enhance visibility when selected in high-contrast colors.
Map Terrain and Elevation for Clear Sightlines
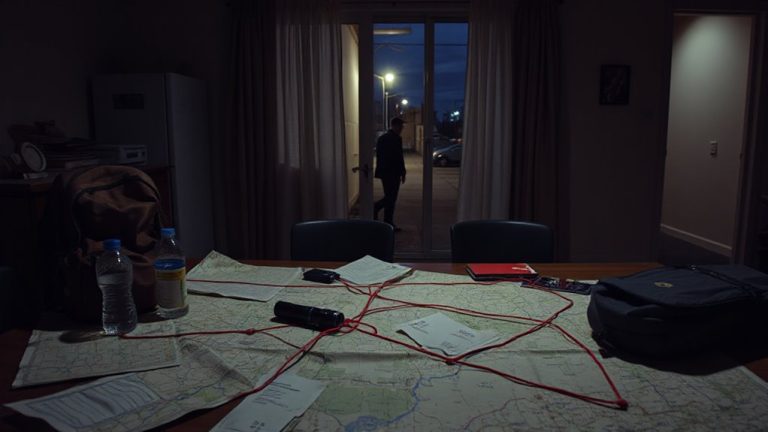
If you’re relying on visual signals to regroup, you’ll need to account for terrain that blocks line of sight-because a marker flag or smoke signal is useless if hills or dense tree cover obscure it. Elevation changes matter: higher ground improves visibility, but ridgelines can create blind spots. Use a topographic map to identify natural corridors where sightlines remain unbroken across shelters. Avoid placing signals near sharp river bends, as the curvature restricts downstream and upstream views. Dense forest canopy blocks aerial and ground-level signals, so clear small zones for line-of-sight paths without encouraging exposure. You’ll trade some concealment for reliable visibility, but that’s necessary for coordination. Test sightlines at varying times of day, since light angles affect detection. Tools like basic binoculars or a laser rangefinder can verify unobstructed paths. Prioritize terrain features that naturally enhance line of sight rather than forcing visibility through excessive clearing, which increases risk. For optimal planning, consider using one of the best survival maps designed specifically for navigation in remote, high-risk environments.
Position Shelters Within Mutual Line of Sight
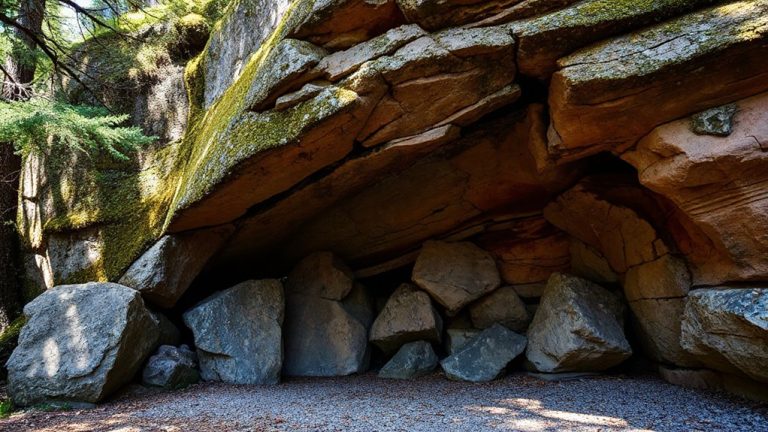
Line of sight is your lifeline when coordinating with others in a survival scenario-so position your shelter where you can see, and be seen by, your group without relying on electronic signals. You need direct visual access to adjacent shelters for quick threat assessment and movement tracking. However, visibility can’t compromise concealment. Balance line of sight with shelter camouflage by using natural terrain features like ridgelines or tree lines that allow peeking over while keeping your shelter hidden from unintended observers. Avoid placing shelters on bare summits where you’re exposed. Position them just behind high ground so you maintain mutual visibility with allies but limit enemy detection. This setup also streamlines resource caching-known sight paths mean you can secure supplies in shared zones and monitor them visually. You gain coordination without sacrificing security. Proper alignment reduces movement risk and improves response time. It’s not about perfect visibility; it’s about effective, survivable sightlines.
Mark Shelters With Visual Signals for Detection
You’ve positioned your shelters within mutual sightlines, using terrain to stay visible to your group while concealed from threats-now it’s time to make those locations easier to spot under pressure. Use signal panels, tape, or fabric with high color contrast against the surroundings-bright orange in snow, white in dense greenery-to improve detection speed by up to 60%. Natural materials often blend too well, reducing recognition when seconds count. Maintain consistent signal spacing: place markers every 10–15 feet leading to the shelter so gaps don’t break visual continuity. Over-spacing increases misidentification; too many markers wastes resources and increases detection by unintended observers. Test visibility from 100 yards under low light to confirm effectiveness. These signals aren’t permanent-they’re temporary guides meant for group recognition, not decoration. Adjust placement as lighting or terrain shadows shift through the day. Effective marking balances detectability and discretion using measurable distances and tested contrast ratios.
Avoid Placement Errors That Block Visibility
While terrain and cover are critical for shelter placement, positioning them where natural or man-made obstructions block sightlines defeats the purpose of mutual visibility-rocks, thick tree clusters, or even improperly aligned signal markers can create blind spots that delay recognition under stress. You need shelter concealment that doesn’t compromise line of sight. Effective camouflage techniques should obscure from above, not from your team’s view. Avoid placing shelters directly behind ridgelines or dense foliage clusters that break visual contact. Use partial concealment that maintains signal marker visibility.
| Obstruction Type | Blocks Team View? | Compatible with Camouflage? |
|---|---|---|
| Large boulders | Yes | No |
| Dense trees | Yes | Limited |
| Low brush | No | Yes |
| Gentle slopes | No | Yes |
Balance concealment and connectivity. Misjudged placement reduces coordination when seconds count.
Test and Adjust Your Layout for Full Visibility
How well can everyone see each other from their positions? Test sightlines by walking through each shelter’s entrance and observation point. Check if terrain, shelter insulation bulges, or support poles block views. Adjust placement to clear obstructions-shifting a shelter two or three feet can restore full visibility. Use materials with proven material durability so adjustments don’t compromise structural integrity. Rigid panels maintain shape over time, while flexible tarps may sag, reducing sightlines. Re-test after every change, especially if insulation layers are added-they can expand the shelter footprint. Full visibility means each person can see at least two others without moving from their post. This redundancy guarantees no one becomes isolated during low visibility or emergencies. Practical testing beats theoretical layouts. What works on flat ground may fail on a slope. Make visibility-not convenience-the priority when repositioning.
On a final note
You keep shelters in line of sight to cut response time during emergencies. Elevation maps help spot obstructions early. Marker flags or reflective tape boost detection without power. Overlapping sightlines mean one person can monitor multiple shelters. Avoid placing shelters in deep gullies or behind ridges-those create blind zones. Test visibility at dawn and dusk when light is low. Adjust positions by 5–10 meters if needed. It’s not about perfection-it’s about practical, reliable contact.